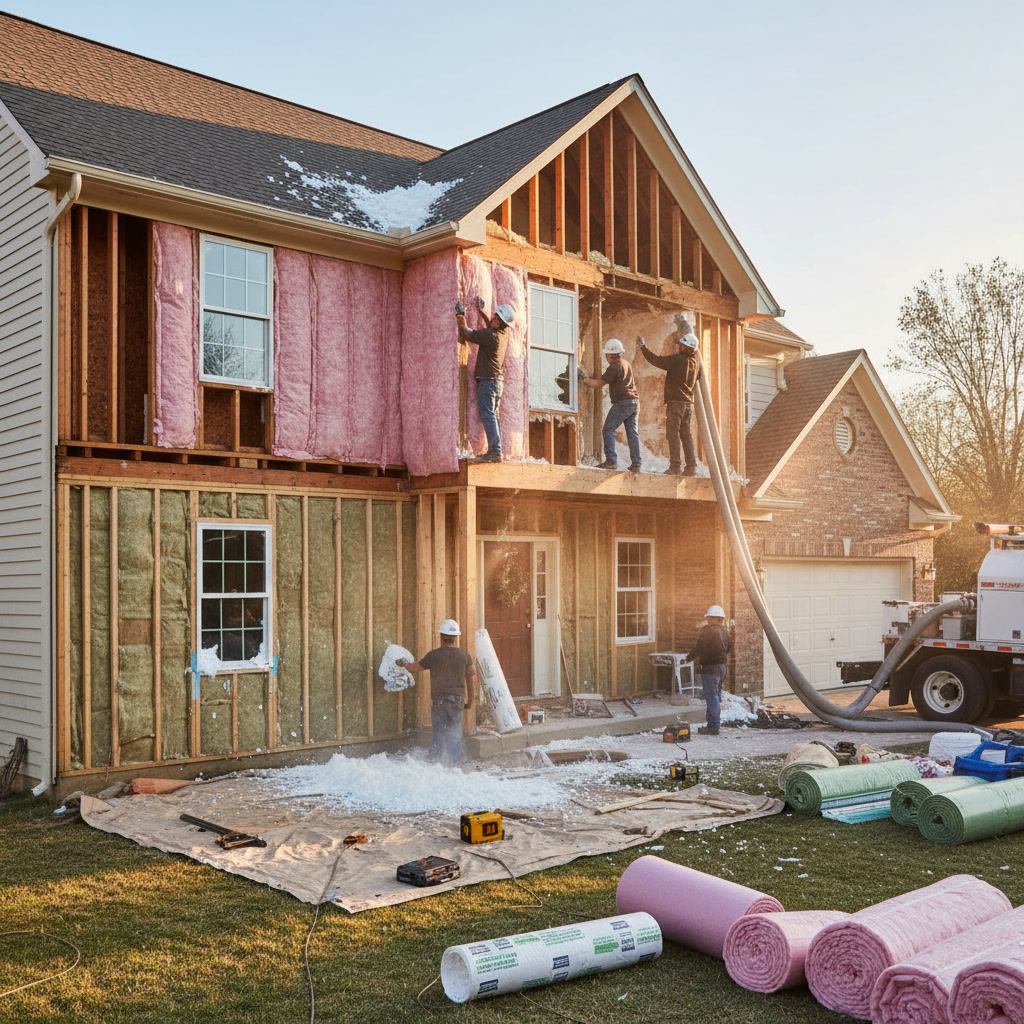
A whole home insulation project typically takes three to five days and involves a detailed assessment, preparation, installation, and quality inspection. Professional contractors evaluate your home’s current insulation levels, air leaks, and thermal performance before removing old materials and installing new insulation in attics, walls, crawl spaces, and basements. Understanding each phase helps you prepare your home and know what to expect throughout the process.
Why Complete Home Insulation Matters More Than Spot Fixes
Many homeowners address insulation problems one room at a time, but this approach leaves gaps that compromise your entire home’s thermal envelope. Cold air finds the path of least resistance. When you insulate your attic but ignore your basement, heated air escapes through your foundation while cold air seeps in elsewhere.
Comprehensive insulation creates a continuous barrier that stops thermal transfer in every direction. Your heating and cooling systems work less, your energy bills drop, and indoor temperatures stay consistent from room to room. Spot fixes might solve one problem but often shift it somewhere else.
How Professional Teams Assess Your Current Insulation
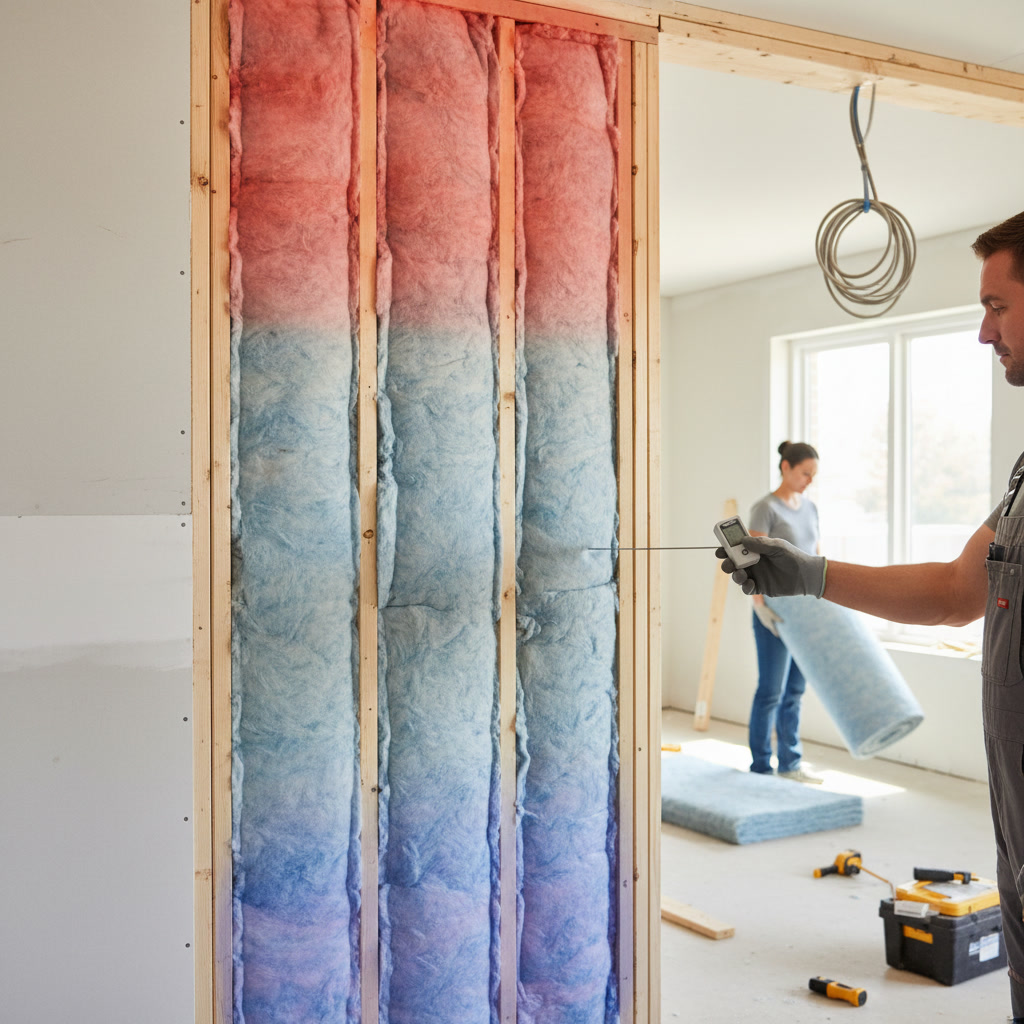
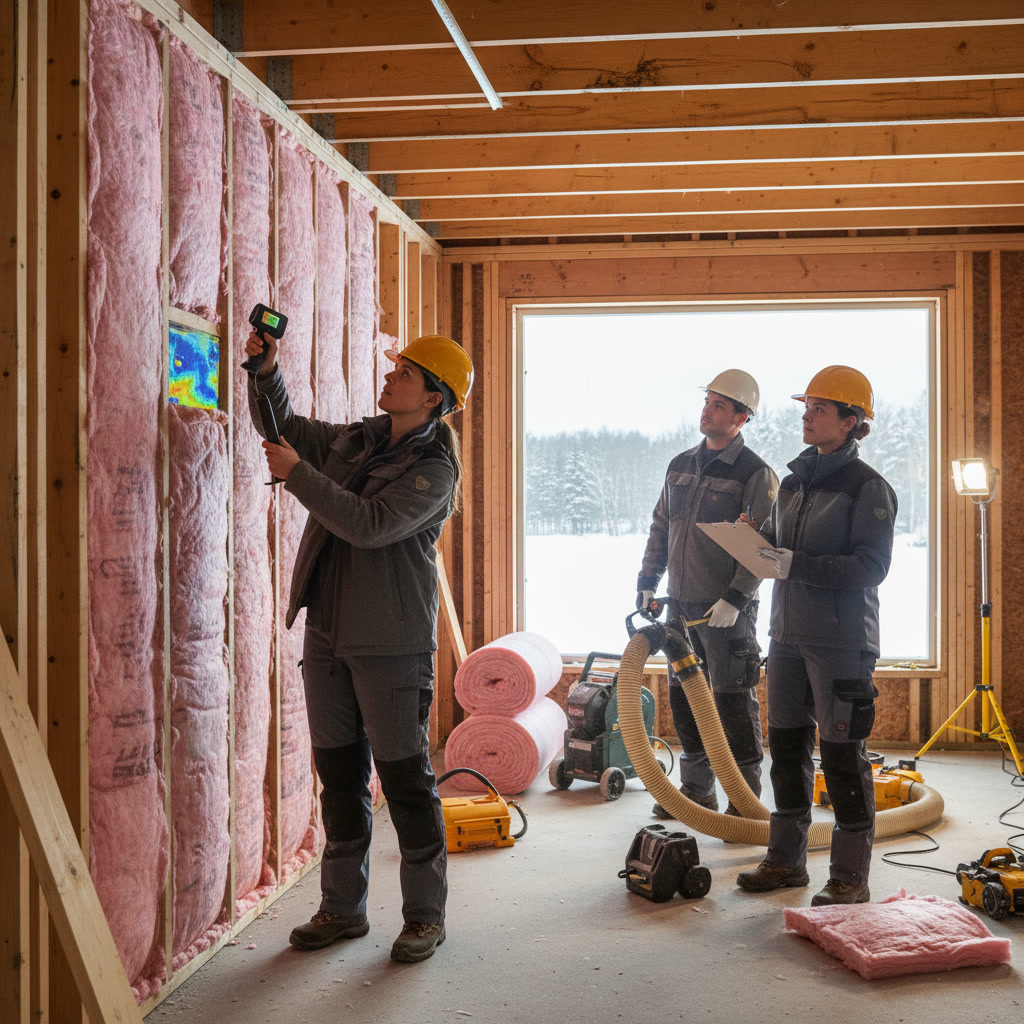
The first step involves a thorough inspection of your existing insulation and building envelope. Experienced insulation contractors use thermal imaging cameras to identify cold spots, air leaks, and areas where insulation has settled or deteriorated.
They measure current R-values in your attic, walls, and foundation spaces. R-value indicates thermal resistance, with higher numbers meaning better insulation performance. Connecticut homes need R-49 to R-60 in attics, R-13 to R-21 in walls, and R-25 to R-30 in crawl spaces and basements to meet modern efficiency standards.
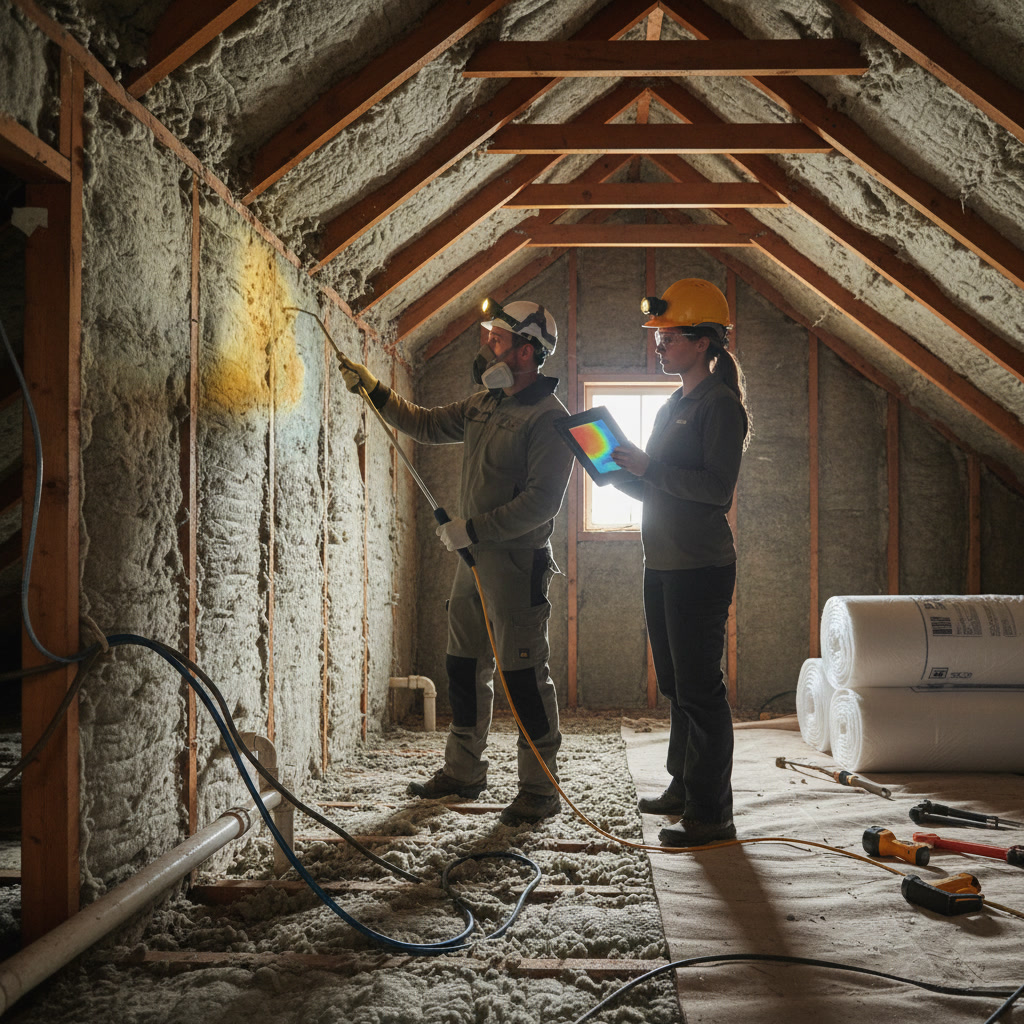
Inspectors check for moisture problems, mold, pest damage, and structural issues that need repair before new insulation goes in. Installing fresh insulation over water damage or active leaks wastes money and creates bigger problems down the road.
Preparing Your Home in Middletown for Installation Day
Once the assessment is complete, contractors provide a detailed scope of work and timeline. Most projects require you to clear access paths to attics, basements, and crawl spaces. Remove stored items, holiday decorations, and anything blocking entry points.
Installation teams need clear pathways through your home to move equipment and materials. If crews are insulating wall cavities, they may need to access certain rooms and move furniture away from exterior walls. Ask your contractor which areas need preparation.
Plan for some disruption during installation. Attic work generates dust even with careful containment. Blown-in insulation projects create noise from machinery. Most families stay home during the work, but you might want to arrange childcare for young children or keep pets in a separate area.
Removing Old or Damaged Insulation Materials
Many older Connecticut homes contain outdated insulation that has lost effectiveness. Fiberglass batts compress over time, reducing their R-value. Cellulose can settle and leave gaps. Vermiculite insulation from before 1990 may contain asbestos and requires specialized removal.
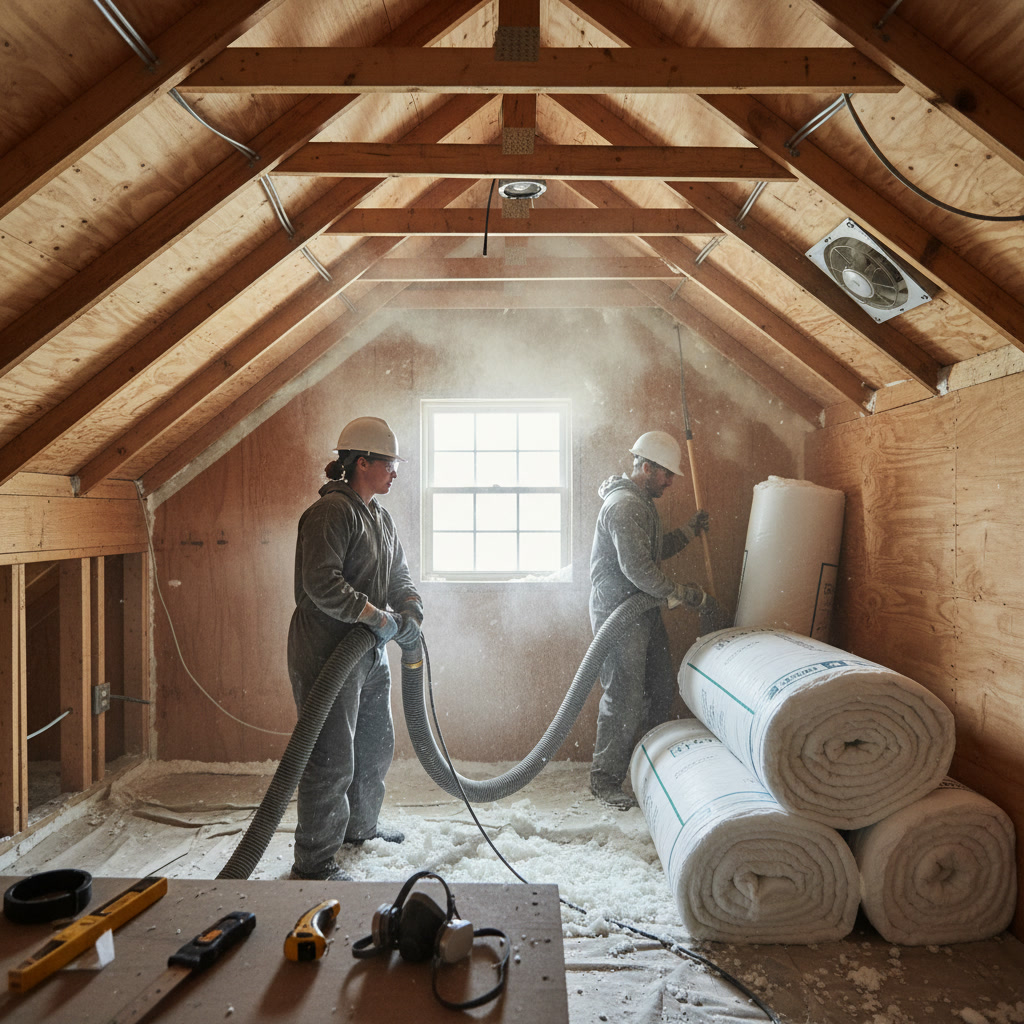
Professional crews vacuum out old blown-in materials using industrial equipment with HEPA filtration. They bag and remove compressed batts, damaged vapor barriers, and contaminated insulation. This phase creates the most mess but is essential for optimal results.
Removing old insulation also reveals hidden problems. Contractors often discover roof leaks, electrical issues, or structural damage once they clear away decades of material. Addressing these issues before installing new insulation prevents future complications. If you’re curious about timing, recognizing when insulation needs replacement can help you plan ahead.
Air Sealing Before Insulation Installation
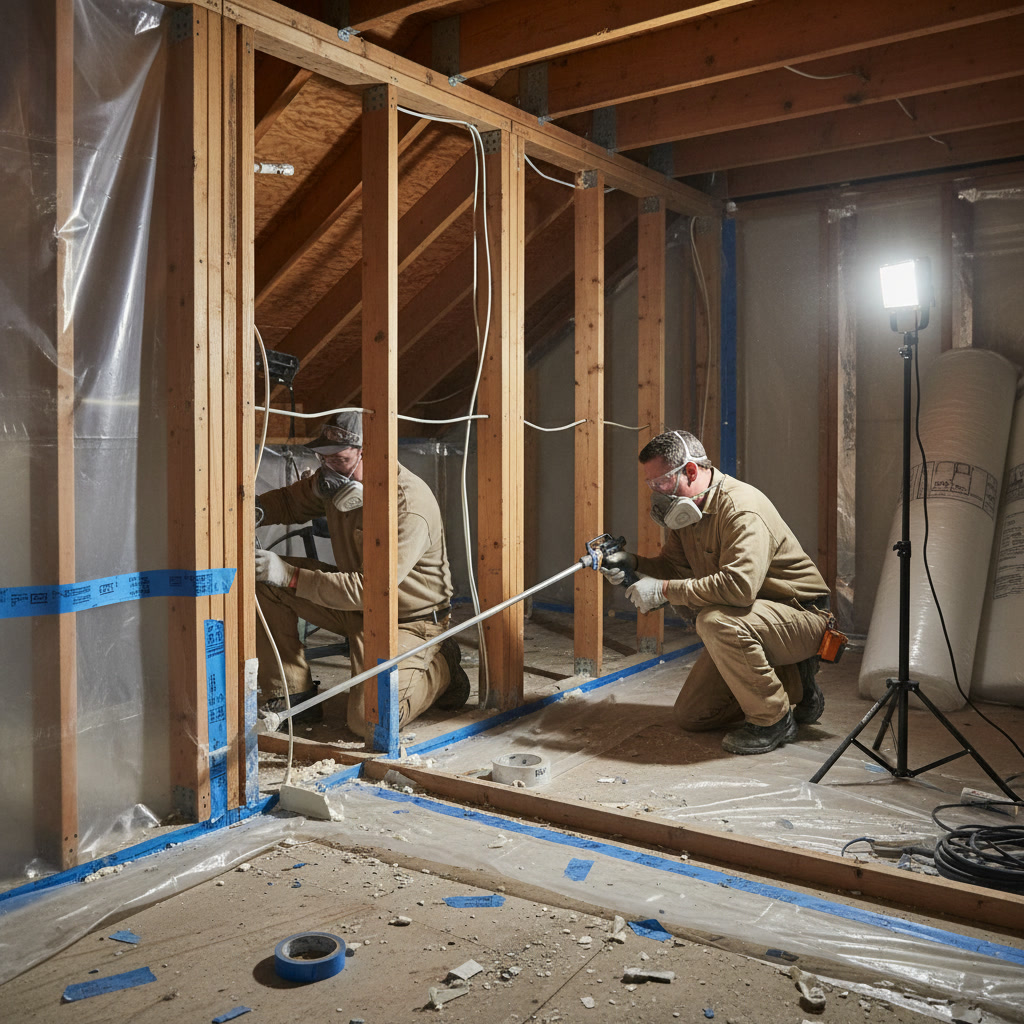
Here’s an expert insight most homeowners miss: insulation only works when air can’t move through it. Adding more insulation without sealing air leaks is like wearing a thick sweater in a windstorm. The air movement carries heat away regardless of insulation thickness.
Professional teams seal gaps around pipes, wires, ductwork, chimneys, and recessed lights before installing insulation. They use spray foam, caulk, and weatherstripping depending on the location and size of gaps. This step alone can reduce energy loss by 20 to 30 percent.
Pay special attention to air sealing around windows and doors, where gaps commonly form over time. Proper sealing at these entry points complements your new insulation and prevents drafts.
Installing Insulation in Different Areas of Your Home
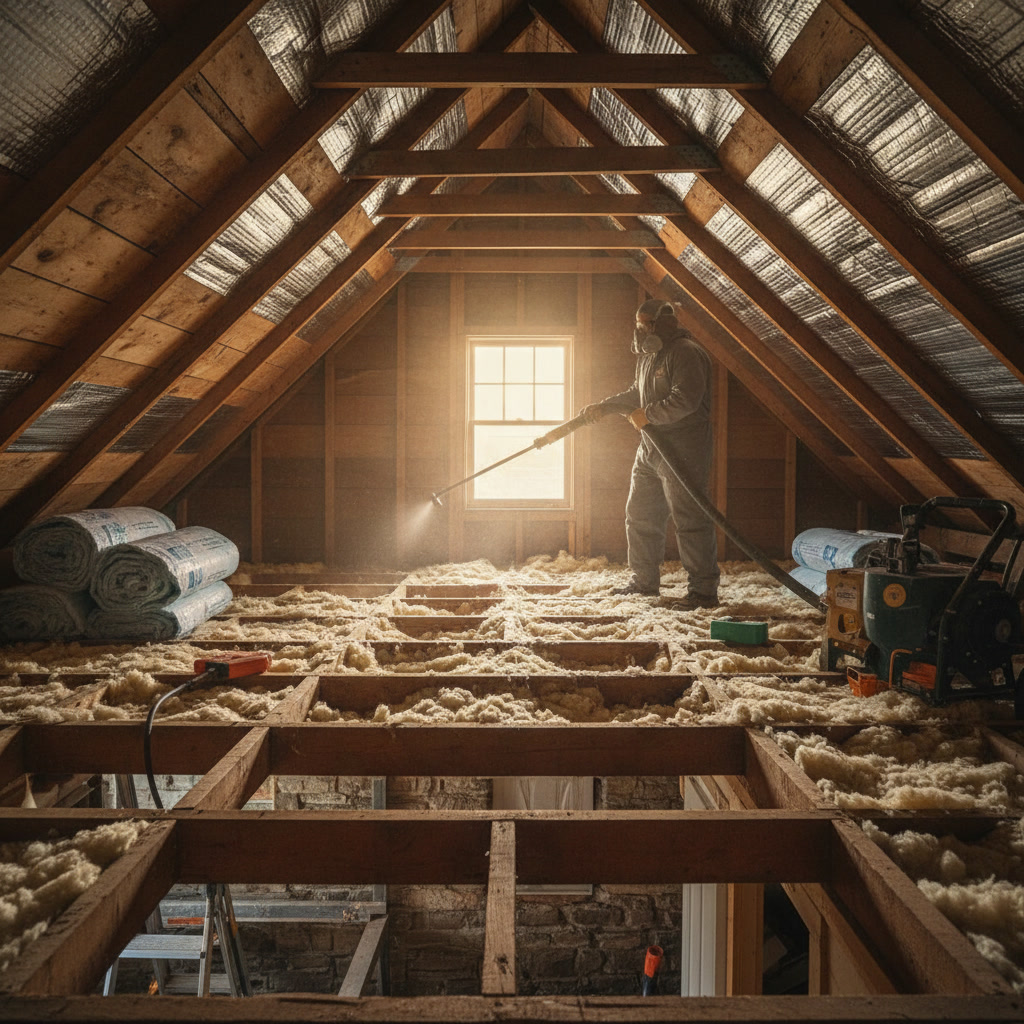
Installation methods vary by location. Attics typically receive blown-in cellulose or fiberglass, which fills irregular spaces and covers joists completely. Crews use calibrated machines to achieve precise depth and R-value across the entire attic floor.
Wall cavities in finished homes require dense-pack cellulose or injection foam. Contractors drill small holes through exterior siding or interior drywall, fill the cavities under pressure, and patch the holes. This approach adds R-13 to R-15 without major demolition.
Crawl spaces and rim joists benefit from spray foam insulation, which seals and insulates simultaneously. Two-pound closed-cell foam creates a moisture barrier while providing R-6 to R-7 per inch. Basement walls often receive rigid foam boards or spray foam depending on whether they’re finished or exposed.
Each area requires different installation times. Attics go fastest, usually one day for typical homes. Wall insulation takes longer because of drilling, filling, and patching. Crawl space work requires careful maneuvering in tight spaces. Budget considerations vary too, as detailed in resources about Connecticut insulation pricing.
Quality Control and Performance Testing
Reputable contractors don’t just finish installation and leave. They verify coverage, check depth measurements, and ensure consistent density throughout. Proper installation technique matters as much as material quality.
Some teams perform blower door tests before and after installation. This diagnostic tool measures air leakage throughout your home. The test quantifies improvement and identifies any remaining problem areas that need attention.
Thermal imaging after installation confirms the insulation performs as expected. Cameras show whether the thermal envelope is continuous and effective. Any cold spots or gaps get addressed before the project wraps up.
Final Cleanup and Site Restoration
Professional crews protect your home during installation with drop cloths, plastic sheeting, and careful material handling. Still, insulation work creates dust and debris that needs thorough cleaning.
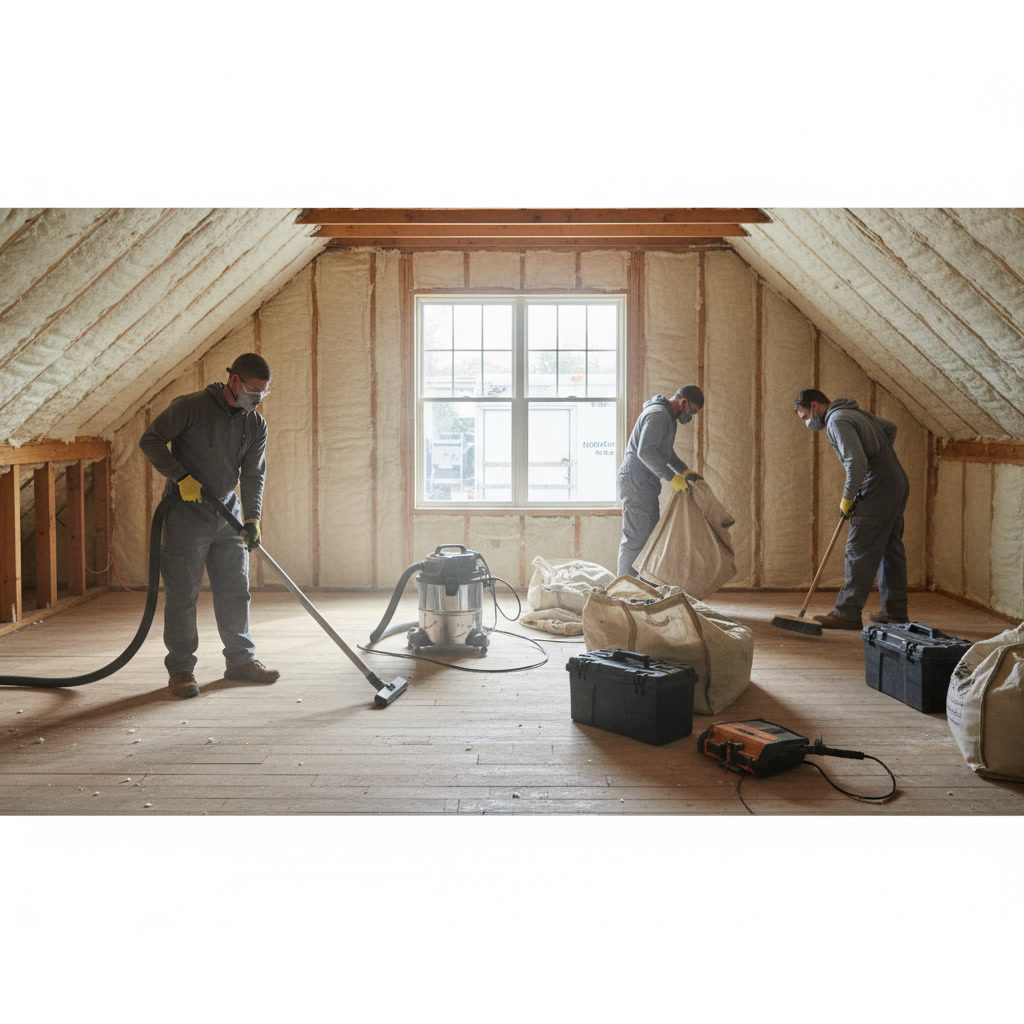
Teams vacuum work areas, wipe down surfaces, and remove all packaging and waste materials. Attic access panels get reinstalled. Any holes drilled for wall insulation get patched and touched up. The goal is leaving your home cleaner than they found it.
Contractors also restore any disturbed areas. If installation required moving stored items, they return them to place. Furniture gets moved back. You should receive your home ready to use normally.
What to Expect in the Days After Installation
You’ll notice temperature improvements within hours, but full benefits develop over days and weeks. Your heating system runs less frequently. Cold floors warm up. Drafts disappear. These changes become more apparent as outdoor temperatures fluctuate.
Some materials emit mild odors during the first few days. Spray foam releases a slight chemical smell that dissipates quickly with ventilation. Cellulose carries a faint paper smell initially. Both are normal and harmless.
Energy savings appear on your next utility bill. Most Connecticut homeowners see reductions between 15 and 40 percent depending on their home’s previous condition. Savings continue year after year, making insulation one of the best returns on investment for home improvements.
Long-Term Performance and Maintenance Requirements
Quality insulation lasts decades with minimal maintenance. Blown-in materials stay effective for 20 to 30 years. Spray foam can last the life of your home. Fiberglass batts remain effective indefinitely if they stay dry and undisturbed.
Check your attic annually for signs of moisture, pest activity, or settling. Insulation should maintain consistent depth and coverage. Address any roof leaks immediately, as water damage compromises insulation performance and requires replacement.
Most contractors provide warranties covering materials and workmanship. Standard coverage runs one year, with extended options available. Keep your project documentation and warranty information for future reference.
Maximizing Your Investment with Complete Home Comfort
Insulation works best as part of a complete home performance approach. Pairing your new insulation with energy-efficient windows, proper ventilation, and quality HVAC maintenance creates a comfortable, efficient home that costs less to operate year-round.
Consider complementary upgrades that enhance your investment. Updated flooring over insulated basements improves comfort. Fresh interior paint after wall insulation installation completes your refreshed spaces.
Top Notch Home Solution LLC brings 19 years of experience to every insulation project, combining technical expertise with careful attention to your home’s specific needs. Family-owned and operated, the company serves homeowners throughout Cromwell and surrounding Connecticut communities with honest, reliable service backed by full licensing and insurance.
Ready to improve your home’s comfort and efficiency? Top Notch Home Solution LLC offers free estimates and friendly guidance through every step of your project. Call +18607068116 to discuss your insulation needs and schedule your assessment.