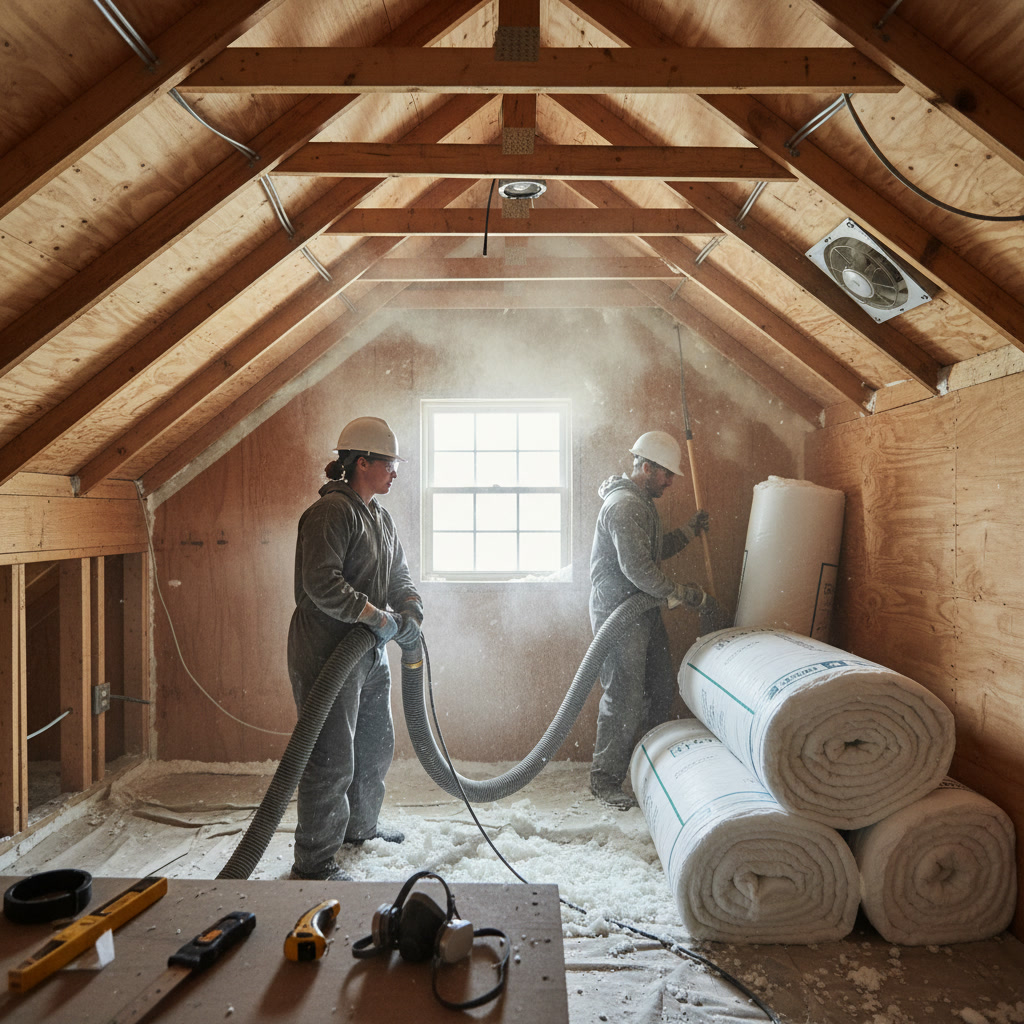
Professional insulation installation follows a precise sequence of steps that ensure optimal energy efficiency and long-term performance. The insulation installation process typically spans one to three days depending on your home’s size and the areas being insulated. Understanding what happens during each phase helps homeowners prepare their space and recognize quality workmanship when they see it.
Many homeowners wonder what to expect when contractors arrive to upgrade their home’s thermal barrier. The work involves more than simply stuffing material into wall cavities. A systematic approach protects your property, addresses existing issues, and delivers measurable energy savings that last for decades.
Why Professional Installation Matters for Long-Term Performance
The difference between professional and amateur insulation work becomes apparent within the first heating season. Gaps as small as two percent of the total insulated area can reduce thermal performance by up to 50 percent. Trained installers know how to achieve complete coverage around electrical boxes, plumbing penetrations, and structural elements where air leakage typically occurs.
Professional contractors also understand building science principles that affect moisture management. Improper installation can trap condensation inside wall assemblies, leading to mold growth and structural damage that costs thousands to remediate. Licensed insulation contractors follow local building codes and manufacturer specifications to prevent these costly mistakes.
Pre-Installation Assessment and Preparation
Before any material arrives at your home, experienced contractors conduct a thorough assessment of existing conditions. They measure attic depths, check for roof leaks, inspect ventilation systems, and identify air sealing priorities. This diagnostic phase often reveals issues that must be addressed before new insulation can perform effectively.
Contractors typically look for signs of water damage, pest activity, and outdated electrical wiring that might need attention. In Connecticut homes built before 1980, vermiculite insulation may be present and require special handling. The assessment informs material selection and helps establish realistic timelines.
Protecting Your Home and Belongings
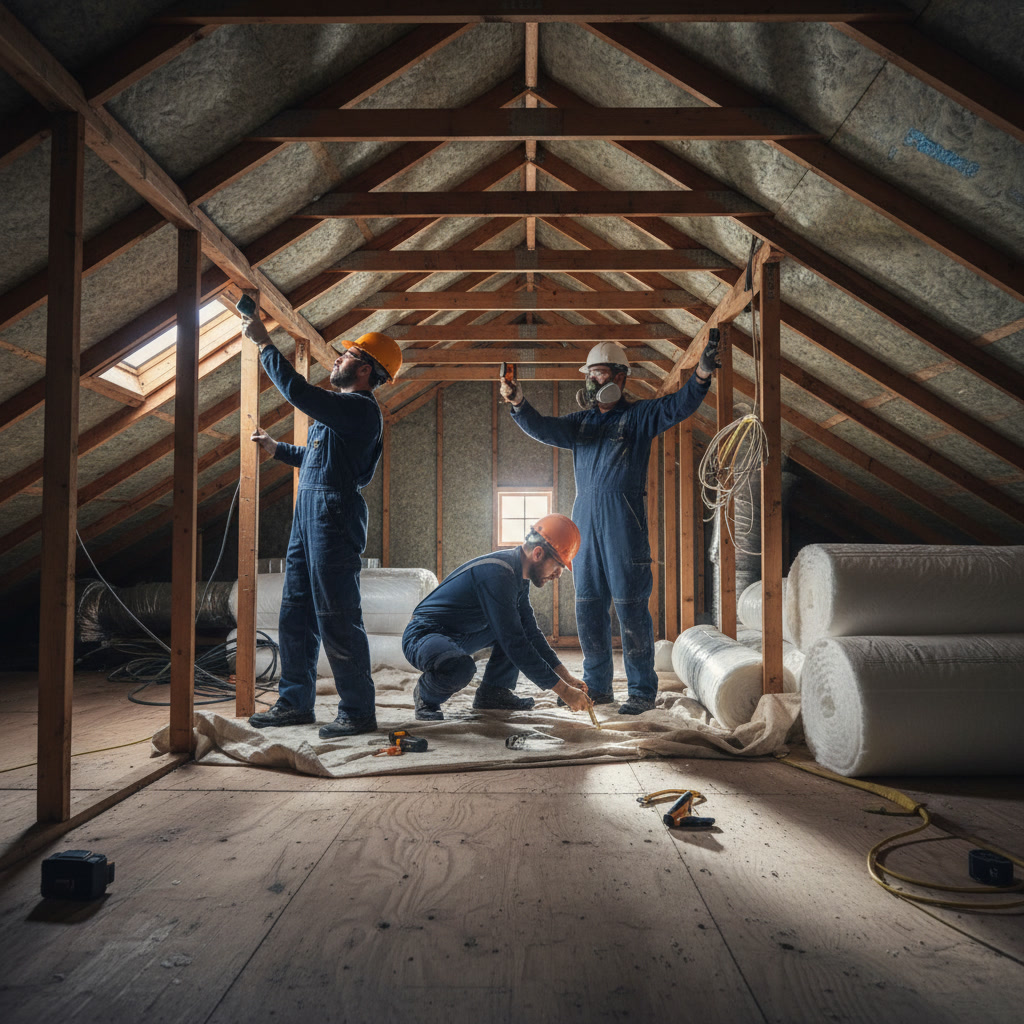
Quality contractors take extensive measures to protect your property throughout the project. Drop cloths cover flooring and furniture in work areas. Plastic sheeting seals off rooms adjacent to the workspace to contain dust. Equipment pathways are clearly marked to prevent damage to landscaping and hardscapes.
For attic projects, contractors often lay temporary walkways across joists to prevent accidental foot-through-ceiling incidents. Air scrubbers with HEPA filters run continuously when working with fiberglass or removing old insulation. These precautions distinguish professional operations from corner-cutting installers.
Air Sealing Before Insulation in Middletown Homes
The most overlooked step in the entire process is also the most critical for performance. Air sealing must happen before insulation installation. Contractors use caulk, spray foam, and weatherstripping to close gaps around rim joists, top plates, penetrations, and duct chases.
In older Middletown homes, air leakage accounts for 25 to 40 percent of heating and cooling costs. Sealing these pathways before adding insulation prevents the stack effect that pulls conditioned air out through the attic. This step alone often delivers more energy savings than the insulation itself.
Step-by-Step Installation Sequence for Different Areas
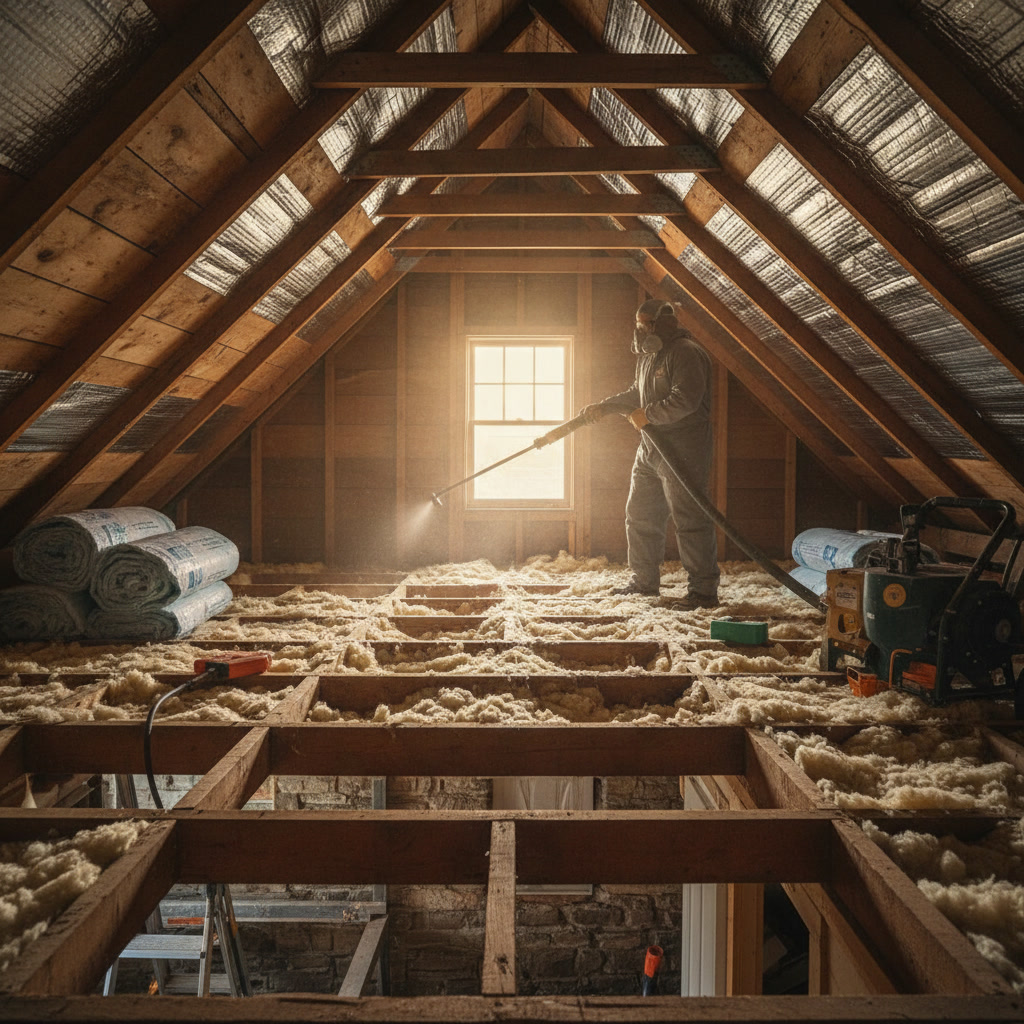
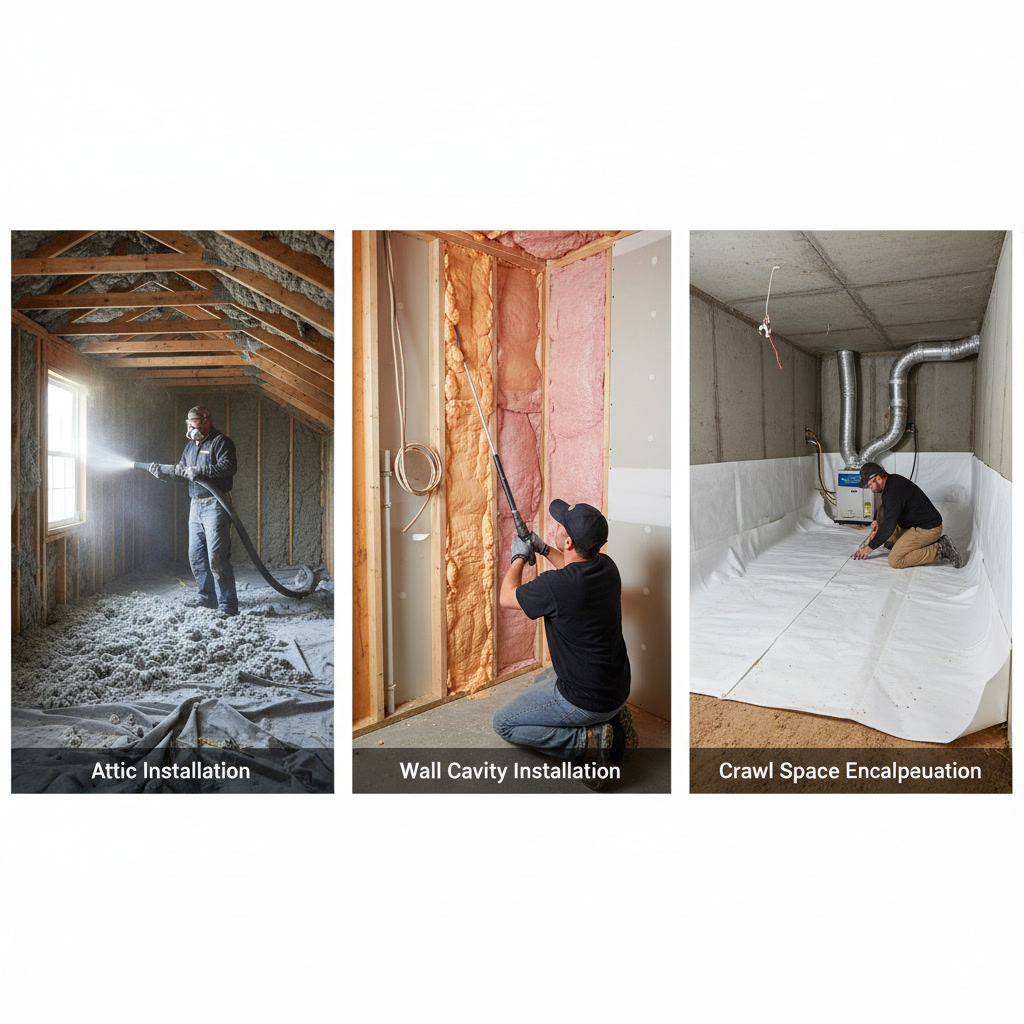
The installation sequence varies based on the areas being insulated, but follows a logical progression. Attic work typically begins first since it offers the greatest return on investment. Contractors start at the perimeter and work toward the attic access, ensuring even coverage at the target R-value.
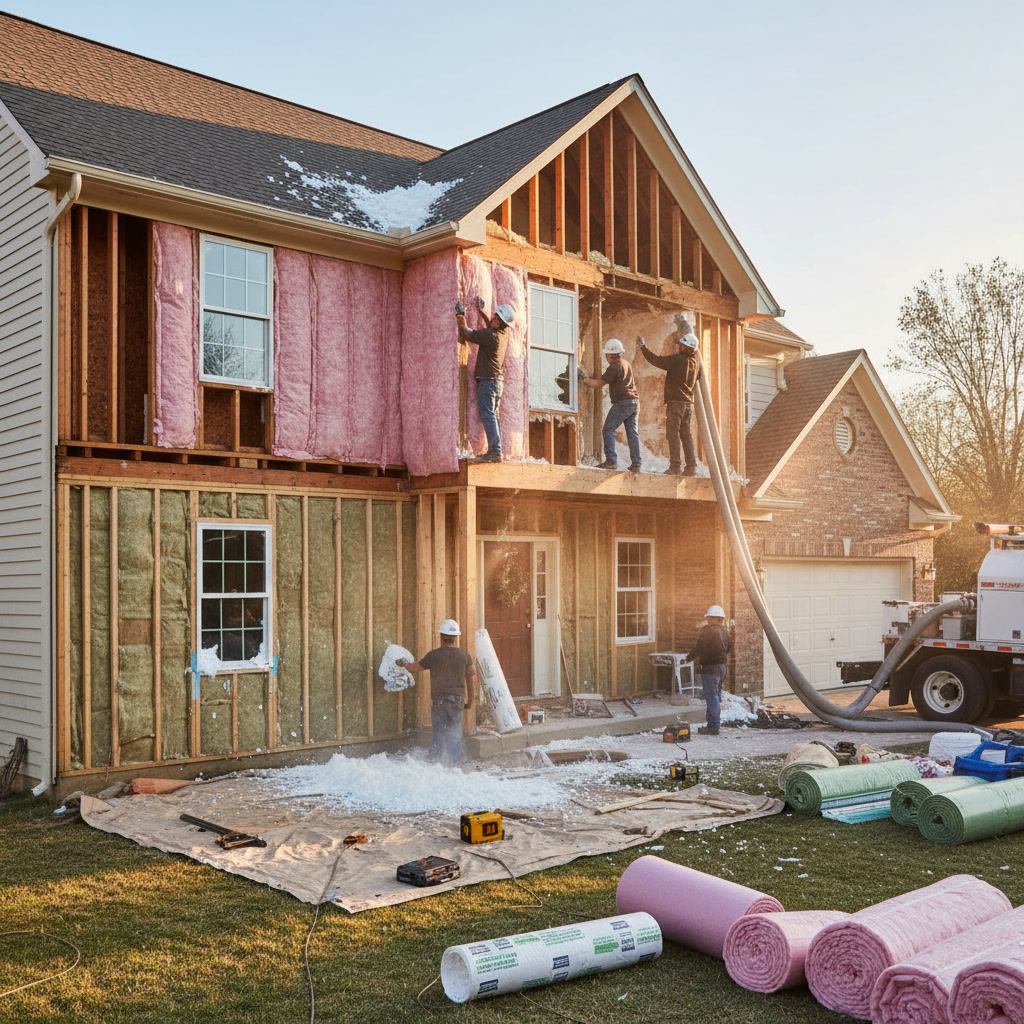
Wall insulation requires a different approach. For existing walls, contractors drill access holes near the top of each stud bay, dense-pack the cavity with cellulose or fiberglass, then plug and finish the holes. Basement rim joists receive spray foam or rigid board cut to fit precisely between floor joists. Crawl spaces may get encapsulated with vapor barriers before insulation goes in.
Each area demands specific techniques. Proper window insulation methods differ from wall cavity approaches, just as door insulation requires attention to threshold details and weatherstripping integration.
Material Handling and Installation Techniques
Professional installers maintain consistent density throughout the installation. Too much compression reduces R-value, while insufficient coverage leaves cold spots. Blown-in insulation requires calibrated equipment that meters material at the manufacturer’s specified rate.
Batt insulation must be cut to fit precisely around obstructions without gaps or compression. Contractors split batts to fit behind pipes and wiring rather than compressing them. Faced batts require careful stapling techniques that maintain the vapor retarder’s continuity without creating gaps at seams.
Spray foam demands even more precision. Contractors monitor temperature and humidity during application since conditions outside the manufacturer’s specified range produce poor adhesion and off-gassing issues. Multiple thin passes deliver better results than single thick applications.
Ventilation Considerations During Installation
Adequate attic ventilation prevents moisture accumulation and extends roof life. Contractors install baffles between each rafter bay before blowing insulation to maintain airflow from soffit vents to ridge vents. These channels prevent insulation from blocking intake vents, a common mistake in amateur installations.
Bathroom and kitchen exhaust fans must vent to the exterior, never into attic spaces. Contractors verify proper ducting during installation and may recommend upgrades if existing ventilation is inadequate. Proper ventilation planning is often discussed during the initial home assessment.
Quality Control Measures and Depth Verification
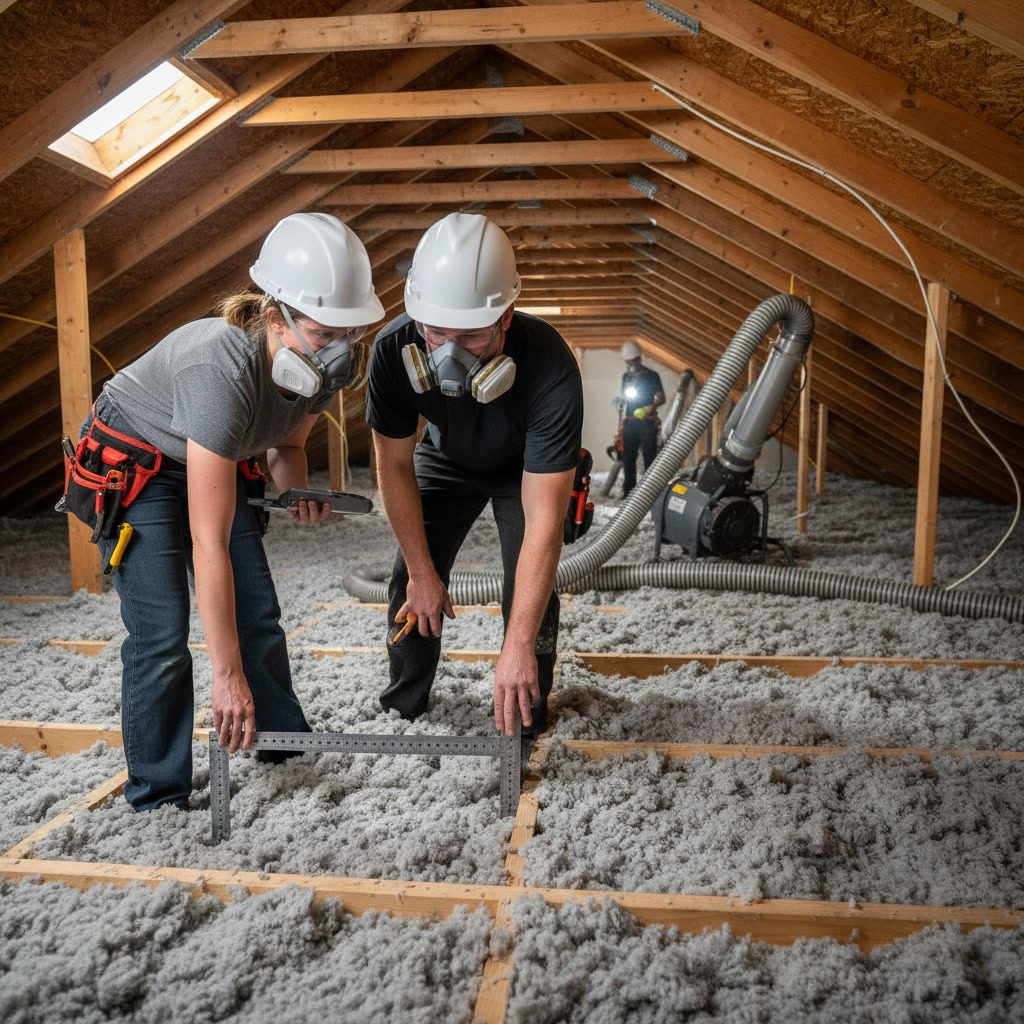
Reputable contractors don’t simply install and leave. They verify coverage depth using marked rulers inserted at multiple points throughout the attic. Digital photos document the completed work for warranty purposes and future reference.
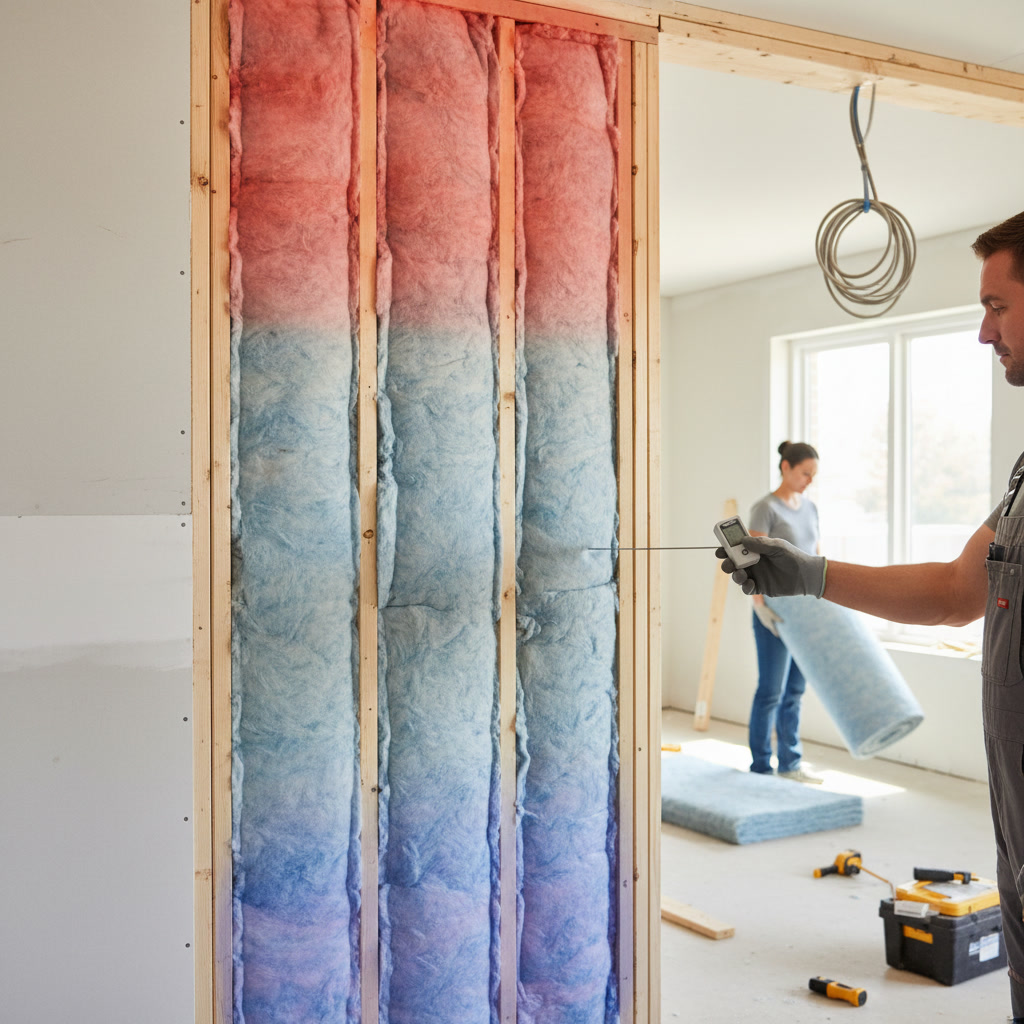
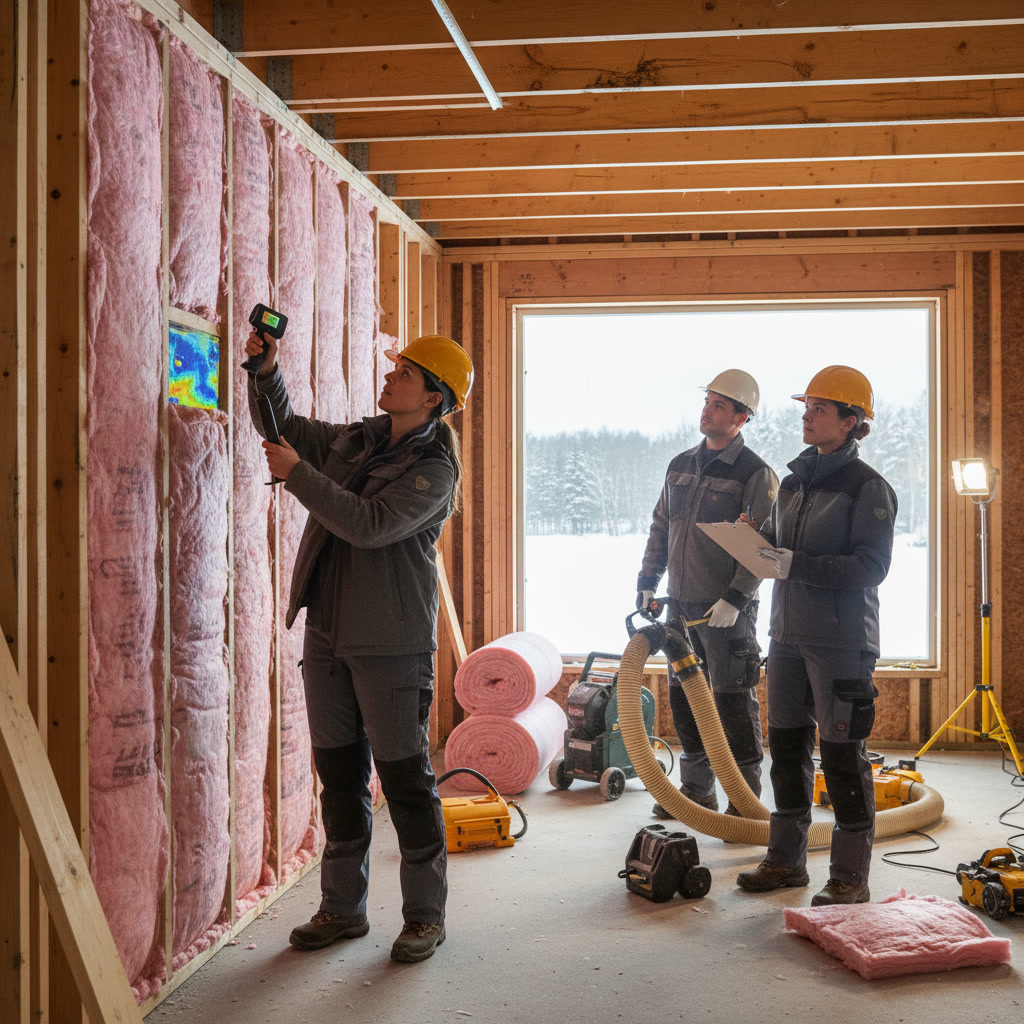
Thermal imaging cameras identify any missed spots or thin areas that need additional material. This technology reveals temperature differences invisible to the naked eye. Blower door testing before and after installation quantifies air leakage reduction and validates the project’s effectiveness.
Cleanup and Final Walkthrough
Professional crews leave your home cleaner than they found it. All debris goes into sealed bags for proper disposal. HEPA vacuums remove dust from work areas. Temporary protective coverings are removed and surfaces wiped down.
The final walkthrough gives you an opportunity to ask questions and understand maintenance requirements. Contractors explain how to spot potential issues and when to schedule follow-up inspections. They provide documentation of materials used, R-values achieved, and warranty terms.
What to Expect in the Days Following Installation
Some insulation materials release odors during the first few days after installation. Spray foam in particular may smell for 24 to 48 hours as it fully cures. Proper ventilation during this period helps dissipate any residual scent.
You might notice immediate temperature differences in previously uncomfortable rooms. Heating and cooling systems often run less frequently. However, the full energy savings become apparent over the first complete heating or cooling season. Tracking utility bills before and after installation reveals the true financial impact.
Homeowners planning insulation projects should review typical project costs in Connecticut to establish realistic budgets. Understanding the investment helps contextualize the long-term savings and comfort improvements.
Ensuring Your Investment Delivers Lasting Value
Professional insulation installation is a systematic process that requires technical knowledge, specialized equipment, and attention to detail at every stage. From the initial assessment through final verification, each step contributes to energy efficiency and home comfort that lasts for decades.
The difference between adequate and exceptional results often comes down to the contractor’s experience and commitment to quality. Proper air sealing, consistent material density, and verified coverage depth separate installations that meet code from those that exceed performance expectations.
Top Notch Home Solution LLC brings 19 years of experience to every insulation project throughout Cromwell and surrounding Connecticut communities. Our licensed and insured team follows proven protocols that deliver measurable energy savings and lasting comfort. For a detailed assessment of your home’s insulation needs and a free estimate, call +18607068116 to speak with our knowledgeable team.