Your home’s insulation working properly means consistent indoor temperatures, lower energy bills, and fewer drafts throughout the year. When insulation fails or degrades, you’ll notice cold spots in winter, hot rooms in summer, and higher utility costs month after month. Professional inspections can identify problems before they become expensive, but homeowners can also spot many warning signs with simple visual checks and temperature tests.
Why Home Insulation Performance Changes Over Time
Insulation materials don’t last forever. Fiberglass batts can settle and compress, reducing their R-value by 30% or more after 15 years. Cellulose can absorb moisture in humid climates or from roof leaks, creating dense, wet clumps that no longer trap air effectively. Spray foam remains stable longer but can still crack or pull away from framing as houses shift and settle.
Rodents and pests create another common problem. Mice and squirrels tunnel through attic insulation to build nests, leaving gaps that allow heat transfer. Even small openings around pipes, wires, and ductwork can dramatically reduce overall performance. A quarter-inch gap around a recessed light fixture can let as much air escape as leaving a window open an inch.
Temperature Variations Between Rooms Signal Problems
Walk through your home on a cold day and notice which rooms feel different. If your bedroom stays five degrees colder than your living room despite identical thermostat settings, the insulation in that area has likely failed or was never installed correctly. Second-floor rooms that feel significantly warmer in summer also point to attic insulation issues.
Touch your interior walls on exterior-facing sides. They should feel close to room temperature. Cold walls in winter or hot walls in summer mean heat is transferring through the wall cavity faster than proper insulation should allow. Pay special attention to corners and areas under windows, where builders sometimes skimp on coverage.

Energy Bills That Rise Without Explanation
Compare your heating and cooling costs year over year. A 15% to 20% increase without changes in usage patterns, rates, or home size suggests your insulation has degraded. Your HVAC system runs longer cycles to maintain temperature when insulation can’t hold conditioned air inside.
Many Connecticut homeowners notice their systems run continuously during temperature extremes, cycling on and off every few minutes instead of maintaining steady periods of rest. This constant operation wears out equipment faster and signals that treated air is escaping faster than the system can replace it. Understanding the full scope of insulation costs in Connecticut helps you evaluate whether an upgrade will pay for itself through energy savings.
Visual Signs of Insulation Failure in Middletown Homes
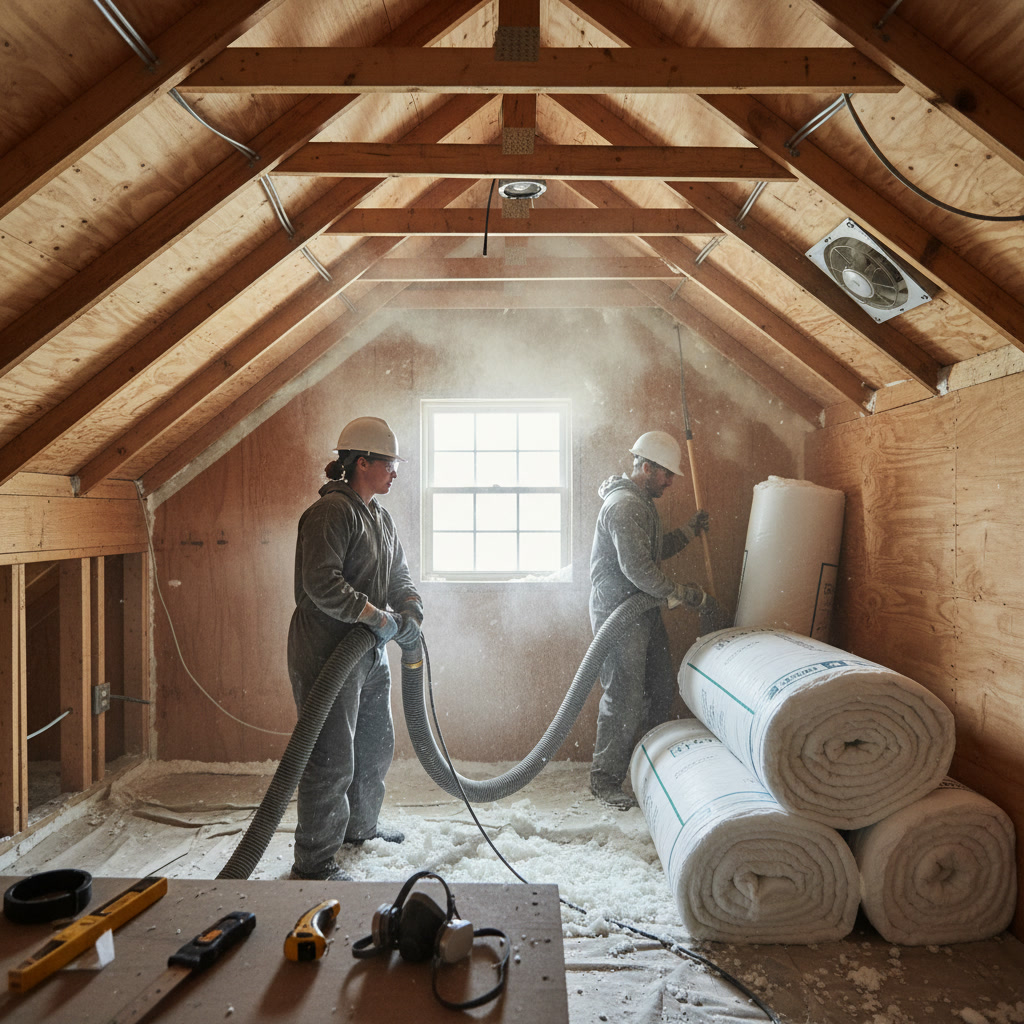
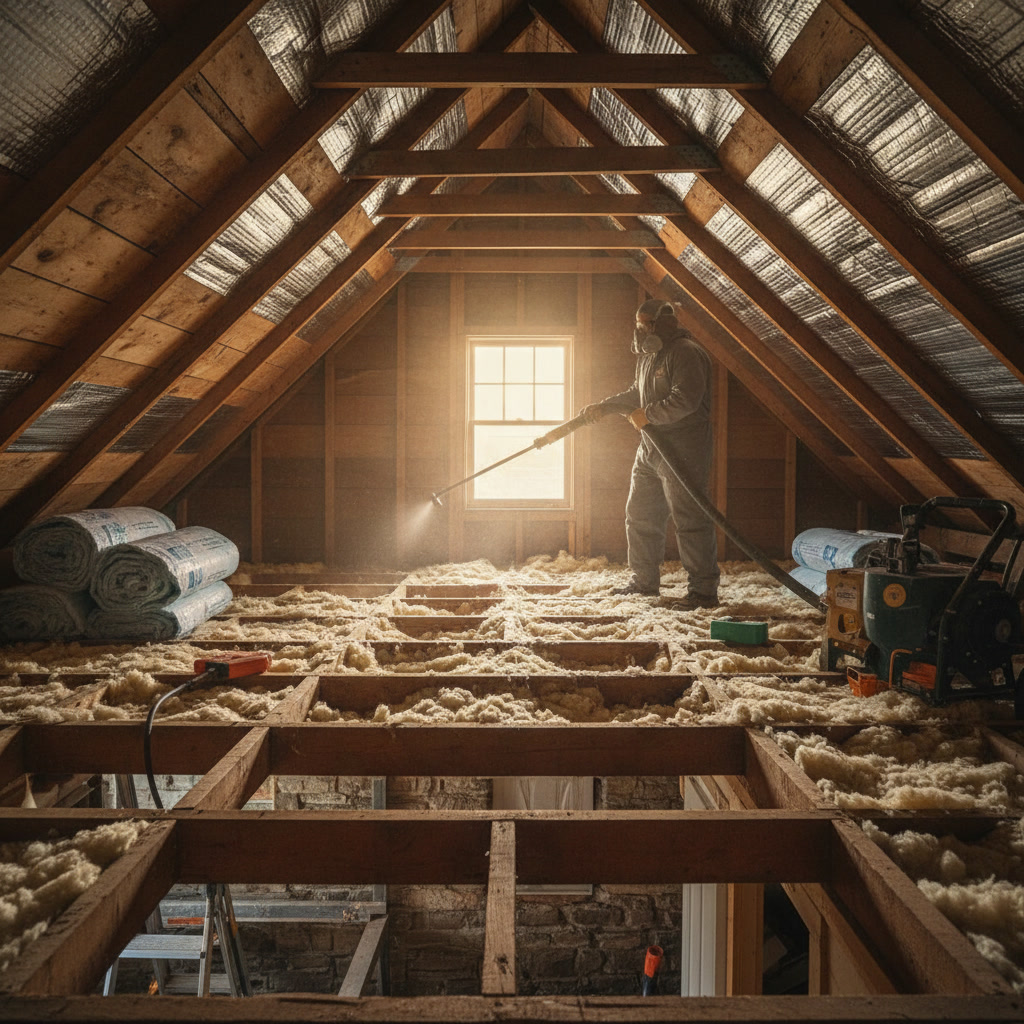
Check your attic on a sunny day. Proper insulation should cover the entire floor evenly with no gaps or compressed areas. Look for dark spots or stains that indicate moisture problems. Water damage turns fiberglass brown or yellow and causes cellulose to form hard clumps. Both conditions mean the material has lost its insulating ability.
Examine the insulation around chimneys, vents, and anywhere builders had to work around obstacles. These transition areas often have inadequate coverage. You should not see any light coming through the insulation layer or gaps where you can see the ceiling drywall below.
Ice dams on your roof during winter provide clear evidence of heat escaping through your attic. When warm air reaches the roof deck, it melts snow that then refreezes at the colder eaves, creating thick ice ridges. This cycle damages shingles and gutters while proving your attic floor needs better insulation or air sealing.
Step-by-Step Insulation Performance Test
First, measure your current attic insulation depth. Most Connecticut homes need at least 14 inches of fiberglass or 11 inches of cellulose to meet modern efficiency standards. Anything less means you’re losing heat and money. Use a ruler or tape measure in several locations since depth often varies.
Second, perform a simple air leak test. Close all windows and doors, then turn on bathroom and kitchen exhaust fans. Light an incense stick and hold it near potential leak points: baseboards, electrical outlets, window frames, and door edges. If the smoke blows sideways instead of rising straight up, you have air infiltration that insulation alone can’t stop.
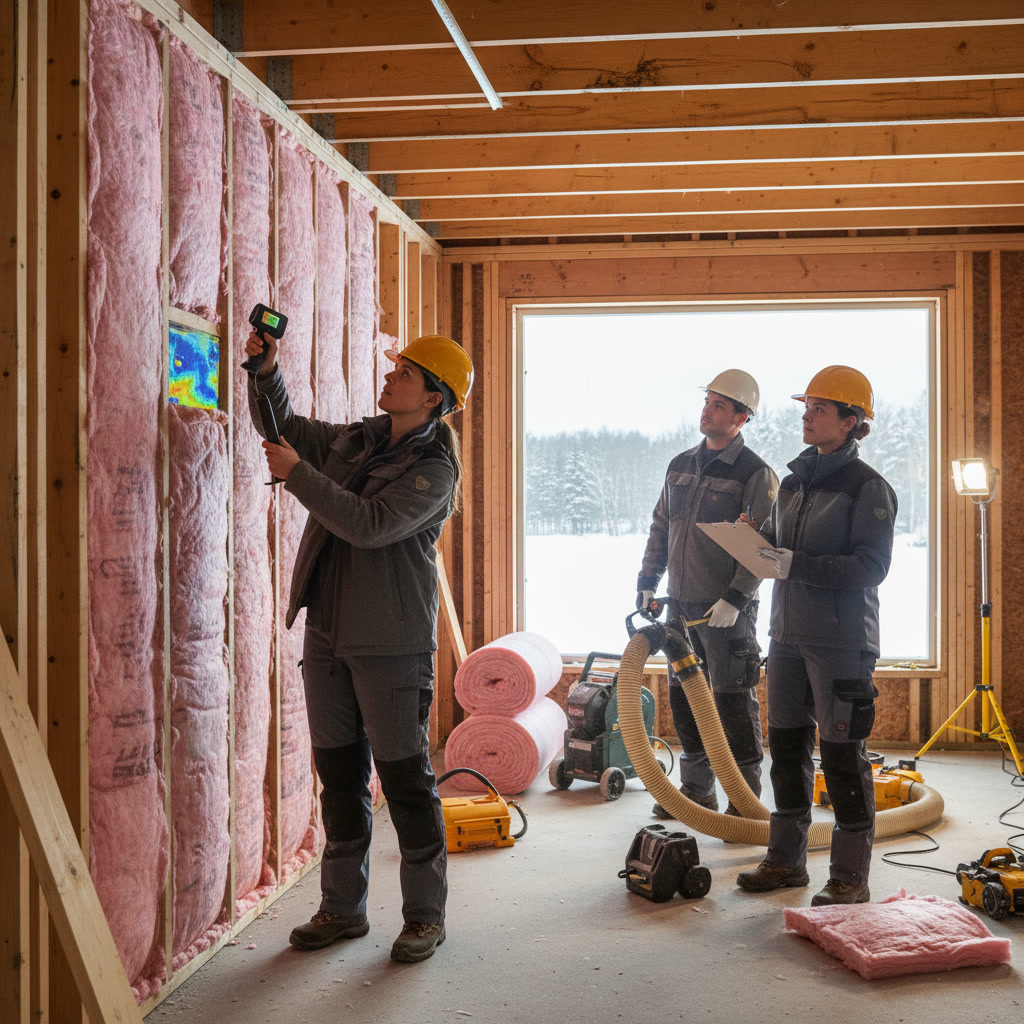
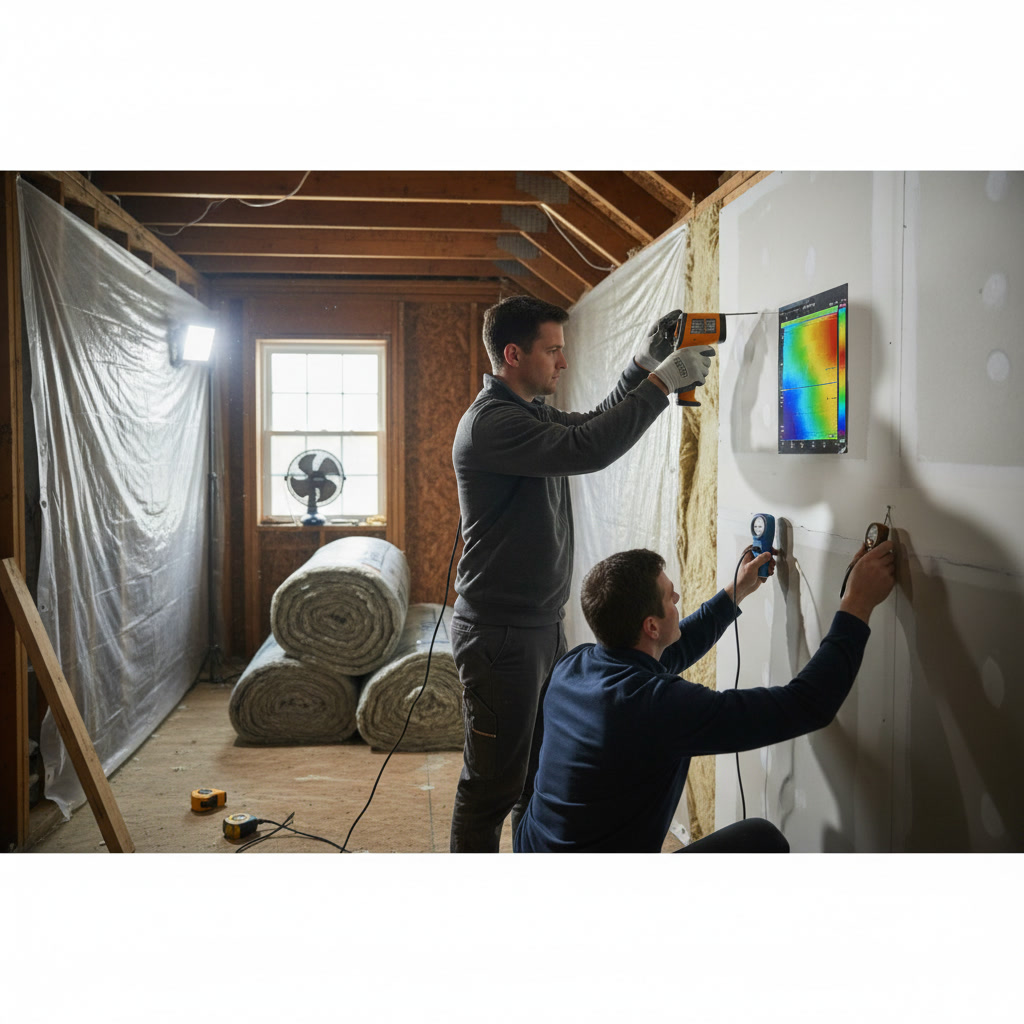
Third, check your walls by removing an electrical outlet cover on an exterior wall (turn off the breaker first). Shine a flashlight into the gap around the outlet box. You should see insulation filling the wall cavity. Empty or partially filled walls explain cold spots and high energy bills. Professional insulation contractors can use infrared cameras to map these hidden gaps throughout your entire home.
How Windows and Doors Affect Overall Efficiency
Even perfect wall and attic insulation won’t keep your home comfortable if windows and doors leak air. Single-pane windows transfer heat 10 times faster than an insulated wall. Gaps around door frames let in drafts that make rooms feel cold despite adequate heating.
Test your windows by holding a lit candle near the edges on a windy day. Flickering flames reveal air leaks around the sash or frame. Professional window insulation services can add weatherstripping, apply film barriers, or recommend replacement when single-pane units waste too much energy. Similarly, door insulation upgrades seal the gaps that let conditioned air escape.
Moisture Problems That Compromise Insulation
Condensation on windows during winter indicates high indoor humidity, which can saturate insulation materials and reduce their effectiveness. Wet insulation loses up to 80% of its R-value and provides ideal conditions for mold growth. Check for musty odors in your attic or basement, brown water stains on insulation, or visible mold on wood framing.
Proper ventilation solves many moisture issues. Attics need intake vents at the soffits and exhaust vents at the ridge or gables to move air through the space. Without this airflow, warm, moist air from your living space condenses when it hits cold surfaces, soaking into insulation. Bathroom and kitchen fans vented to the outside rather than into the attic also prevent moisture buildup.
Comparing Professional Inspection to DIY Assessment
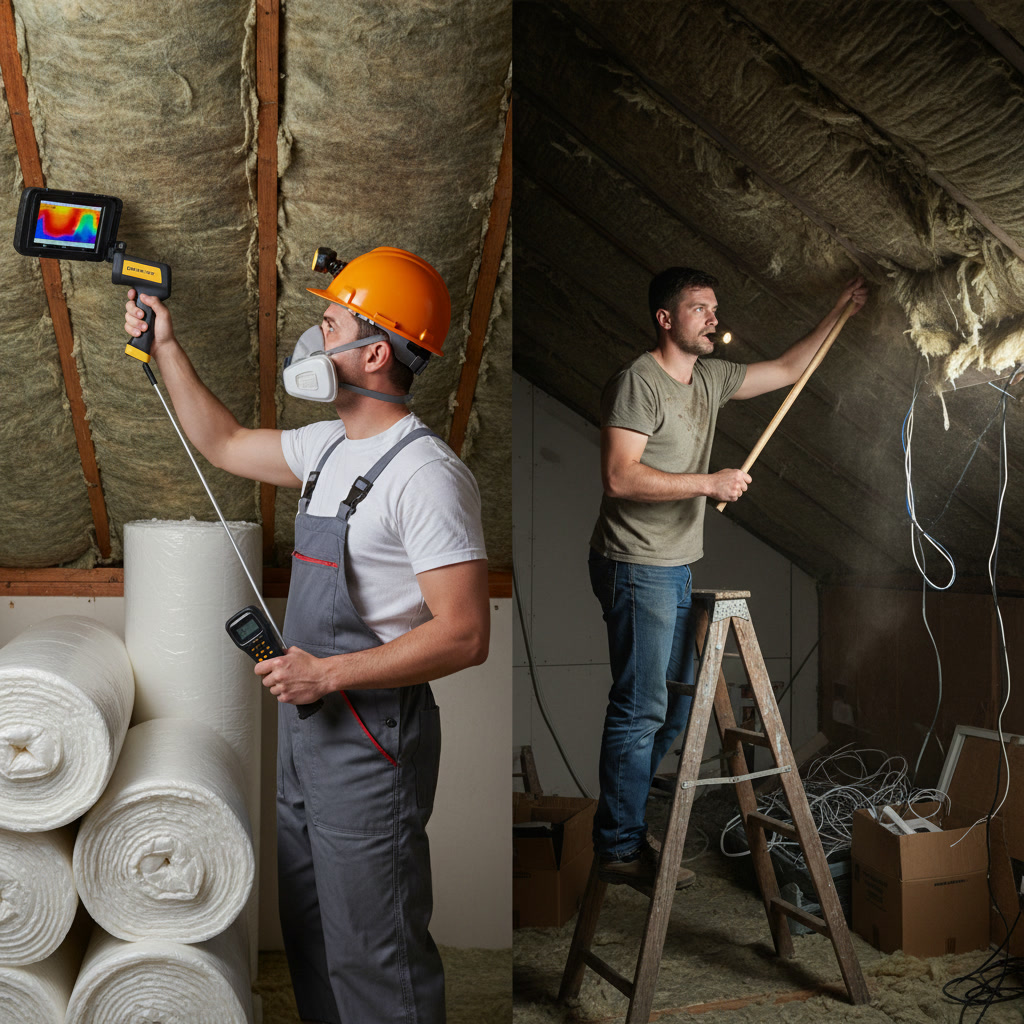
Homeowners can identify obvious problems like missing insulation, visible gaps, or dramatic temperature differences between rooms. These visual checks cost nothing and often reveal issues worth addressing immediately. However, professional inspections using thermal imaging cameras detect hidden problems invisible to the naked eye.
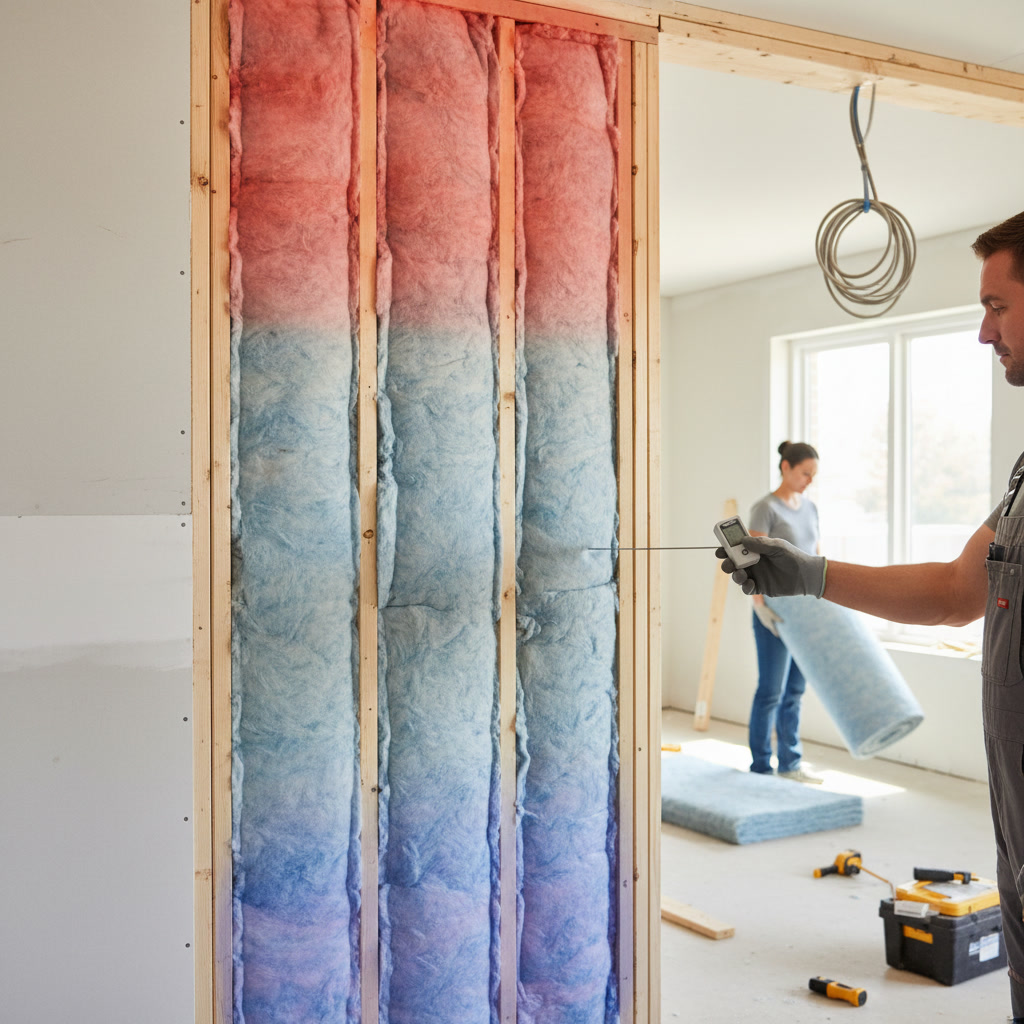
Infrared technology shows exactly where heat escapes through walls, ceilings, and floors. Blue areas on the thermal image indicate cold spots where insulation has failed or was never installed. Yellow and red zones show warm areas where heated air leaks out. This detailed mapping lets contractors target repairs precisely instead of guessing where problems exist.
Professionals also use blower door tests that depressurize your home to measure total air leakage. They calculate exactly how many cubic feet of air escape per minute and identify the worst leak locations. This data helps prioritize improvements for maximum return on investment. The difference in diagnostic capability between DIY checks and professional equipment is similar to using a household thermometer versus a medical-grade diagnostic scanner.
When Replacement Makes More Sense Than Repair
Small gaps and minor settling respond well to targeted repairs. Adding a few bags of blown-in insulation to low spots in your attic costs little and improves comfort noticeably. Sealing air leaks around pipes and wires with spray foam takes an afternoon and cuts heating costs by 10% to 15%.
Complete replacement makes sense when insulation has extensive water damage, pest contamination, or has simply aged past useful life. Fiberglass installed before 2000 often contains formaldehyde binders that degrade over time. Vermiculite insulation from the 1960s and 1970s may contain asbestos and requires professional removal. If more than 30% of your insulation shows problems, full replacement usually costs less than extensive repairs and delivers better long-term performance.
Homes built before 1980 frequently have no wall insulation at all. These properties benefit most from comprehensive upgrades that include walls, attics, crawl spaces, and rim joists. Modern building science proves that treating your home as a complete system rather than fixing individual components delivers better comfort and efficiency.
Regional Factors That Affect Connecticut Insulation
Connecticut’s humid continental climate creates specific challenges. Summer humidity can condense inside cold air-conditioned walls if vapor barriers are installed incorrectly. Winter cold requires higher R-values than southern states need. The freeze-thaw cycles common in this region cause houses to shift slightly each year, opening gaps in insulation coverage.
Coastal areas near Long Island Sound face higher humidity levels that demand better ventilation systems. Inland communities experience colder winters that stress heating systems and reveal insulation weaknesses faster. Understanding these regional patterns helps homeowners recognize normal performance versus genuine problems that need correction.
Protecting Your Investment With Regular Checks
Schedule an attic inspection every three to five years. Look for new water stains, pest activity, or areas where insulation has settled. Check weatherstripping around doors and windows annually, replacing any cracked or compressed seals. Monitor your energy bills for unexplained increases that signal declining performance.
After severe storms, inspect your attic for roof leaks that could saturate insulation before you notice interior damage. Small leaks often go undetected for months, allowing mold to grow and insulation to fail. Catching these problems early prevents expensive repairs and protects your family’s health.
Keep records of your insulation type, R-value, and installation date. When you sell your home, buyers appreciate documented upgrades and energy efficiency improvements. Many homeowners recover 80% to 100% of insulation costs through higher sale prices and faster sales.
Trust Experience for Your Home Comfort
Effective insulation creates consistent temperatures, lowers energy costs, and protects your home from moisture damage. Regular inspections catch problems before they become expensive, while professional assessments reveal hidden issues that simple visual checks miss. Addressing insulation failures promptly prevents further damage and maintains the comfortable, efficient home you deserve.
Top Notch Home Solution LLC brings 19 years of insulation expertise to homeowners throughout central Connecticut. Our family-owned team uses thermal imaging and proven techniques to identify exactly where your home loses energy and comfort. Whether you need a simple inspection, targeted repairs, or complete insulation replacement, we deliver the reliable service and honest advice you expect from a local contractor. Call us at +18607068116 to schedule your free estimate and start enjoying lower energy bills and better comfort in every room.