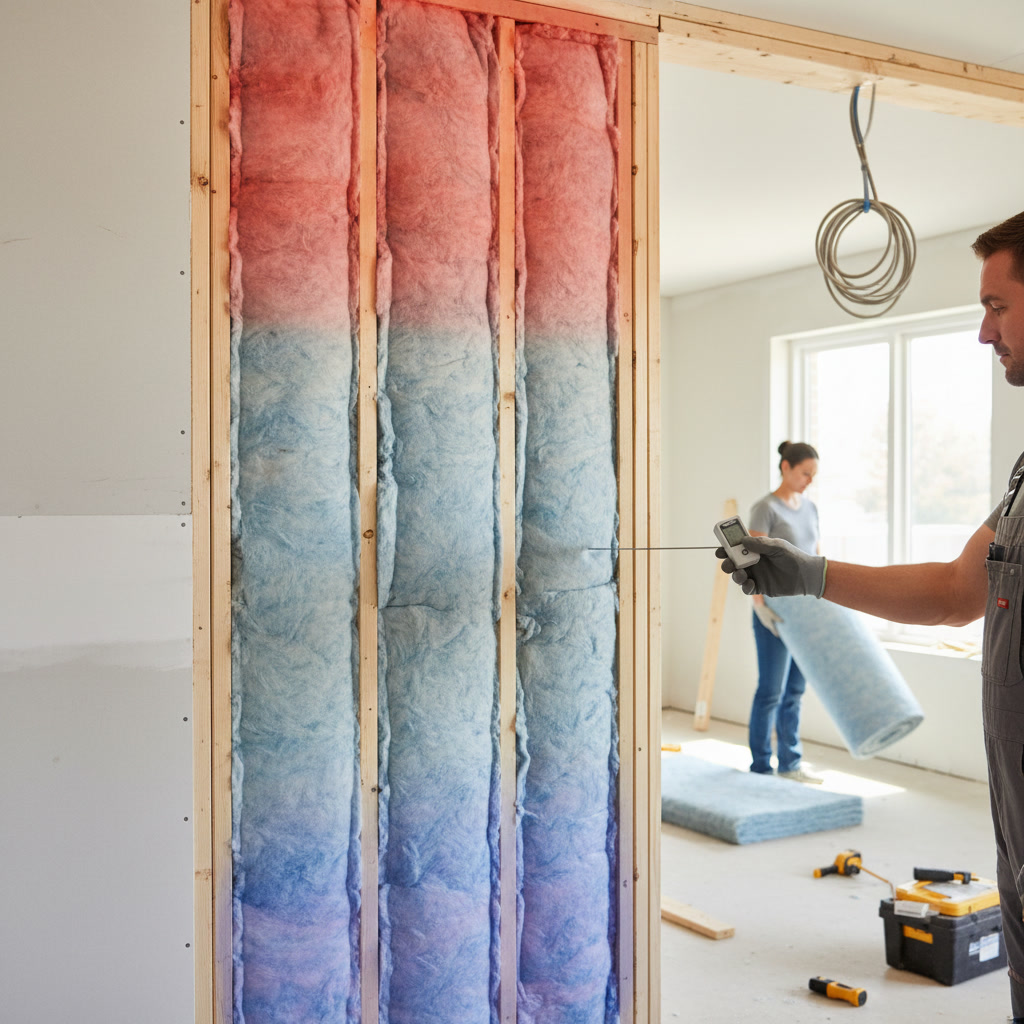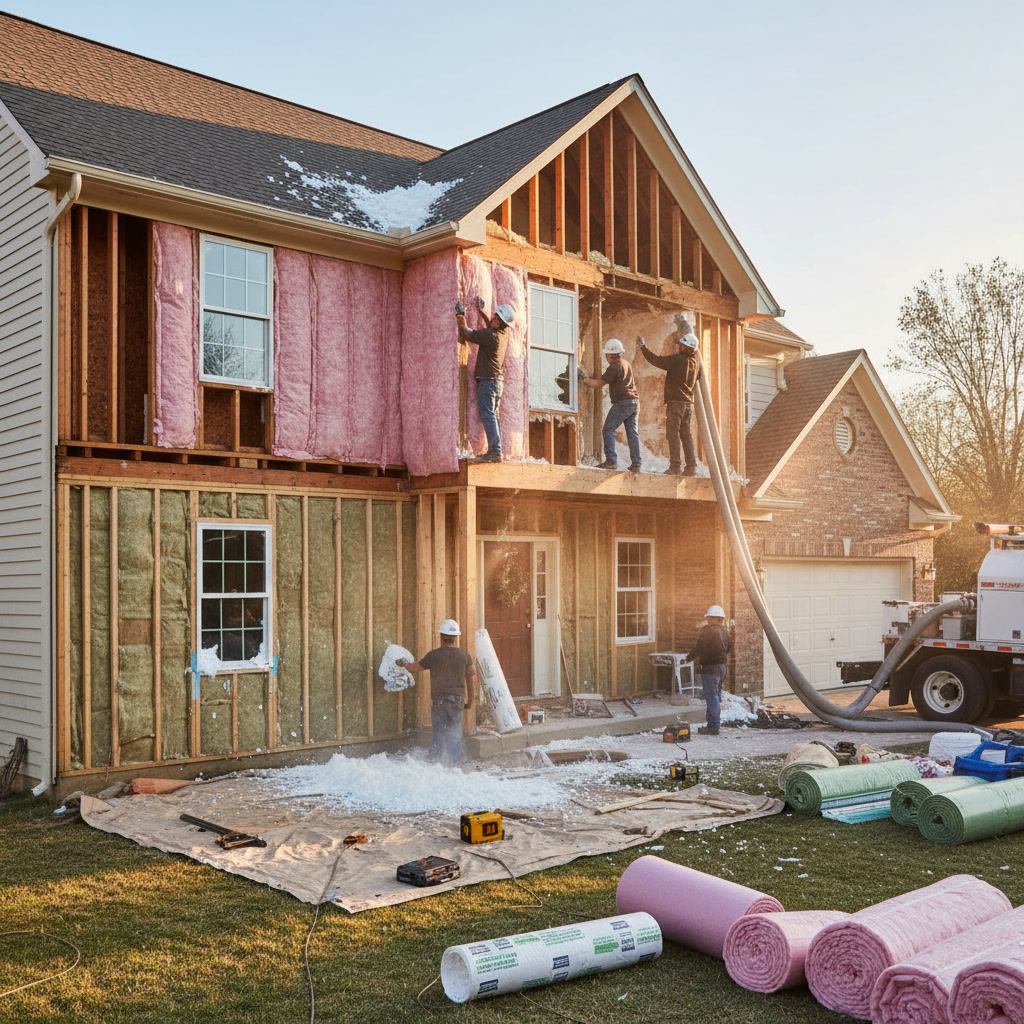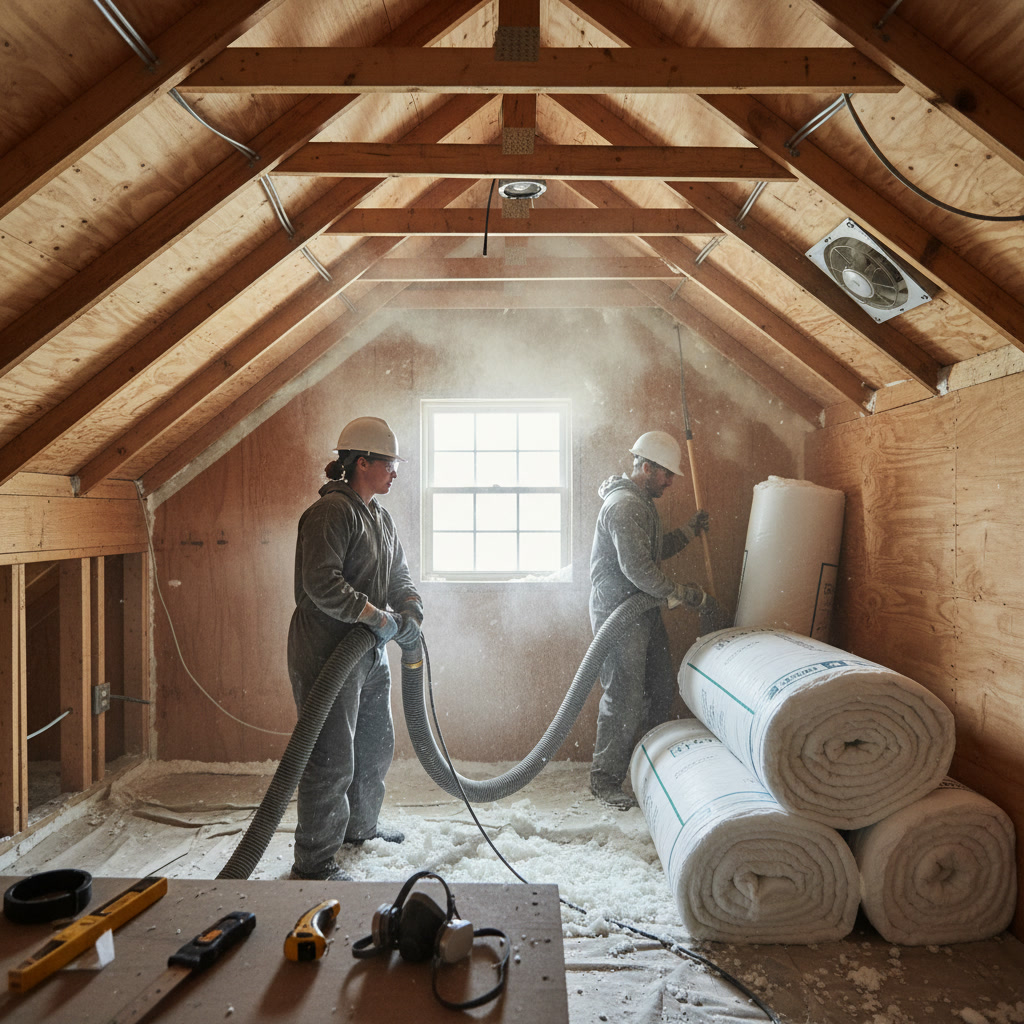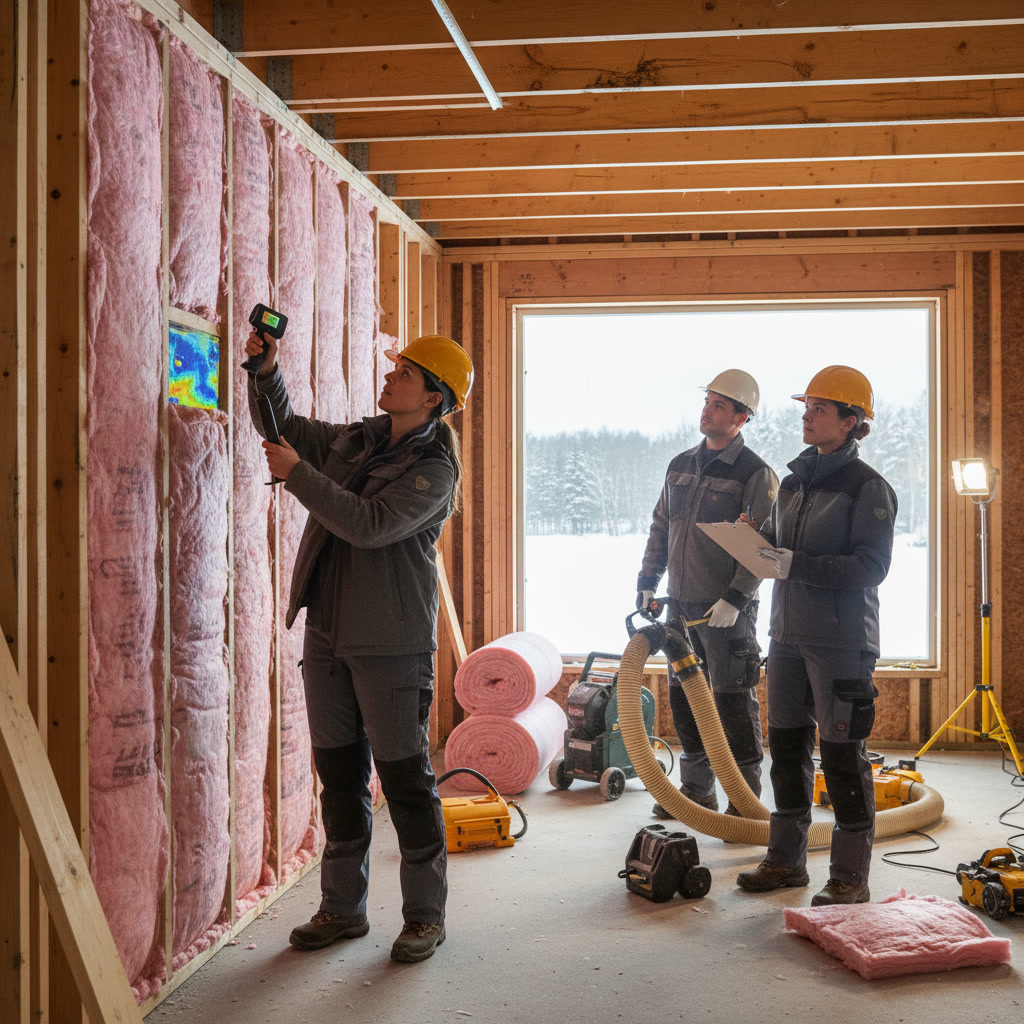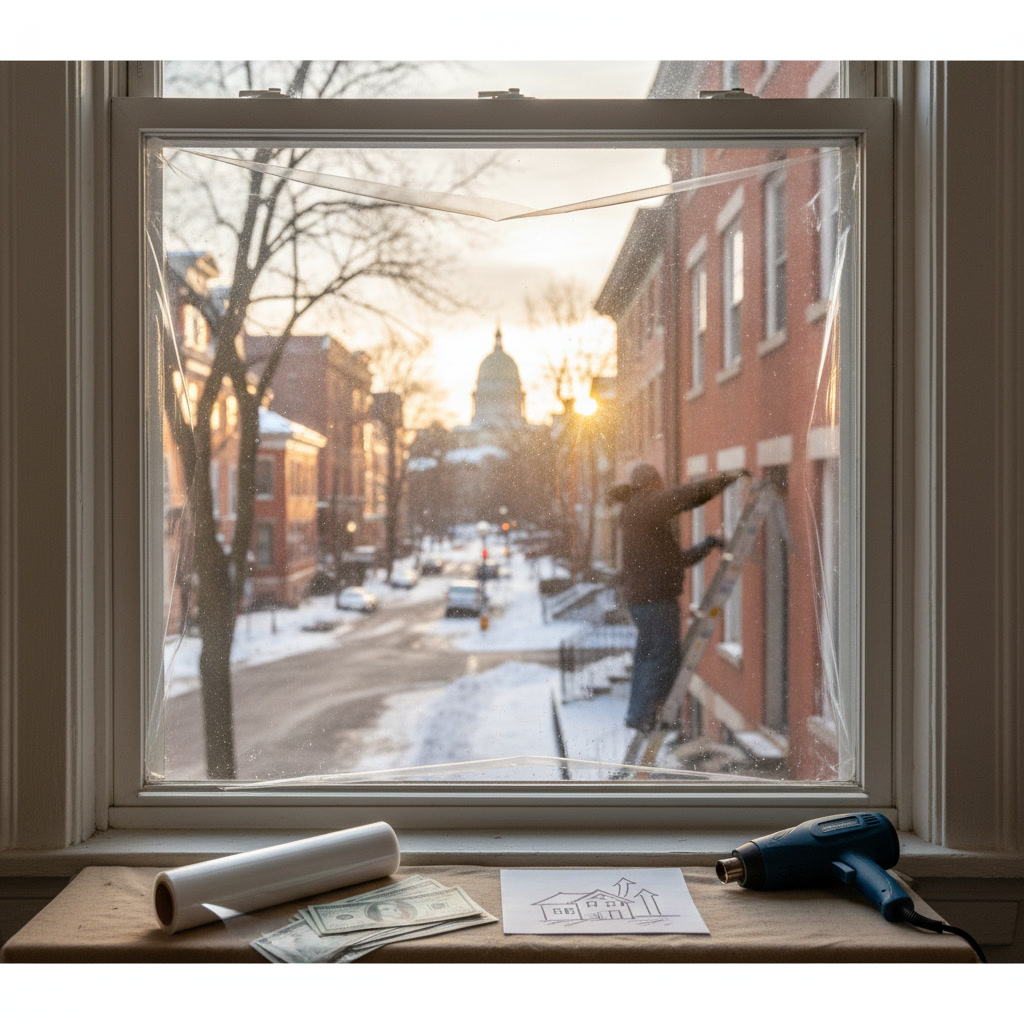
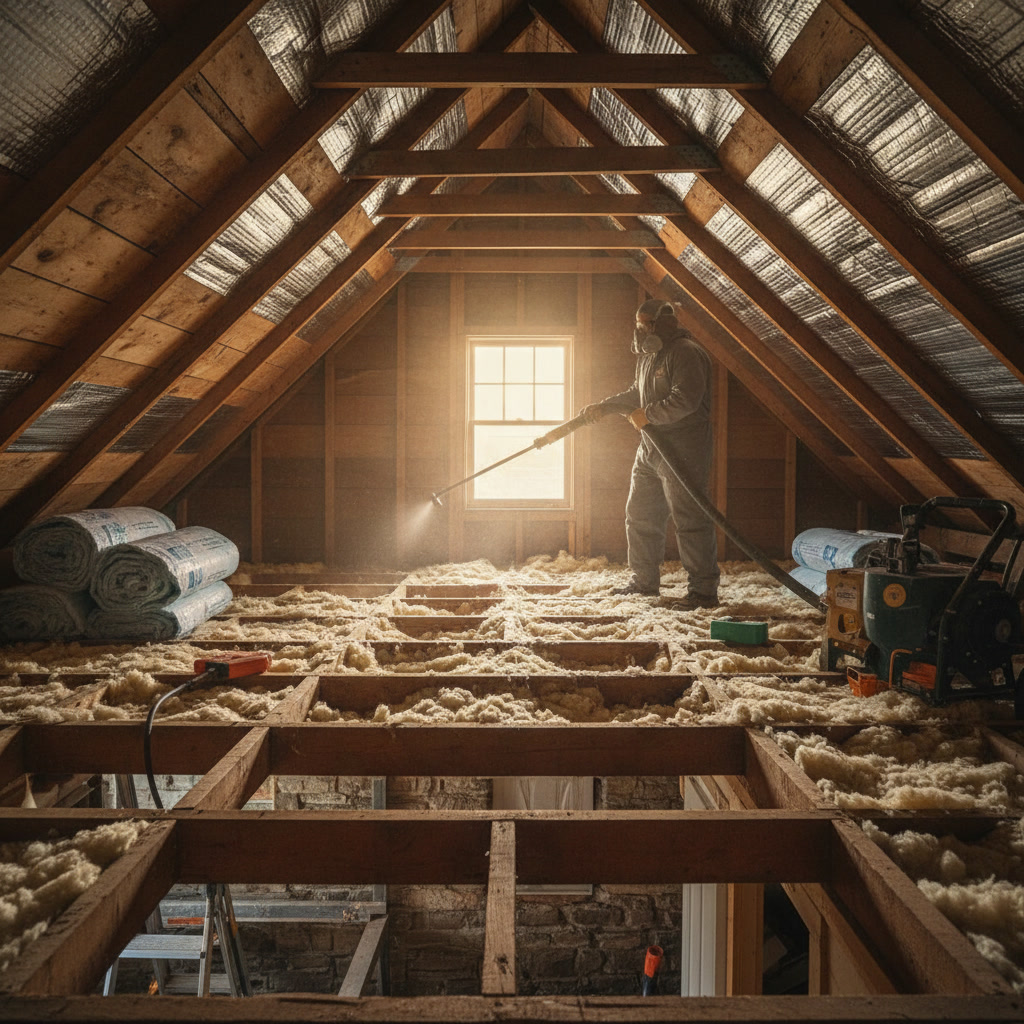
Your attic is quietly costing you money every single month. In Newington CT, where winters drop below freezing and summers push into the 90s, an under-insulated attic can account for 25 to 30 percent of your home’s total heating and cooling loss. If you want to insulate attic Newington spaces properly, you need to understand the right materials, target R-values for Connecticut’s climate zone, and whether your current insulation is still doing its job.
This guide walks through the entire process, from inspecting what you have now to choosing between DIY and professional installation. You’ll learn exactly what works in central Connecticut homes and how much you can expect to save once the work is done.
Why Attic Insulation Matters in Newington CT
Connecticut sits in climate zone 5, which means cold winters and warm, humid summers. Your attic sees temperature extremes that the rest of your house never experiences. On a July afternoon, attic temperatures can hit 140 degrees or higher. In January, that same space might match the outdoor temperature of 15 degrees.
Without proper insulation, your HVAC system works overtime trying to compensate for heat loss in winter and heat gain in summer. The Department of Energy estimates that homeowners can save an average of 15 percent on heating and cooling costs by properly insulating attics, crawl spaces, and basement rim joists.
For a typical Newington household spending $2,000 annually on energy, that’s $300 back in your pocket every year. Over a decade, that’s $3,000, and insulation typically pays for itself in three to seven years depending on your starting point.
Understanding R-Values for Connecticut Attics
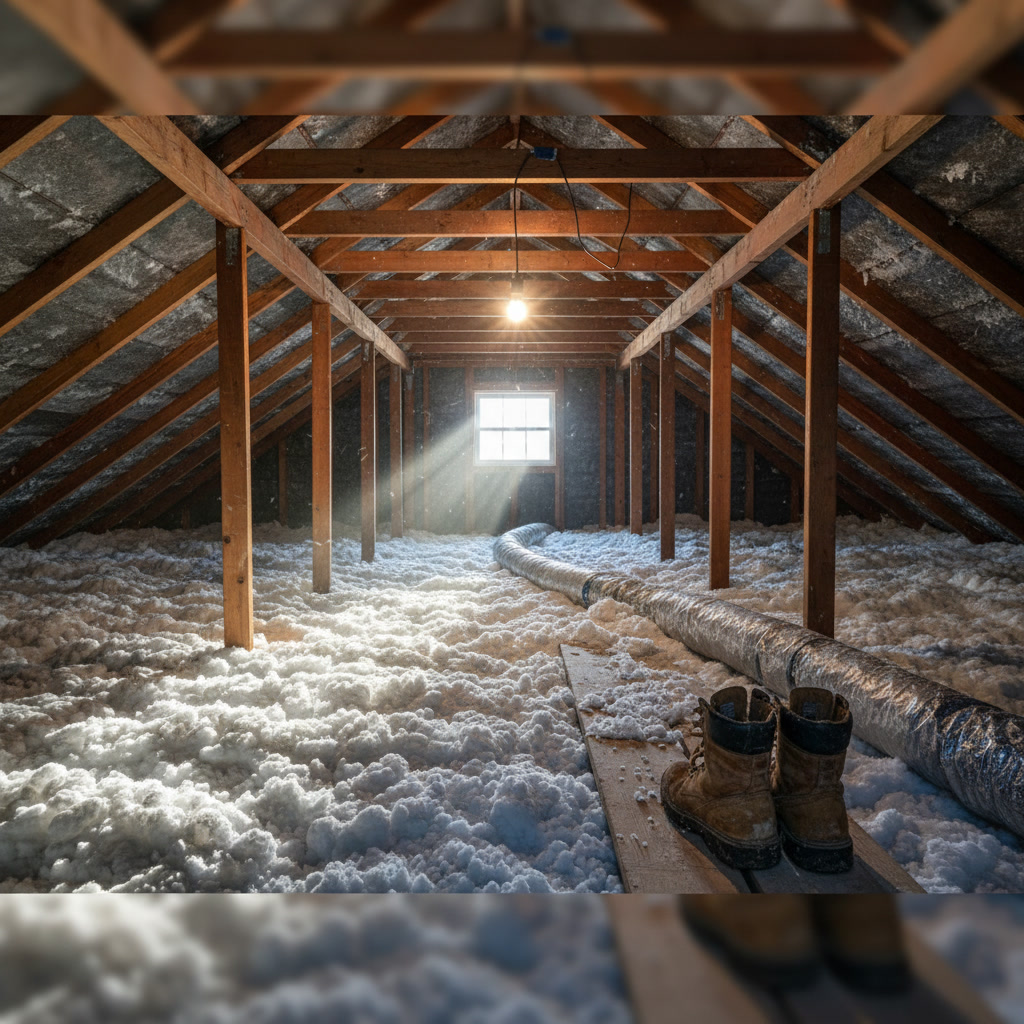
R-value measures thermal resistance. The higher the number, the better the material resists heat flow. Connecticut building code recommends R-49 to R-60 for attics in our region, though older homes often fall short of that target.
Most homes built before 1980 have R-19 or less. If you can see your ceiling joists through the insulation, you probably need more. The goal is to insulate attic Newington homes to at least R-49, which translates to roughly 13 to 16 inches of fiberglass batts or 11 to 14 inches of blown cellulose.
Common Insulation Materials and Their R-Values
Fiberglass batts deliver about R-3.2 to R-3.8 per inch. They’re affordable and widely available, but gaps and compression reduce effectiveness. Proper installation matters more than the stated R-value on the package.
Blown-in cellulose offers R-3.5 to R-3.8 per inch and fills gaps better than batts. It settles over time, so professionals typically add 10 to 15 percent extra depth to account for compression. Cellulose is also treated with fire retardants and resists pests better than fiberglass.
Spray foam provides the highest R-value per inch at R-6 to R-7, and it creates an air seal that other materials can’t match. The trade-off is cost, which runs two to three times higher than blown cellulose. For most Newington attics, spray foam makes sense only for sealing rim joists and problem areas, not entire floors.
Inspecting Your Current Attic Insulation
Before adding new insulation, assess what you already have. Grab a flashlight, tape measure, and notepad. If your attic has pull-down stairs or a hatch, climb up during daylight hours.
Measure the depth of existing insulation in multiple spots. Fiberglass loses R-value if it gets wet or compressed, so check for water stains on the underside of the roof deck and around chimneys or vents. Dark stains mean moisture problems that need fixing before you add more insulation.
Look for gaps around recessed lights, plumbing stacks, and electrical boxes. These are common air leak points that undermine even thick insulation. You’ll want to seal these with caulk or expanding foam before adding more material on top.
If your insulation is more than 20 years old, consider whether it’s time for removal and replacement rather than topping off. Our post on when to replace old insulation covers warning signs like pest damage, water damage, and compressed fiberglass that’s lost its loft.
Preparing Your Attic Before Installation
Proper preparation prevents callbacks and ensures your new insulation performs as intended. Start by air sealing every penetration you can find. The stack effect pulls warm air up through your ceiling during winter, and those air leaks cost more than missing insulation.
Seal gaps around chimneys with high-temperature caulk or sheet metal baffles. Code requires at least two inches of clearance between combustible insulation and chimney surfaces, so never pack insulation tight against a chimney.
Install baffles between rafters if your attic has soffit vents. These plastic or foam channels keep insulation from blocking airflow from the soffits to the ridge vent. Proper ventilation prevents ice dams in winter and reduces cooling costs in summer.
Pro Tip: Before you insulate, mark the location of ceiling joists with spray paint or chalk lines. Once you add 12 inches of blown insulation, you won’t be able to see where to step safely. Walking between joists prevents you from crushing drywall ceilings below.
Check your attic for knob-and-tube wiring if your home was built before 1950. This old wiring system cannot be covered with insulation because it relies on air circulation to dissipate heat. If you find it, budget for rewiring those circuits before proceeding with insulation work.
DIY vs Professional Installation
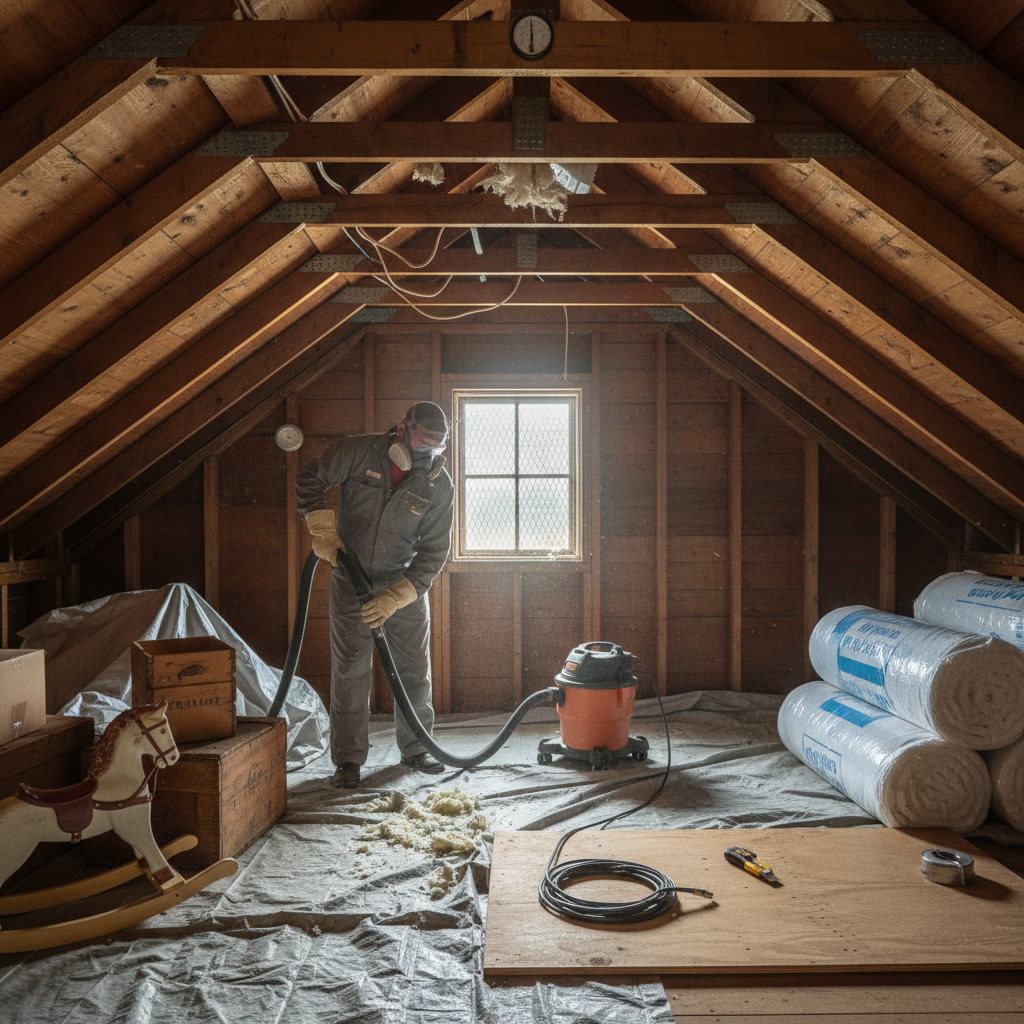
Homeowners with basic skills can install batt insulation between exposed joists. Big-box stores rent blowing machines for cellulose, and two people can typically insulate a 1,200-square-foot attic in a day.
The challenge isn’t the physical work. It’s achieving consistent coverage, proper air sealing, maintaining ventilation pathways, and avoiding common mistakes that reduce performance. Compressed batts, gaps around obstacles, and blocked soffit vents all cut into your energy savings.
Professional insulation contractors bring experience that prevents these problems. They know how to work around recessed lights, create dams around attic hatches, and maintain code-required clearances. Most importantly, they carry liability insurance if something goes wrong.
The cost difference between DIY and professional installation often narrows when you factor in equipment rental, your time, and the risk of needing a second trip for more material. For specific pricing in our area, check our guide on insulation costs in Connecticut.
Step-by-Step Process to Insulate Attic Newington Homes
Whether you hire a pro or tackle it yourself, the process follows the same sequence. Skipping steps or changing the order leads to problems down the road.
Step One: Air Seal All Penetrations
Start at the attic floor. Seal every hole where wires, pipes, or ducts pass through the ceiling. Use canned spray foam for gaps smaller than three inches and sheet metal or drywall for larger openings. This step often takes longer than the insulation itself, but it delivers half your energy savings.
Step Two: Install Ventilation Baffles
If your home has soffit vents, staple baffles between each rafter pair where they meet the exterior walls. These keep insulation from spilling into the soffits and blocking airflow. Plan for one square foot of ventilation for every 150 square feet of attic space, split evenly between intake (soffit) and exhaust (ridge or gable vents).
Step Three: Add Insulation to Target Depth
For blown cellulose, aim for 13 to 15 inches to hit R-49. Start at the perimeter and work toward the attic access point so you don’t trap yourself. Keep insulation at least three inches away from recessed light fixtures unless they’re rated IC (insulation contact).
For batts, lay the first layer between joists, then add a second layer perpendicular to the first. This cross-layering covers the joists themselves, which otherwise act as thermal bridges that conduct heat.
Step Four: Insulate and Weather-Strip the Attic Access
The attic hatch or pull-down stair is a major leak point. Build a dam around the opening with scrap lumber, then fill the space with insulation. Attach rigid foam board to the back of the hatch door, and add weather stripping around the edges where it meets the frame.
Common Mistakes That Waste Money
Adding insulation without air sealing first is the number one mistake. You might increase your R-value on paper, but air leaks will still carry warm air straight through the insulation. Thermal imaging often shows that air leaks account for more heat loss than insufficient R-value.
Blocking soffit vents creates moisture problems. Attics need airflow to remove humidity and prevent mold. In winter, trapped moisture condenses on cold roof sheathing, leading to rot and ice dams at the eaves.
Covering recessed lights that aren’t IC-rated creates a fire hazard. If you have old can lights, either replace them with IC-rated fixtures or build boxes around them to maintain the required three-inch clearance.
Compressing insulation cuts its R-value. When you stuff batts into tight spaces or step on blown insulation, you squeeze out the air pockets that provide thermal resistance. Always add extra depth to account for settling, and avoid walking on insulated areas.
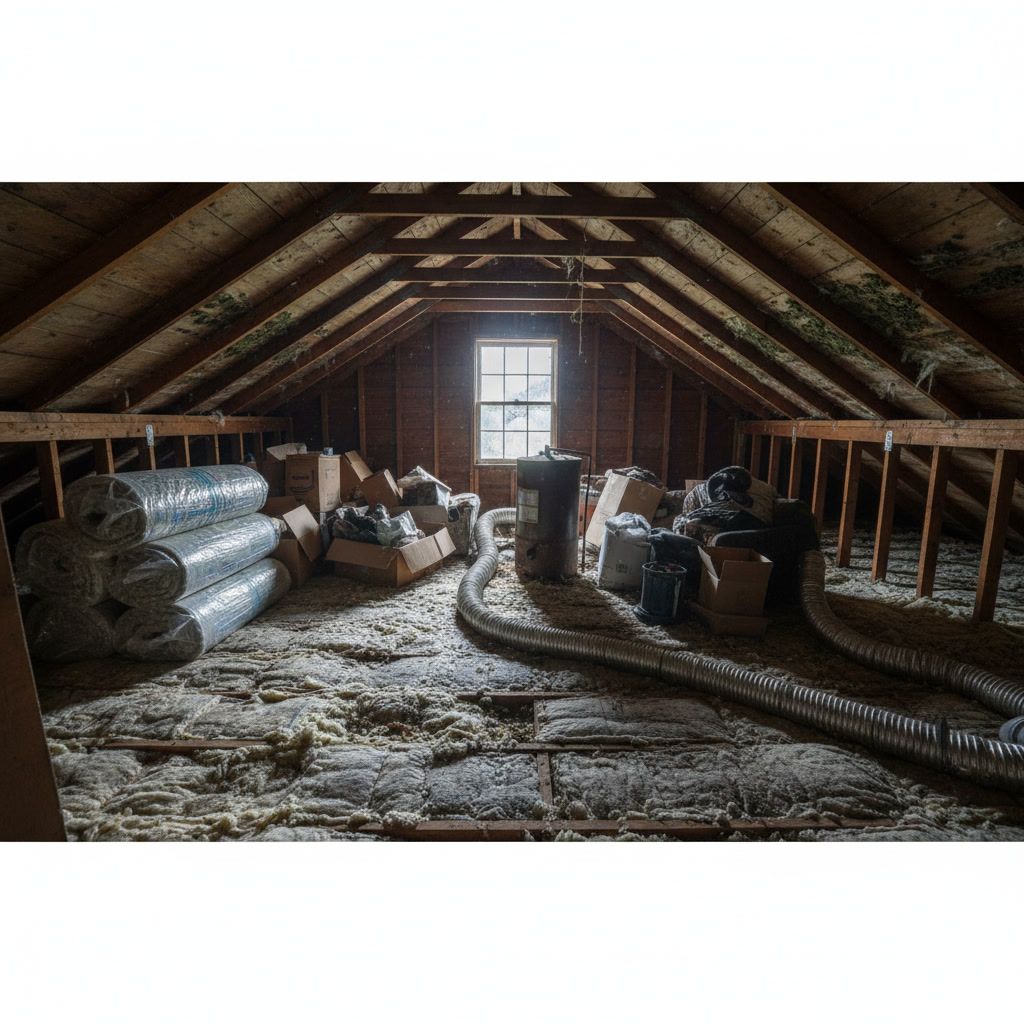
How Much You’ll Save on Energy Bills
Actual savings depend on your starting R-value, your heating and cooling system efficiency, and how much you use those systems. A home jumping from R-11 to R-49 will see larger savings than one going from R-30 to R-49.
Most Newington homeowners report payback periods between four and seven years. Gas-heated homes typically see $200 to $400 annual savings. Electric heat pumps or resistance heat can push savings above $500 per year, since electricity costs more per BTU than natural gas.
Beyond energy savings, proper attic insulation makes your home more comfortable. Rooms stay more consistent in temperature, and your HVAC system cycles less frequently, which extends equipment life. Many homeowners notice the difference within the first week of a cold snap or heat wave.
Connecticut offers occasional rebates and financing through utility programs. Check with Eversource or United Illuminating for current incentives before you start your project. Some programs require using certified contractors and specific materials to qualify.
When to Call a Professional
If your attic has moisture stains, mold, or pest damage, call a professional before adding insulation. These problems signal underlying issues that new insulation will only hide, not fix. Water leaks need repair, mold needs remediation, and pest entry points need sealing.
Homes with cathedral ceilings, complex rooflines, or finished attic spaces require specialized techniques. Spray foam often makes sense in these situations, and professional equipment delivers better results than DIY kits.
For most Newington homes with straightforward attic access and no major complications, professional installation takes four to six hours for an average-sized home. Contractors handle air sealing, ventilation, and insulation in one visit, and you get a warranty on the work.
Top Notch Home Solution LLC has insulated hundreds of central Connecticut attics since 2017. Our process includes a complete attic inspection, air sealing, proper ventilation checks, and insulation to your target R-value. We serve Rocky Hill, Berlin, and surrounding towns with the same attention to detail.
Frequently Asked Questions
How long does attic insulation last in Connecticut?
Cellulose and fiberglass insulation typically last 20 to 30 years if installed correctly and kept dry. Spray foam can last 80 years or more. The main threats are moisture damage, pest intrusion, and physical disturbance from storage or foot traffic. Annual attic inspections help catch problems before they reduce performance.
Can I insulate my attic in winter?
Yes, you can insulate during winter, and many contractors prefer it because attics are cooler. Blown cellulose installs the same regardless of temperature. Spray foam requires temperatures above 40 to 50 degrees depending on the product, so installers may need to heat the space first. Winter installation means you’ll see energy savings immediately when you need them most.
Should I remove old insulation before adding new?
Not always. If existing insulation is dry, clean, and undamaged, you can usually add new material on top. Remove old insulation if it’s wet, moldy, contaminated by pests, or severely compressed. Removal adds cost but ensures you’re building on a solid foundation. A professional inspection determines whether removal makes sense for your situation.
Will attic insulation help with ice dams?
Proper attic insulation combined with air sealing and ventilation prevents most ice dams. Ice dams form when heat escapes through your ceiling, warms the roof deck, and melts snow. The meltwater runs down to the cold eaves and refreezes. Insulation keeps heat inside your home, so the roof stays cold and snow melts evenly. Ventilation removes any residual heat that does reach the attic.
Do I need to upgrade my attic ventilation when adding insulation?
Often, yes. Many older homes have inadequate ventilation that gets worse when you add thick insulation. The general rule is one square foot of net free ventilation area for every 150 square feet of attic floor space. If you’re going from six inches to 15 inches of insulation, you may need to add soffit vents or a ridge vent to maintain proper airflow. A contractor can calculate your ventilation needs during the estimate.
Get Started on Your Attic Insulation Project
Insulating your attic delivers measurable energy savings, better comfort, and protection for your home’s structure. When you insulate attic Newington spaces to the recommended R-49 to R-60 range, you’ll notice lower utility bills within the first month and enjoy a more consistent indoor temperature year-round.
Top Notch Home Solution LLC provides complete attic insulation services throughout Newington and central Connecticut. Our family-owned company has 19 years of experience, and we handle everything from inspection and air sealing to insulation installation and ventilation upgrades. We’re fully licensed and insured, and every project includes a standard one-year warranty with extended coverage available.
Call +18607068116 to schedule your free attic inspection and estimate. Our team will assess your current insulation, identify air leaks, recommend the best materials for your home, and provide a detailed quote with no obligation. Let’s make your home more efficient and comfortable this season.