Your garage door is one of the largest moving parts of your home, and in Newington’s cold winters and humid summers, an uninsulated door can waste energy and make your attached spaces uncomfortable. If you’ve noticed temperature swings in rooms above or next to your garage, higher heating bills, or condensation on your garage door panels, it’s time to insulate garage door surfaces properly. This guide walks you through the materials, methods, and costs involved so you can decide whether to tackle it yourself or hire a professional.
Garage door insulation isn’t just about comfort. It reduces noise from street traffic, protects your vehicle and stored items from temperature extremes, and can lower your energy bills by 10 to 20 percent when your garage shares walls with living spaces.
Why Insulating Your Garage Door Matters in Newington
Newington experiences winter lows in the teens and summer highs near 90 degrees. When your garage door lacks insulation, those temperatures transfer directly into your garage and can affect adjacent rooms, basements, or upstairs bedrooms.
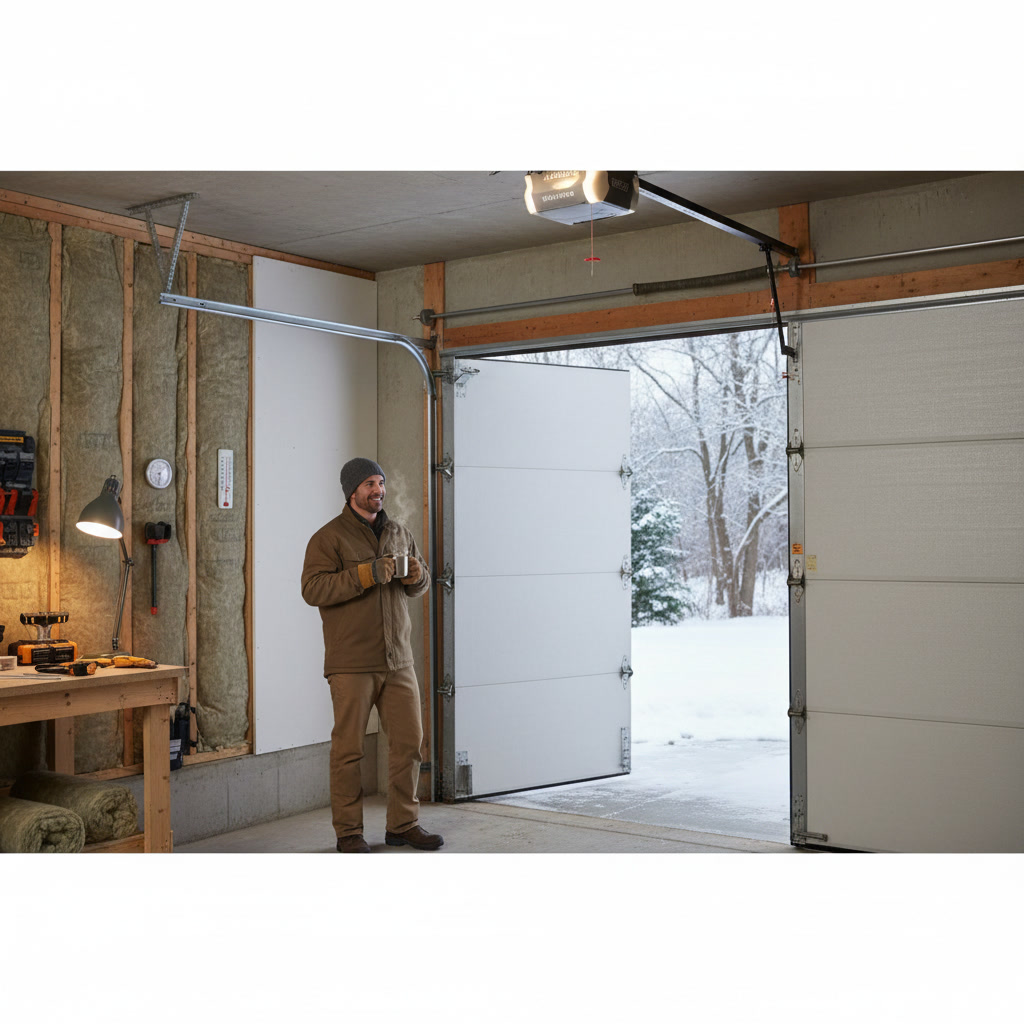
An insulated garage door maintains a more stable interior temperature year-round. If you use your garage as a workshop, home gym, or storage area for temperature-sensitive items like paint or electronics, insulation becomes even more critical.
Beyond temperature control, insulation dampens sound. Metal garage doors amplify noise from passing cars, rain, and wind. A layer of insulation absorbs those vibrations and creates a quieter environment inside and outside your home.
Types of Garage Door Insulation Materials
Three main materials dominate the garage door insulation market: polystyrene foam boards, polyurethane foam, and reflective foil-faced panels. Each has distinct advantages depending on your door type, budget, and performance goals.
Polystyrene Foam Panels
Polystyrene foam boards come in rigid sheets, typically one to two inches thick, with R-values between 3.8 and 4.4 per inch. They’re lightweight, affordable, and easy to cut with a utility knife.
These panels fit into the recessed sections of most garage doors. You secure them with adhesive or retaining clips. Polystyrene doesn’t expand after installation, so precise cutting is important to avoid gaps.
Polyurethane Foam Insulation
Polyurethane foam offers the highest R-value per inch, ranging from 6.0 to 6.5. Manufacturers inject this foam between two layers of steel or aluminum when building pre-insulated doors, but retrofit kits also exist for existing doors.
Polyurethane expands slightly during application and bonds to the door, adding structural rigidity. It costs more than polystyrene but provides superior thermal performance and noise reduction.
Reflective Foil Insulation
Reflective insulation uses layers of foil and bubble wrap or foam. It reflects radiant heat rather than resisting conductive heat transfer. R-values are lower, typically between 3.0 and 4.0, but it’s thin, lightweight, and effective in hot climates where reflecting summer heat is the priority.
This type works well in detached garages or spaces where weight restrictions limit other options. Installation involves stapling or taping the material to door panels.
Step-by-Step Process to Insulate Garage Door Panels
Before starting, verify your garage door opener can handle the added weight. Most modern openers accommodate an extra 20 to 30 pounds, but older units may need adjustment or replacement. If you’re unsure about your system’s capacity, consult a professional door insulation contractor.
Gather Your Materials and Tools
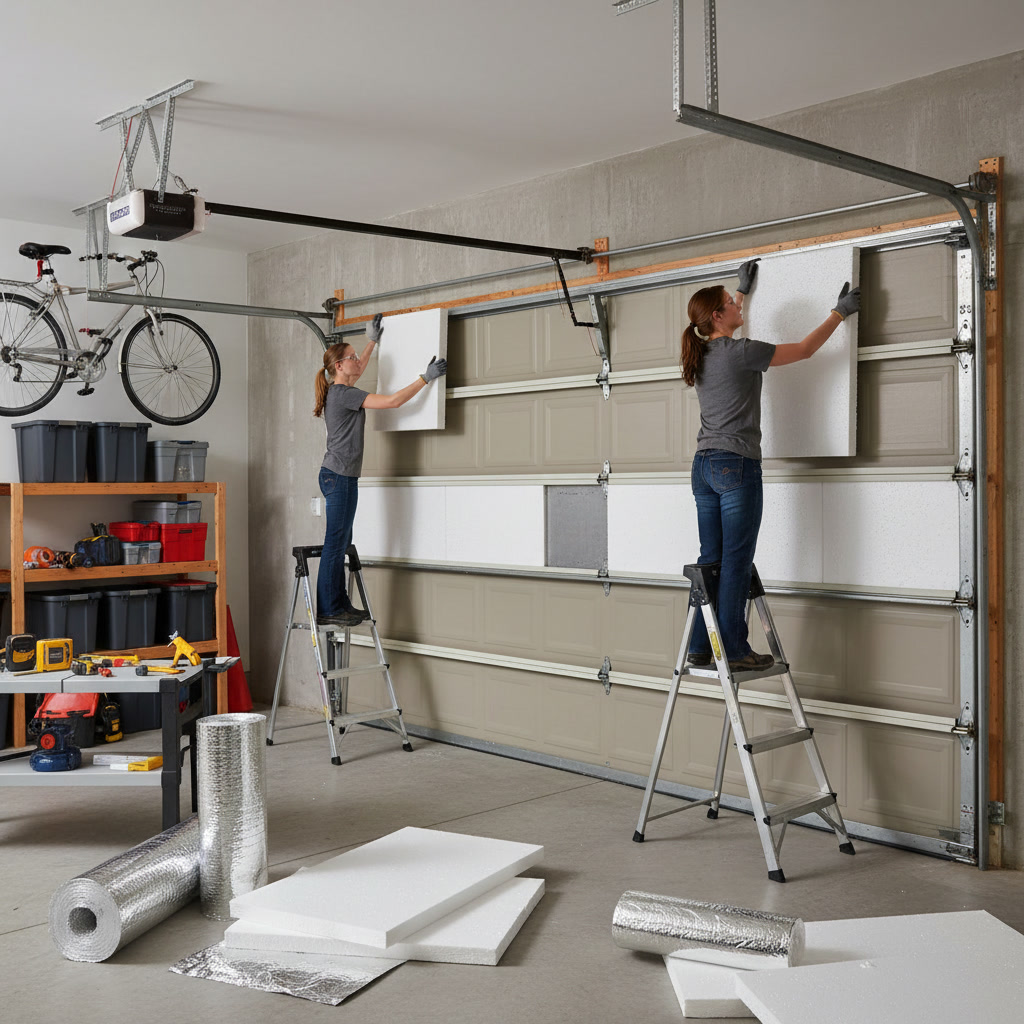
You’ll need insulation panels or a complete kit, a utility knife, measuring tape, straight edge, work gloves, and safety glasses. Most kits include adhesive and retaining pins. If yours doesn’t, purchase construction adhesive rated for foam materials.
Clean the interior surface of your garage door with soap and water. Remove grease, dust, and cobwebs so the adhesive bonds properly.
Measure and Cut the Insulation
Measure each recessed panel on your door. Garage doors typically have four to eight panels, and dimensions can vary slightly between sections.
Cut the insulation to fit snugly within each panel’s frame. Leave a small gap, about one-eighth inch, around the edges to account for the door’s flex during operation. If the fit is too tight, the insulation can buckle or crack over time.
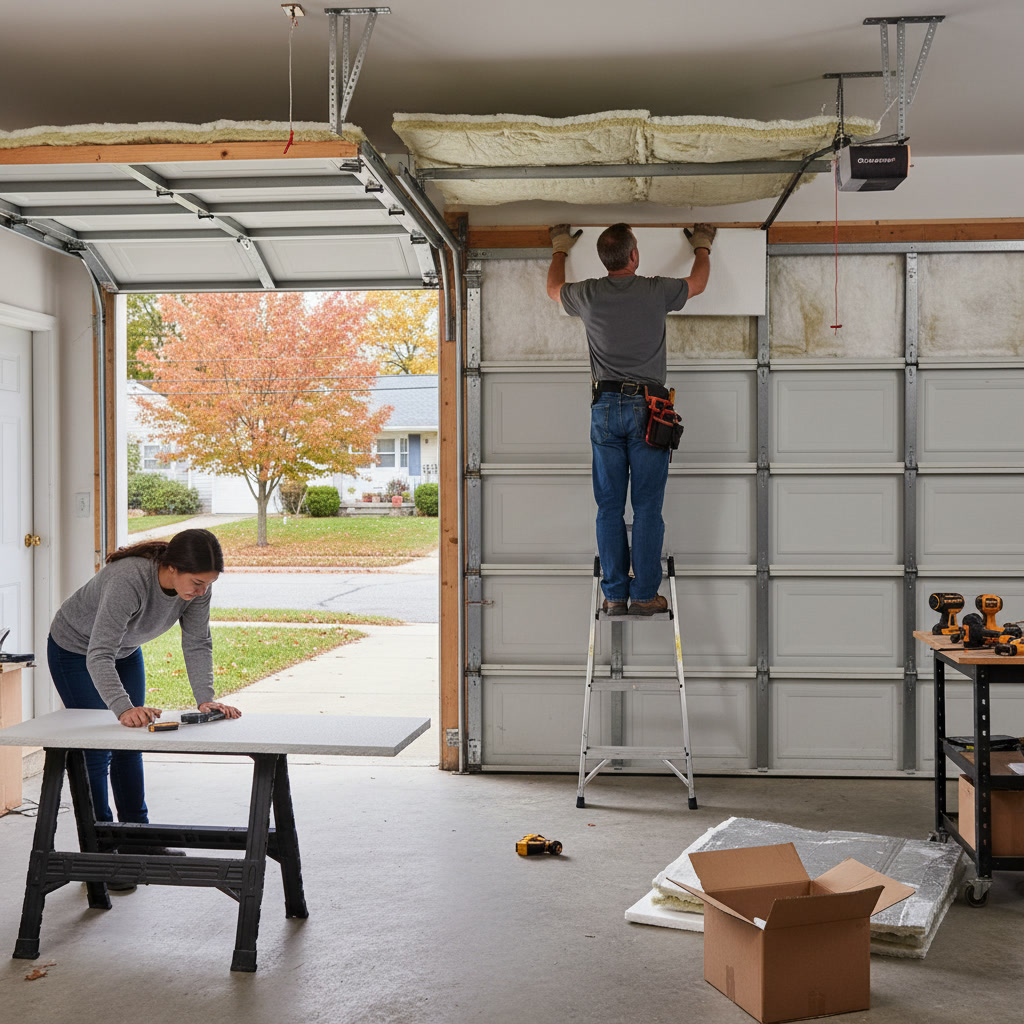
Install the Insulation Panels
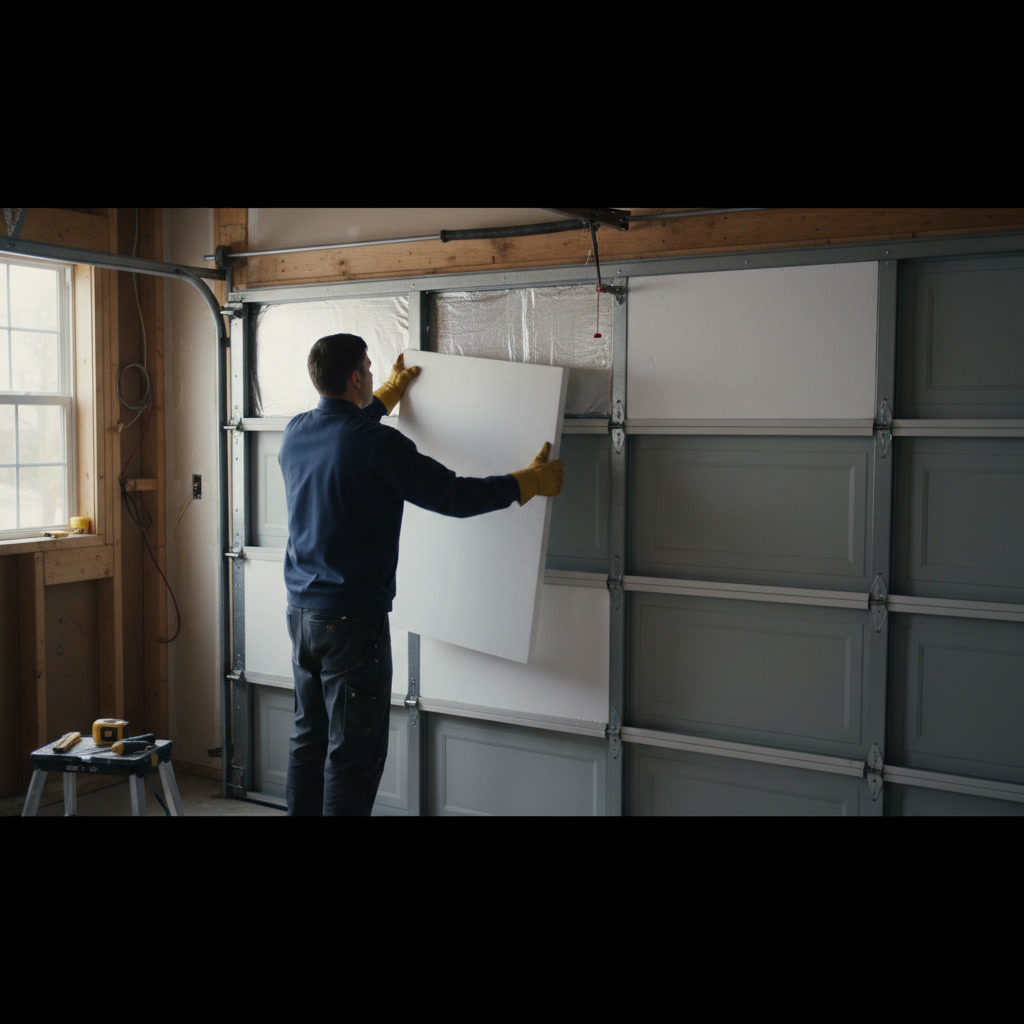
Apply adhesive to the back of each insulation piece in a zigzag pattern. Press firmly into the door panel and hold for 30 seconds. If your kit includes retaining clips, insert them through pre-drilled holes or create small pilot holes with an awl.
Work from the top panel down to avoid adhesive drips on completed sections. Allow the adhesive to cure for the time specified by the manufacturer, usually 24 hours, before operating the door.
After installation, test the door’s balance. Disconnect the opener and manually lift the door halfway. It should stay in place without rising or falling. If it moves, the springs may need adjustment to compensate for the added weight.
Weather Sealing and Additional Improvements
Insulating the door panels is only part of the solution. Air leaks around the door’s perimeter can undermine your insulation efforts. Inspect and replace worn weather stripping along the bottom, sides, and top of the door.
The bottom seal, or threshold seal, takes the most abuse. Replace it if you see cracks, gaps, or flattened sections. Vinyl or rubber seals with a T-shaped or bulb profile provide the best seal against uneven concrete.
Side and top weather stripping should compress slightly when the door closes but not create excessive resistance. If you notice daylight around the edges or feel drafts, upgrade to thicker or more resilient materials.
Consider insulating the walls and ceiling of your garage as well, especially if the space is attached to your home. Combining insulation contractor services for walls, ceilings, and doors creates a comprehensive thermal envelope.
Cost to Insulate a Garage Door in Newington
DIY garage door insulation kits range from 50 to 150 dollars, depending on the material and the size of your door. A standard 16-by-7-foot double door requires two kits or one large kit with eight to ten panels.
Professional installation costs between 200 and 500 dollars for labor and materials. This includes proper measurement, cutting, installation, and door rebalancing. If your door requires spring adjustment or opener upgrades, add another 100 to 300 dollars.
Replacing an old uninsulated door with a new pre-insulated model costs between 800 and 3,000 dollars, depending on material, size, and R-value. This option makes sense if your existing door is damaged, outdated, or lacks the structural support for retrofit insulation.
Pro Tip: If your home was built before 2000 and you’ve never replaced the garage door, a full replacement with a modern insulated door often delivers better long-term value than retrofitting an old, single-layer door.
For a detailed breakdown of insulation costs across different projects, refer to our guide on insulation costs in Connecticut.
When to Hire a Professional in Newington
DIY insulation works well for homeowners comfortable with basic tools and measurements. However, certain situations call for professional help.
If your garage door opener is old or underpowered, a technician can assess whether it needs adjustment or replacement before adding insulation weight. Improper balance or inadequate motor power can lead to premature wear or safety issues.
Doors with windows, decorative panels, or non-standard dimensions require custom cutting and fitting. Professionals have the tools and experience to handle these complexities without damaging the door.
Steel doors with limited structural support may not accommodate retrofit insulation without reinforcement. A contractor can evaluate whether your door is a good candidate or if replacement is the better option.
Top Notch Home Solution LLC serves Newington and surrounding areas with 19 years of experience in residential insulation projects. Our team handles garage door insulation, weather sealing, and full door replacement with careful attention to detail.
Energy Savings and Payback Period
The energy savings from an insulated garage door depend on how you use the space and whether the garage shares walls or ceilings with conditioned areas of your home.
Homeowners with attached garages and rooms above or beside the garage typically see the most savings. Insulating the door, walls, and ceiling together can reduce heating and cooling costs by 10 to 20 percent for those adjacent spaces.
If you heat or cool your garage directly, insulation reduces the workload on your HVAC system. A typical Connecticut household might save 50 to 150 dollars per year on energy bills, leading to a payback period of one to three years for a DIY project and three to five years for professional installation.
Even without direct savings, the comfort improvement and noise reduction justify the investment for most homeowners. A quieter, more stable garage environment protects your vehicle, tools, and stored belongings from temperature extremes and moisture.
Common Mistakes to Avoid
One frequent error is neglecting to check the door’s balance and opener capacity before adding insulation. The extra weight can strain the springs and motor, leading to premature failure.
Another mistake is using the wrong adhesive. Standard construction adhesive can dissolve foam insulation. Use only adhesives labeled safe for polystyrene or polyurethane foam.
Skipping weather stripping is a missed opportunity. Insulation alone won’t stop air leaks. Replacing worn seals is just as important as insulating the panels.
Forcing oversized insulation into door panels creates pressure that can crack the foam or warp the door. Always leave a small gap around the edges to accommodate the door’s movement.
Finally, ignoring safety precautions can lead to injury. Garage door springs are under high tension. If your door needs spring adjustment or repair, hire a professional rather than attempting it yourself.
Other Home Insulation Projects to Consider
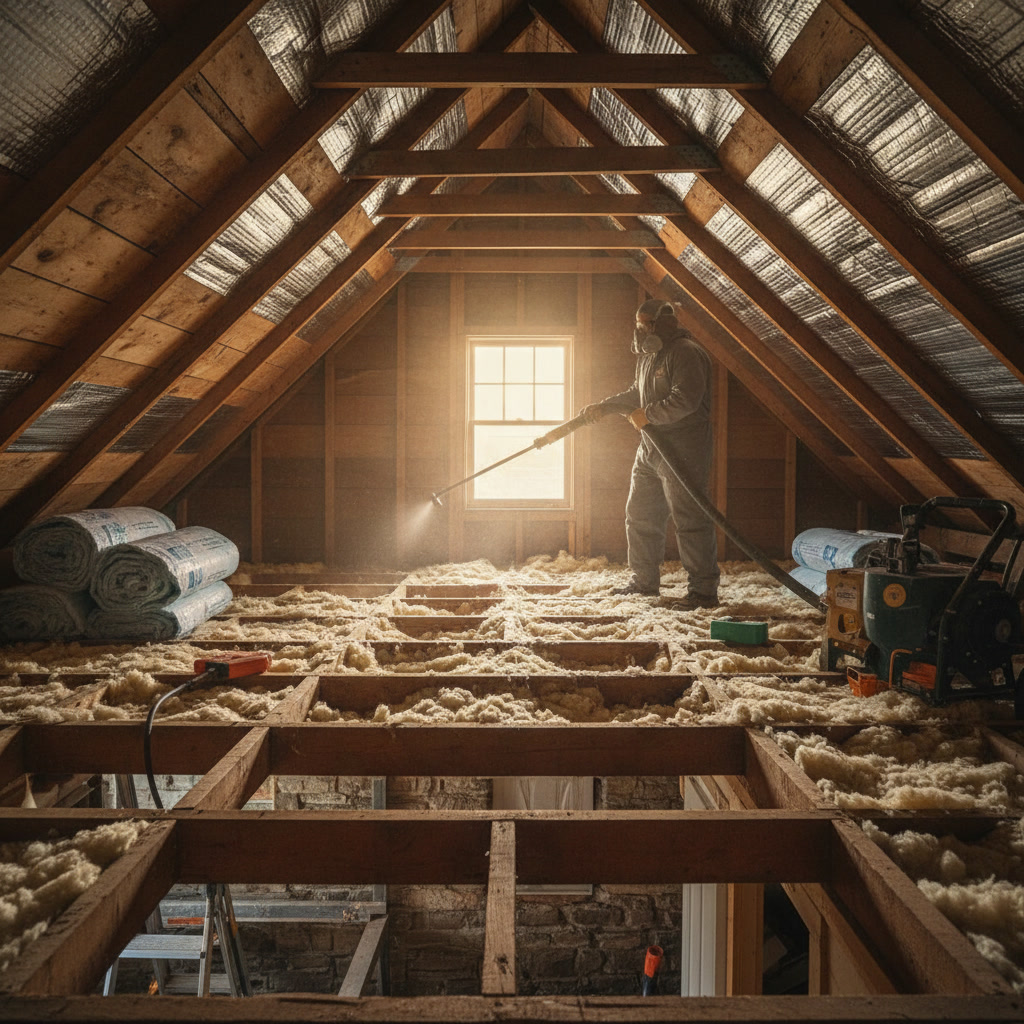
If you’re investing in garage door insulation, it’s worth evaluating other areas of your home that may benefit from improved insulation. Attics, basements, and crawl spaces are common sources of energy loss.
Windows and exterior doors also contribute to drafts and temperature swings. Professional window insulation services can seal gaps, add storm windows, or install energy-efficient replacements to complement your garage door improvements.
Older homes in Wethersfield and Rocky Hill often have inadequate attic insulation. Upgrading from R-19 to R-49 can reduce heating costs by 20 to 30 percent and improve comfort throughout the home.
Frequently Asked Questions
How long does it take to insulate a garage door?
A DIY garage door insulation project typically takes two to four hours for a standard double door, including measuring, cutting, and installing the panels. Professional installation is usually completed in one to two hours, with additional time for door balancing or weather stripping if needed.
Will insulating my garage door make it too heavy for my opener?
Most modern garage door openers handle the added weight of insulation without issue. Insulation adds 20 to 30 pounds to a standard door, which is within the capacity of openers rated for residential use. If your opener is more than 15 years old or struggles with the current door weight, consult a technician before adding insulation.
Can I insulate a garage door with windows?
Yes, but windows require careful measuring and cutting around the glass panels. Use reflective insulation or cut foam panels to fit the solid sections only. Avoid covering the windows themselves, as this blocks natural light and reduces visibility. Professional installers can create custom fits for doors with multiple windows or decorative elements.
What R-value should I aim for in garage door insulation?
For Connecticut’s climate, aim for an R-value between 8 and 16 for optimal performance. Polystyrene foam provides R-8 to R-10, while polyurethane foam reaches R-12 to R-16. Higher R-values deliver better thermal performance but cost more and add more weight to the door.
Does garage door insulation help with summer heat?
Yes, insulation reduces heat transfer in both directions. During summer, it keeps hot outdoor air from raising the temperature inside your garage. Reflective foil insulation is particularly effective at reflecting radiant heat, making it a good choice if summer cooling is your primary concern.
Get Professional Garage Door Insulation in Newington
Learning how to insulate garage door panels gives you the knowledge to improve your home’s energy efficiency and comfort. Whether you choose a DIY approach or professional installation, the investment pays off through lower energy bills, reduced noise, and a more usable garage space.
Top Notch Home Solution LLC provides expert garage door insulation services throughout Newington, CT, and the surrounding communities. Our experienced team handles material selection, precise installation, and door rebalancing to ensure long-lasting results. We also offer comprehensive insulation services for attics, walls, windows, and doors to create a complete home comfort solution.
For a free estimate or to discuss your garage door insulation project, call +18607068116 or visit our contact page to schedule a consultation.