Spring cleaning takes on new urgency when winter has left your floors covered in salt stains, moisture damage, and worn finish. To prepare floors spring season effectively, start by removing all salt residue with a pH-neutral cleaner, assess any water damage or warping, and apply protective treatments before the humid months arrive. Connecticut winters are particularly harsh on interior flooring due to constant freeze-thaw cycles and road salt tracked indoors.
Your hardwood, tile, or laminate floors endure months of punishment from wet boots, melting snow, and corrosive de-icing chemicals. The transition from winter to spring offers the perfect window to restore your floors before summer humidity compounds existing problems.
Why Winter Takes Such a Heavy Toll on Interior Floors
Winter conditions in Connecticut create a perfect storm for floor damage. Road salt contains sodium chloride, calcium chloride, and magnesium chloride compounds that are hygroscopic, meaning they absorb moisture from the air even after drying. This constant moisture retention creates a damaging cycle on your flooring surfaces.
Tracked snow and ice melt into puddles near entryways, seeping into seams and edges where flooring meets walls. Hardwood floors expand and contract with temperature fluctuations, while the combination of salt and moisture penetrates protective finishes. Repeated exposure weakens sealants, dulls surfaces, and creates permanent discoloration if left untreated.
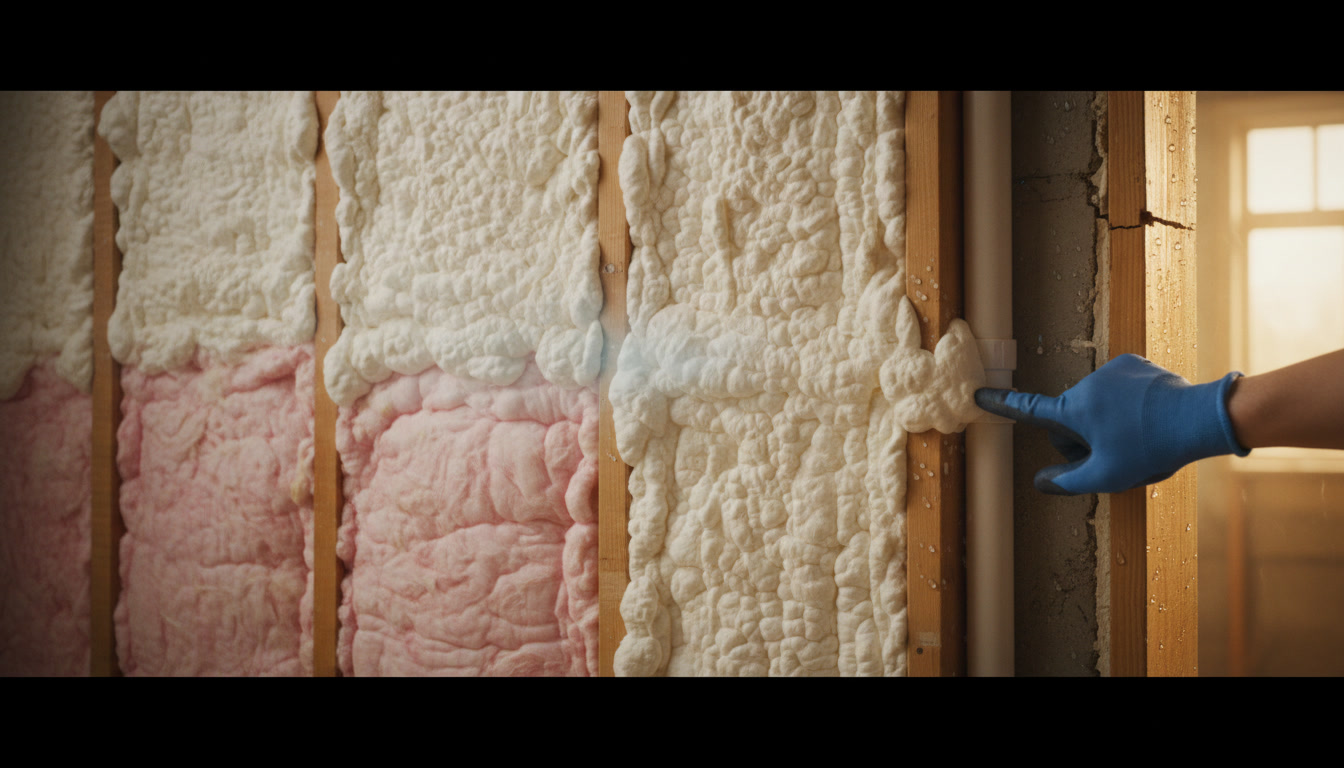
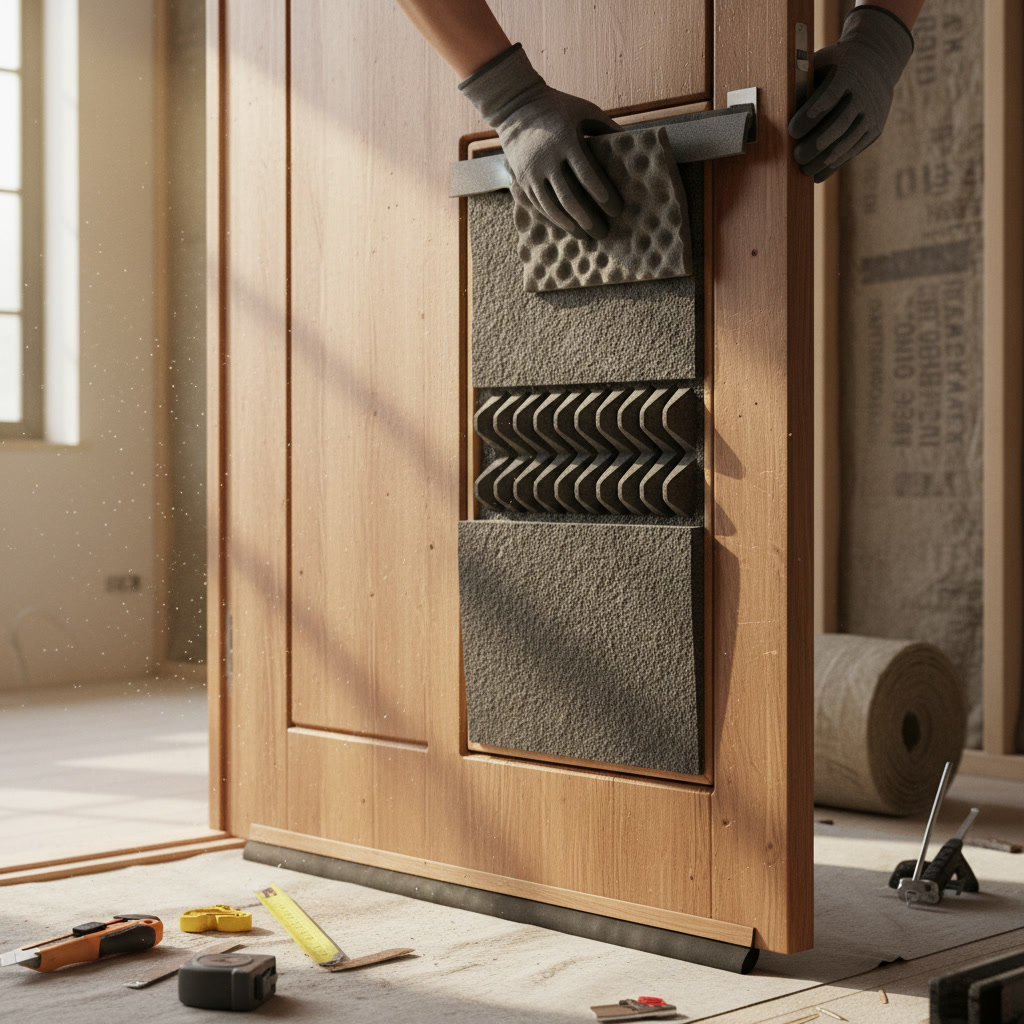
The freeze-thaw cycle affects homes differently depending on insulation quality. Poorly insulated entry areas experience more dramatic temperature swings, accelerating floor deterioration. If you notice drafts near doors or windows, addressing door insulation issues will protect floors in future winters.
Conducting a Complete Damage Assessment in Middletown Homes
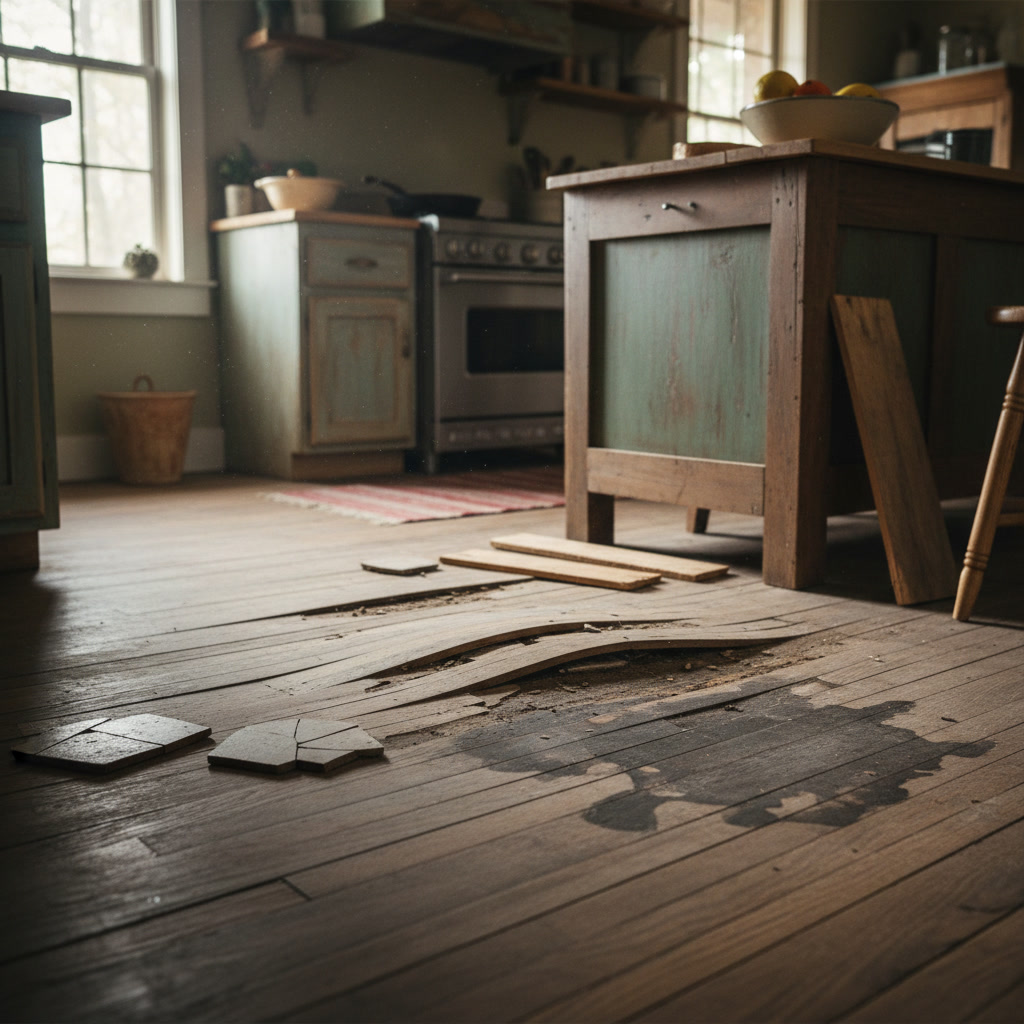
Before cleaning or repairs begin, walk through every room and document problem areas. Look for white or gray salt residue, which appears as crusty deposits or hazy film on hard surfaces. Check for warping, cupping, or buckling in hardwood planks, especially within six feet of exterior doors.
Run your hand across high-traffic areas to feel for rough patches or lifted edges in laminate flooring. Examine grout lines in tile floors for cracking or crumbling, which indicates moisture penetration. Dark staining around baseboards suggests water has been sitting long enough to cause mold growth or wood rot.
Pay special attention to entryways, mudrooms, kitchens, and bathrooms. These zones experience the highest moisture exposure during winter months. Note any areas where finish has worn away completely, leaving raw wood or substrate exposed.

The Right Way to Remove Salt Buildup Without Causing More Damage
Never use vinegar-based cleaners on hardwood or natural stone, despite popular advice. Vinegar is acidic and will further degrade protective finishes already compromised by winter exposure. Instead, mix one gallon of warm water with two tablespoons of pH-neutral floor cleaner specifically formulated for your floor type.
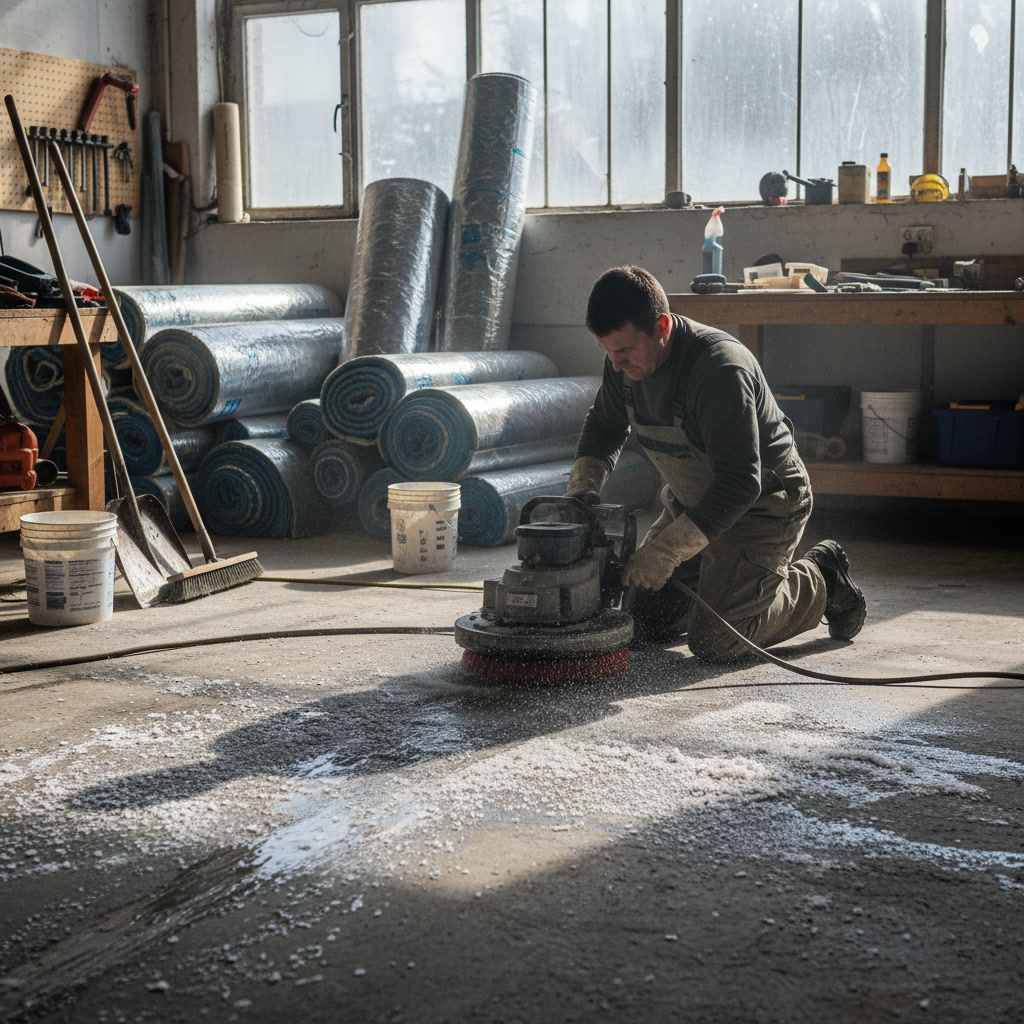
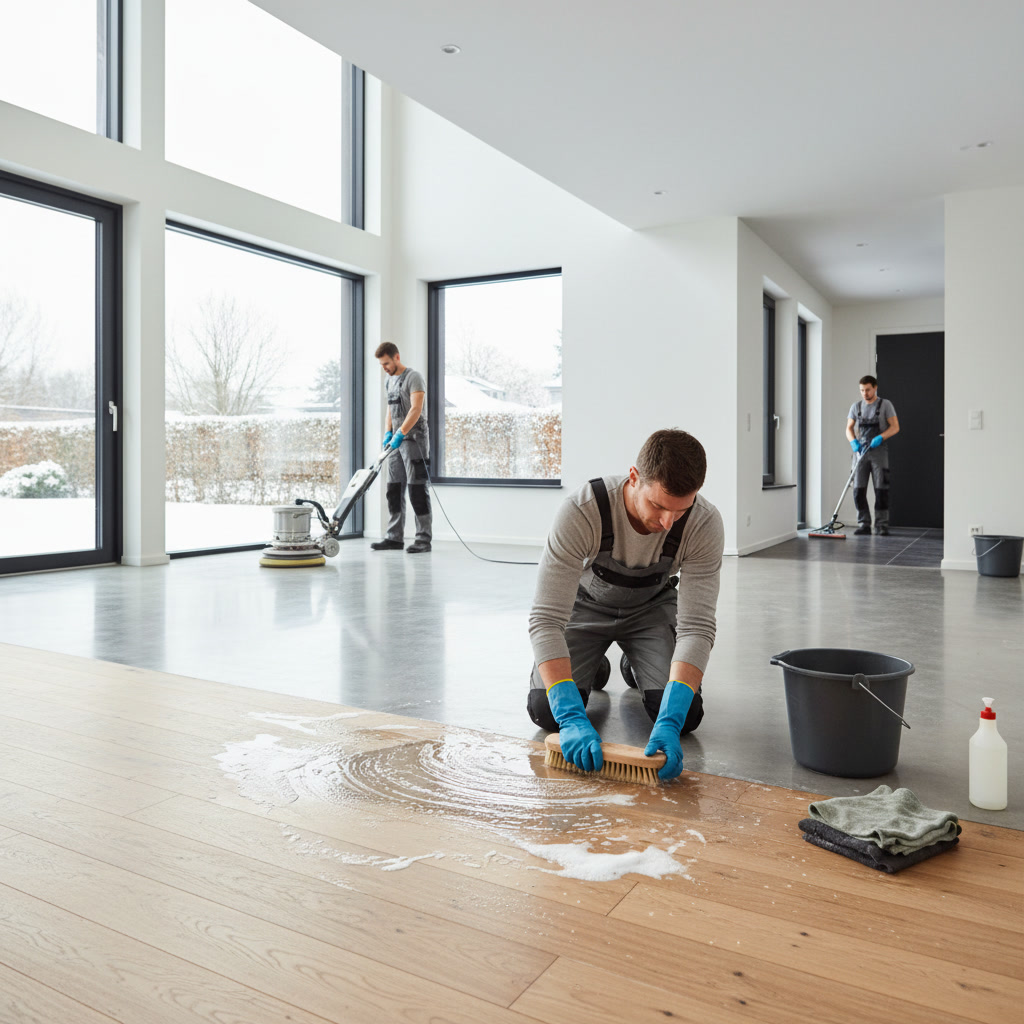
Start by sweeping or vacuuming to remove loose salt crystals and debris. Mop with your cleaning solution using a well-wrung microfiber mop, working in small sections. Change the water frequently as it becomes cloudy with dissolved salt. For stubborn salt stains, let the cleaning solution sit for two to three minutes before wiping.
On tile or sealed concrete, you can use a slightly stronger solution, but always test in an inconspicuous area first. For natural stone like marble or travertine, use only stone-specific cleaners to avoid etching. After cleaning, rinse with clean water and dry thoroughly with clean towels to prevent new water spots.
Repairing Water Damage and Warped Flooring
Minor surface damage often responds to targeted refinishing. For hardwood floors with light water stains, sand the affected area with 220-grit sandpaper, feathering the edges to blend with surrounding finish. Clean dust thoroughly, then apply matching stain and polyurethane in thin coats.
Cupped or crowned boards require more extensive intervention. If warping is minor and recent, professional drying equipment can sometimes reverse the damage. Severe cupping means moisture has penetrated deep into the wood, and affected planks need replacement. This is not a DIY project for most homeowners.
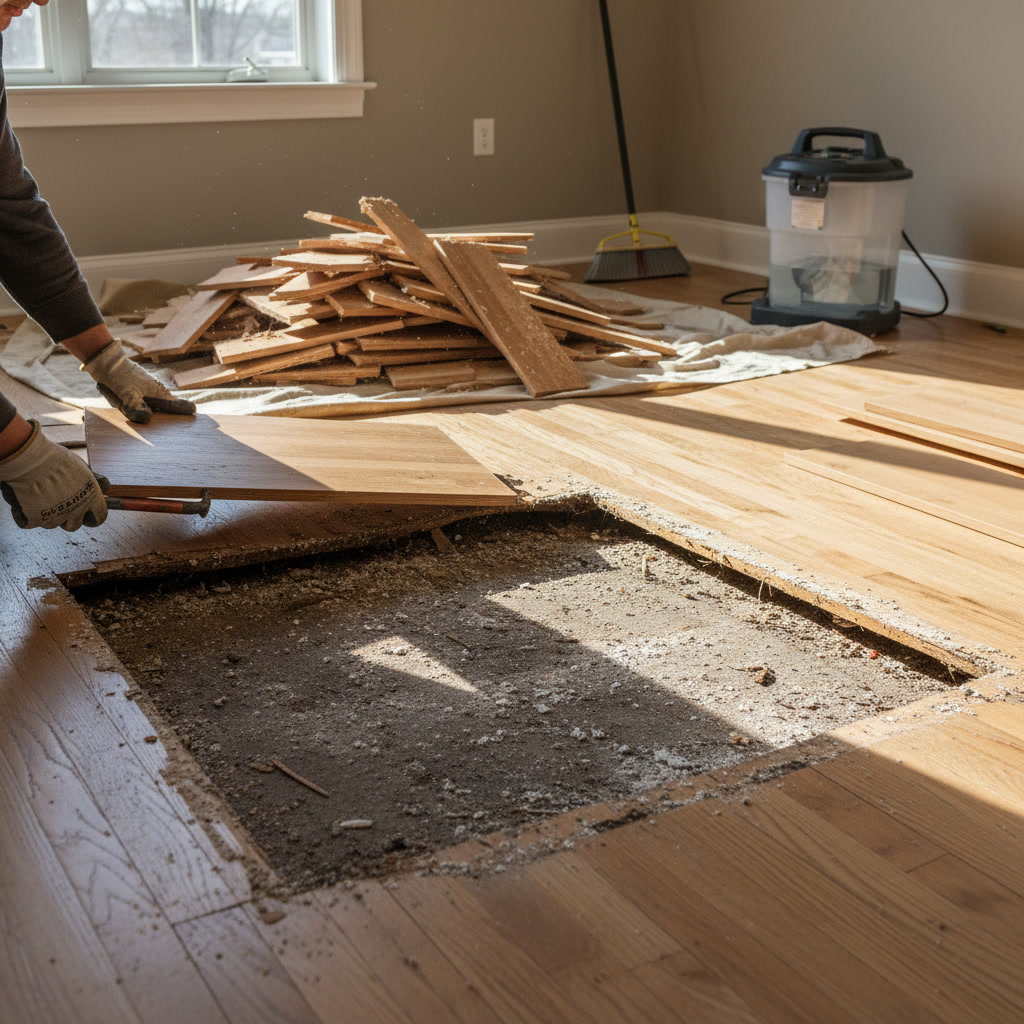
Laminate flooring cannot be sanded or refinished. Damaged planks must be replaced entirely. If you have leftover flooring from installation, this simplifies matching. Otherwise, you may need to start removal from the nearest wall to access and replace damaged sections. For comprehensive floor restoration, professional flooring services ensure proper installation and finish matching.
Step-by-Step Deep Cleaning Process for Different Floor Types
Hardwood floors benefit from a three-stage process. First, dry-clean with a microfiber dust mop to capture fine particles. Second, damp-mop with pH-neutral hardwood cleaner, working with the grain. Third, apply hardwood floor polish or rejuvenator to restore shine and add a protective layer.
Tile and grout demand different attention. Clean tile surfaces with appropriate cleaner, then address grout lines separately using a grout brush and oxygen bleach solution. Mix powder oxygen bleach with water to form a paste, apply to grout lines, let sit for 15 minutes, then scrub and rinse. This removes embedded salt and mildew without harsh fumes.
Luxury vinyl plank or sheet vinyl should be cleaned with vinyl-specific cleaners that don’t leave dulling residue. Avoid excessive water, which can seep into seams and loosen adhesive. For laminate, use as little moisture as possible and dry immediately to prevent swelling at joints.
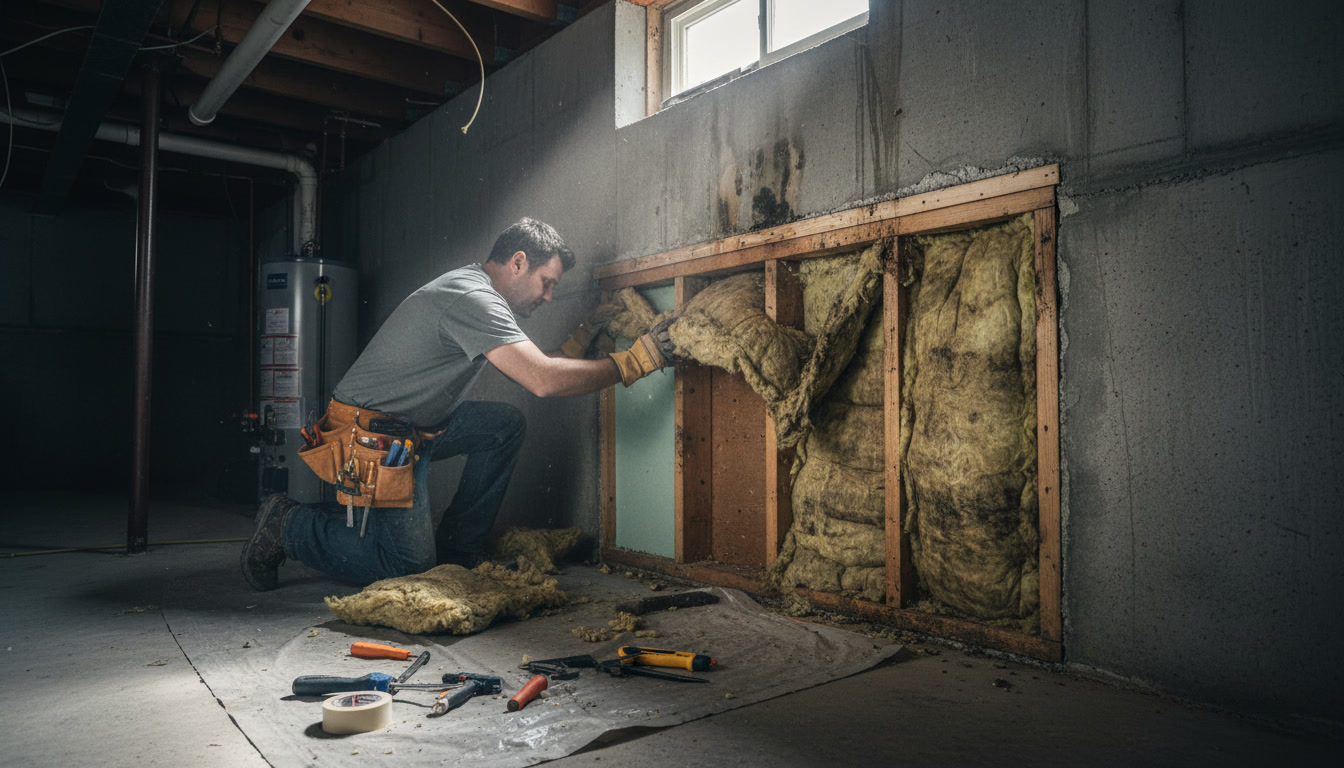
If you discovered moisture problems during cleaning, the root cause may extend beyond the floor itself. Homes in Glastonbury and surrounding areas often have basement moisture issues that affect floors above. Consider reading about moisture-resistant flooring options for Connecticut basements if dampness is a recurring concern.
Restoring Protective Finishes and Sealants
Once floors are completely clean and dry, assess whether existing finishes still provide adequate protection. Pour a tablespoon of water on the floor in several locations. If water beads up, the finish is intact. If water soaks in within five to ten minutes, the protective layer has failed and needs renewal.
For hardwood, screen and recoat is less invasive than full refinishing. This process lightly abrades the existing finish without sanding through to raw wood, then applies fresh polyurethane. Most hardwood floors can be screened and recoated every three to five years between full refinishing.
Tile floors don’t need finish, but grout should be sealed annually in high-moisture areas. Apply penetrating grout sealer with a small foam brush or applicator bottle, wiping excess from tile surfaces before it dries. Sealed grout resists staining and moisture penetration far better than unsealed.
Preventing Future Winter Damage With Strategic Home Improvements
The best floor protection strategy starts before winter arrives. Place commercial-grade entrance mats both outside and inside all exterior doors. The outdoor mat scrapes off snow and ice, while the indoor mat absorbs moisture. Choose mats at least four feet long to capture multiple footsteps.
Install boot trays or waterproof mats in mudrooms and entryways where wet footwear gets removed. Consider a dedicated shoe storage area away from main living spaces to contain moisture and salt. During active snowfall or ice events, mop entry areas daily rather than letting salt accumulate.
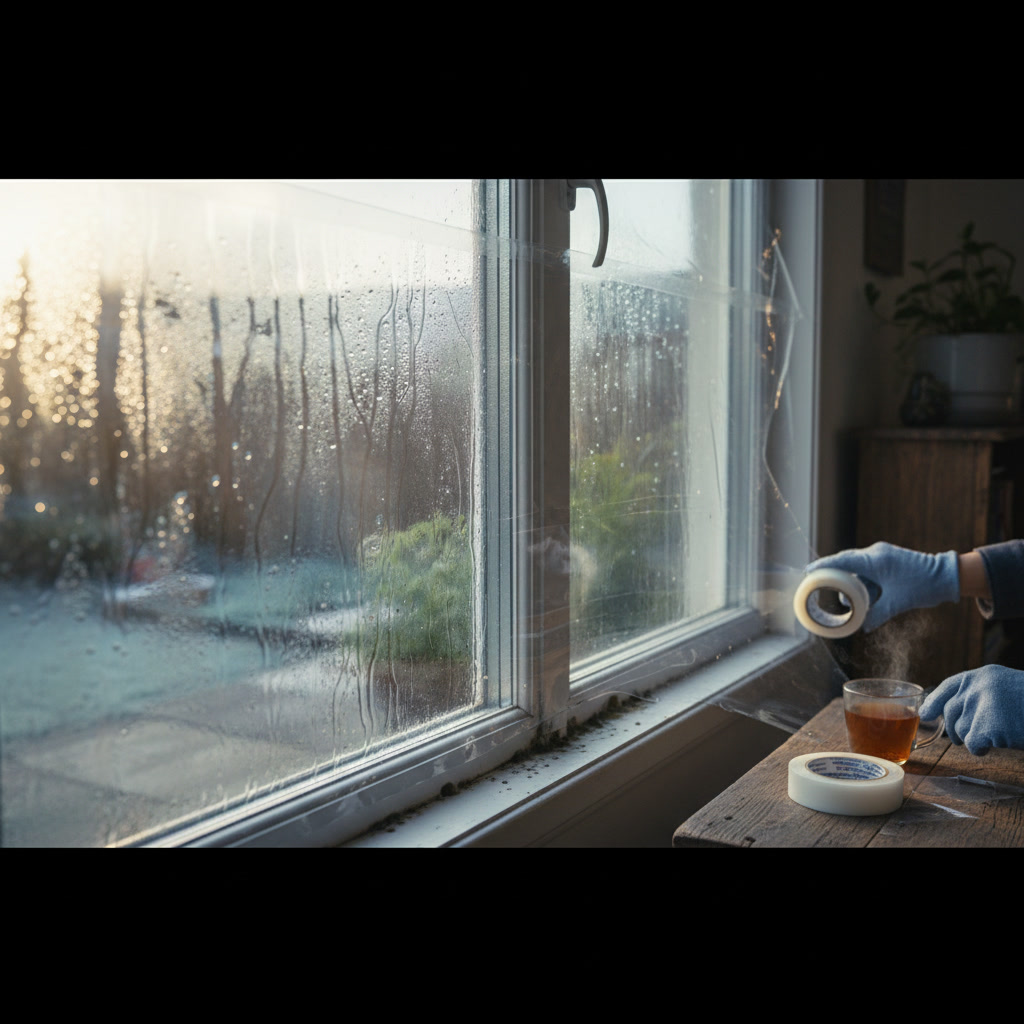
Address the root causes of cold air infiltration that create condensation. Drafty doors and windows allow warm interior air to meet cold exterior air, producing moisture that damages floors. Professional window insulation reduces this temperature differential and controls humidity levels year-round.
When to Replace Rather Than Repair
Certain damage levels make repair impractical or impossible. If more than 30 percent of a hardwood floor shows significant water damage, cupping, or finish failure, complete refinishing becomes more cost-effective than spot repairs. The color and sheen will match throughout the space rather than showing patchy repairs.
Laminate flooring with swollen edges or delamination cannot be saved. Water damage to the fiberboard core is permanent. If multiple planks show damage, calculate replacement costs against installing new flooring entirely. Modern laminate has improved dramatically in durability and appearance.
For those weighing options, understanding the differences between materials helps inform decisions. The comparison in this guide to hardwood, laminate, and vinyl flooring breaks down maintenance requirements and moisture resistance for each type.
Timing Your Floor Restoration for Optimal Results
Early spring offers ideal conditions for floor work in Connecticut. Indoor humidity levels are moderate, and you can open windows for ventilation without extreme temperature swings. Finishes and sealants cure properly in temperatures between 60 and 80 degrees with relative humidity under 70 percent.
Avoid floor refinishing during late spring or summer when humidity spikes. High moisture content in the air slows drying times and can cause finishes to blush or appear cloudy. If you must work in humid conditions, use fans and dehumidifiers to control the environment.
Complete floor restoration before summer humidity arrives but after the risk of late snow has passed. This typically means mid-April through early June in central Connecticut. Finishing before Memorial Day ensures your floors are protected before summer traffic increases.
Professional Help for Complex Floor Problems
Some floor damage requires expertise beyond typical homeowner capabilities. Structural issues like subfloor rot, joist damage, or extensive water damage need professional assessment and repair. Attempting DIY fixes on structural problems often makes matters worse and more expensive to correct later.
Refinishing hardwood floors involves specialized equipment, proper dust containment, and knowledge of different wood species and finish types. Mistakes in sanding or finishing are difficult to reverse. Professional results also last longer because proper technique ensures adhesion and durability.
Top Notch Home Solution LLC has helped Connecticut homeowners restore and protect floors for nearly two decades. Our team understands how local climate conditions affect different flooring materials and can recommend solutions tailored to your home’s specific challenges.
Keeping Your Floors Beautiful Year-Round
Spring restoration sets the foundation, but ongoing maintenance preserves your investment. Sweep or vacuum high-traffic areas daily to remove abrasive dirt particles. Damp-mop weekly with appropriate cleaners for your floor type. Place felt pads under furniture legs to prevent scratching when items get moved.
Maintain consistent indoor humidity between 35 and 55 percent year-round. Use a humidifier in winter when heating dries indoor air, and run dehumidifiers in summer when moisture levels climb. This stability prevents the expansion and contraction that leads to gaps, cupping, and finish failure.
Trim pet nails regularly to minimize scratching. Use area rugs in spaces where spills are likely, but ensure rugs have non-slip, non-staining backings. Rotate rugs periodically so floors age evenly and sun exposure doesn’t create distinct color differences between covered and exposed areas.
Protecting Your Investment for Seasons to Come
Taking action now to address winter damage prevents minor issues from becoming major problems. Clean salt residue promptly, repair damaged areas before they expand, and restore protective finishes before humidity climbs. These steps extend floor life by years and maintain your home’s value and appearance.
Whether you need complete floor replacement, refinishing services, or professional assessment of damage, Top Notch Home Solution LLC serves homeowners throughout central Connecticut with honest expertise and quality workmanship. Our team will evaluate your floors, explain your options clearly, and complete repairs with the care your home deserves. Contact us at +18607068116 to schedule your spring floor assessment and get your home ready for the warmer months ahead.