A professional painting process follows a structured sequence that ensures durable, smooth finishes and protects your home during every step. Professional painters prepare surfaces properly, apply primer when needed, use quality materials, and complete detailed cleanup. This systematic approach delivers results that last years longer than rushed or amateur work.
Most homeowners underestimate the preparation involved in quality interior painting. Surface prep typically accounts for 60 to 70 percent of the total project time, yet it determines how well paint adheres and how long your finish lasts.
Why Surface Preparation Matters More Than Paint Quality
Even premium paint fails when applied to poorly prepared surfaces. Professional contractors know that walls must be clean, smooth, and stable before the first coat goes on. Dust, grease, and loose material prevent proper adhesion, leading to peeling and flaking within months.
Experienced painters inspect every surface for damage before starting. They identify cracks, holes, water stains, and uneven textures that need correction. Skipping this step creates visible flaws once paint dries, especially in natural light or under certain angles.
How Professionals Protect Your Middletown Home Before Painting
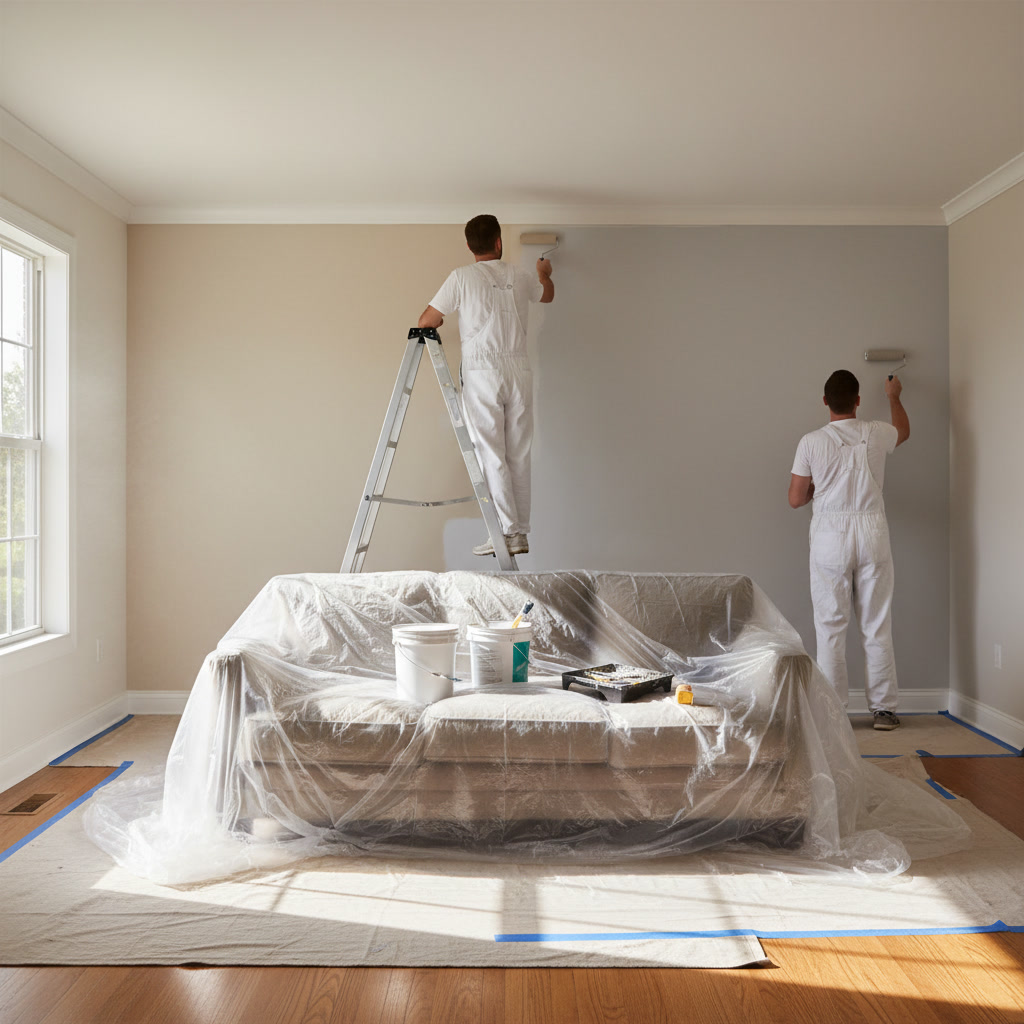
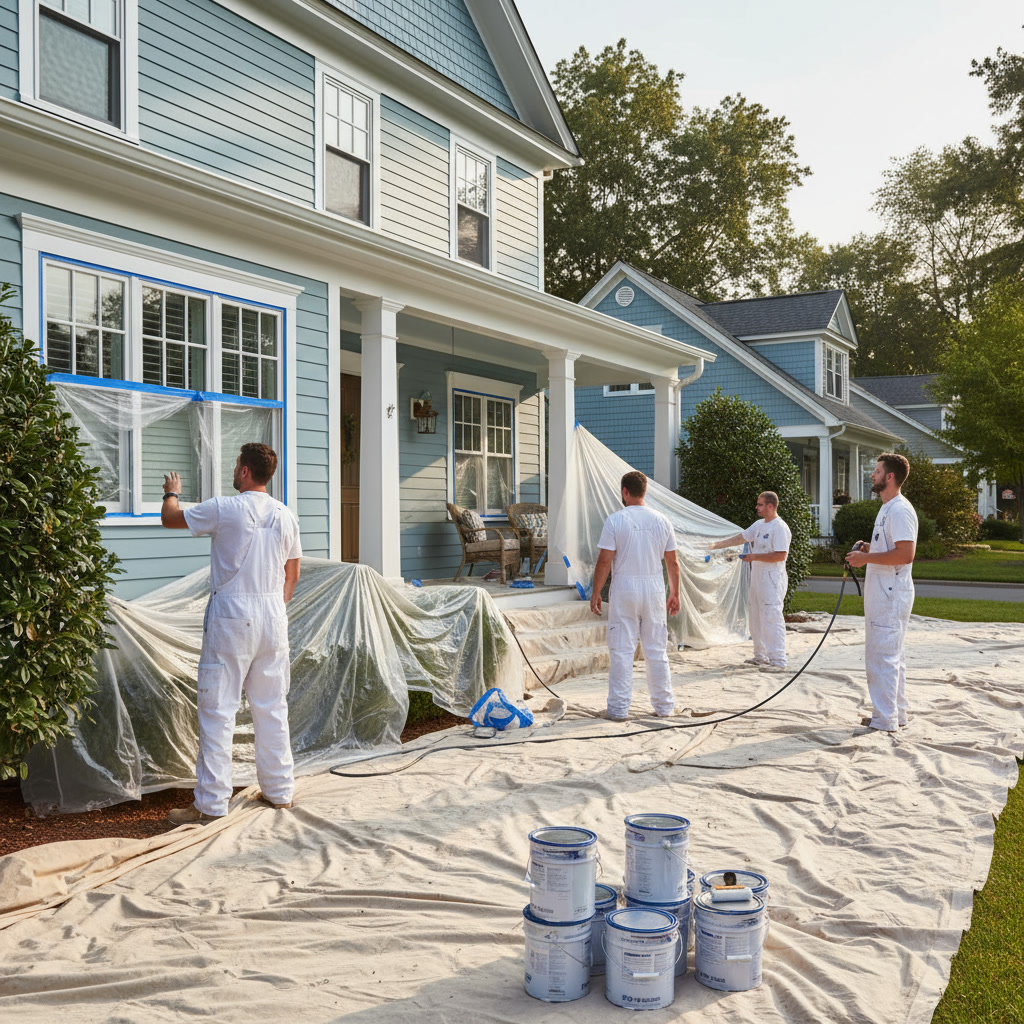
Protection starts before any tools enter your home. Contractors move furniture to the center of rooms and cover it with plastic sheeting or drop cloths. They protect flooring with canvas drop cloths rather than thin plastic, which can be slippery and tears easily.
Door frames, window trim, outlets, and light fixtures get masked with painter’s tape and paper. Quality contractors use low-tack tape that removes cleanly without damaging existing finishes. They also cover HVAC vents to prevent paint mist from entering your ductwork.
Step-by-Step Surface Repair and Smoothing Process
Professionals follow a systematic repair sequence that builds a flawless base for paint:
- Fill nail holes, dents, and small cracks with spackling compound
- Apply joint compound to larger holes and damaged drywall sections
- Sand all patched areas flush with surrounding surfaces once dry
- Apply a second coat of filler if depressions remain after first sanding
- Vacuum walls and trim to remove all sanding dust
- Wipe surfaces with a damp cloth for final dust removal
This sequence often repeats two or three times for older homes with extensive wall damage. Rushed contractors skip the second fill coat, leaving visible dimples that telegraph through the final paint.
When Primer Is Essential and When You Can Skip It
Primer serves three critical functions: it seals porous surfaces, blocks stains from bleeding through, and improves paint adhesion. New drywall always requires primer because bare paper facing absorbs paint unevenly, creating blotchy finishes and requiring extra coats.
You also need primer when covering dark colors with lighter shades, painting over water stains or smoke damage, or working with raw wood trim. Stain-blocking primers prevent tannins and previous marks from showing through your fresh paint.
You can skip primer when repainting walls in similar colors if the existing paint is in good condition. However, most professionals apply primer to patched areas even when the rest of the wall does not need it, ensuring uniform absorption.
Paint Application Techniques That Deliver Smooth Finishes
Professional painters cut in edges first, using angled brushes to create clean lines where walls meet ceilings, corners, and trim. They maintain a wet edge and work in sections to avoid lap marks where dried paint overlaps fresh application.
Rollers go on next, working in W or M patterns to distribute paint evenly before filling in the section. Professionals reload rollers frequently to maintain consistent coating thickness. They avoid pressing too hard, which squeezes out too much paint and creates texture inconsistencies.
Quality contractors inspect their work under angled light between coats, catching drips, thin spots, and missed areas while correction is still easy. They lightly sand between coats when working with glossier finishes to improve adhesion.
How Many Coats Your Project Actually Needs
Most interior walls require two coats of paint over primer for full coverage and color accuracy. Darker or more saturated colors often need a third coat, especially reds, yellows, and deep blues that have less hiding power.
Ceilings typically get two coats of flat white paint. Trim work needs at least two coats of semi-gloss or gloss paint, with light sanding between coats for the smoothest finish. Doors often receive three coats because they show imperfections more readily than walls.
Experienced painters know that applying proper film thickness in two coats outperforms three thin coats. Thin layers dry too quickly, making it hard to maintain a wet edge, and provide less durability than properly applied standard coats.
Drying Time Requirements Between Coats
Paint manufacturers specify both dry-to-touch and recoat times on their labels. Dry-to-touch means the surface no longer feels wet, typically one to two hours for latex paint. Recoat time indicates when you can safely apply the next layer without causing adhesion problems or surface damage.
Most quality latex paints need four hours between coats, though some premium products allow recoating after two hours. Temperature and humidity significantly affect drying times. Cool, humid conditions can double the wait, while warm, dry air speeds the process.
Professional contractors plan schedules around these requirements rather than rushing. Applying a second coat before the first properly cures can cause the bottom layer to wrinkle, peel, or develop a soft finish that never fully hardens.
Final Inspection and Touch-Up Work
Once final coats dry, professionals remove painter’s tape at a 45-degree angle to avoid pulling up paint edges. They inspect all surfaces under both natural and artificial light, looking for holidays (missed spots), drips, uneven coverage, and edge imperfections.
Touch-up work addresses these small flaws before cleanup begins. Contractors keep wet edges fresh during touch-ups to avoid creating visible patches where new paint overlaps dried areas. They also check that all outlets, switches, and fixtures are clean and paint-free.
Professional Cleanup and Job Site Restoration
Thorough cleanup separates professional contractors from amateurs. Quality painters remove all drop cloths carefully to avoid tracking paint through your home. They vacuum around baseboards and corners where dust settles during sanding.
All paint supplies, tape residue, and debris leave with the crew. They replace outlet covers and switch plates, rehang any removed fixtures, and return furniture to its original position. Many contractors also wipe down surfaces adjacent to painted areas that may have collected fine dust.
The job site should look cleaner than when work started, with only the fresh paint indicating that contractors were present. This attention to detail reflects the same care applied during surface prep and application.
How Long Before You Can Use Freshly Painted Rooms
Paint continues curing for weeks after application, even though it feels dry to the touch within hours. You can carefully return to painted rooms after 24 hours, but avoid placing objects against walls or scrubbing surfaces for at least two weeks.
Full cure takes 30 days for most latex paints. During this period, the paint film continues hardening and developing its final durability. Gentle cleaning with a soft, damp cloth is safe after one week, but avoid harsh scrubbing or chemical cleaners until the full cure period completes.
Professional contractors provide specific care instructions for your particular paint type and finish. Following these guidelines protects your investment and ensures your paint performs as intended for years to come.
Getting Quality Results That Last
Understanding the professional painting process helps you recognize quality workmanship and set realistic expectations for project timelines. Proper preparation, appropriate primer use, correct application techniques, and thorough cleanup all contribute to finishes that remain beautiful for years.
When you choose experienced contractors, you invest in systematic processes that deliver superior results rather than shortcuts that require frequent repainting. Quality work costs more upfront but saves money over time through better durability and longer-lasting appearance.
Top Notch Home Solution LLC brings 19 years of experience to every painting project in Cromwell and surrounding Connecticut communities. Our family-owned team follows proven processes that protect your home and deliver lasting results. Whether you need a single room refreshed or your entire home repainted, we provide careful workmanship backed by our standard one-year warranty. Contact us at +18607068116 for your free estimate and experience the difference that professional attention to detail makes.