Connecticut basements deal with constant moisture challenges. High humidity, seasonal flooding, and water seepage through foundation walls create a hostile environment for traditional flooring materials. Choosing the wrong basement flooring Connecticut homeowners install can lead to warping, mold growth, and thousands in replacement costs within just a few years.
This guide covers the most reliable moisture-resistant flooring options for Connecticut basements, what makes each material work in damp conditions, and the installation considerations that determine long-term success. You’ll learn which materials professional contractors recommend, how to prepare your basement floor properly, and what performance to expect from each option.
Why Connecticut Basements Need Special Flooring Considerations
Connecticut’s climate creates specific basement moisture problems. The state receives 45 to 50 inches of annual precipitation, and groundwater levels fluctuate throughout the year. Most homes built before 2000 lack comprehensive waterproofing systems, making moisture intrusion a constant threat.
Basement concrete slabs act like sponges. They absorb ground moisture through capillary action and release it as water vapor. This process continues year-round, even in basements that never experience standing water. Standard flooring materials like hardwood, carpet, and laminate fail quickly when exposed to this persistent moisture.
The humidity factor compounds the problem. Connecticut basements regularly reach 60 to 70 percent relative humidity during summer months. This creates ideal conditions for mold growth under flooring materials that trap moisture against the concrete surface.
Temperature swings add another layer of complexity. Cold concrete floors meet warm, humid air during summer, creating condensation on and beneath flooring surfaces. This condensation saturates organic materials and promotes microbial growth.
Top Moisture-Resistant Basement Flooring Options
Five flooring types consistently perform well in Connecticut basement conditions. Each offers different benefits, costs, and installation requirements.
Luxury Vinyl Plank and Tile
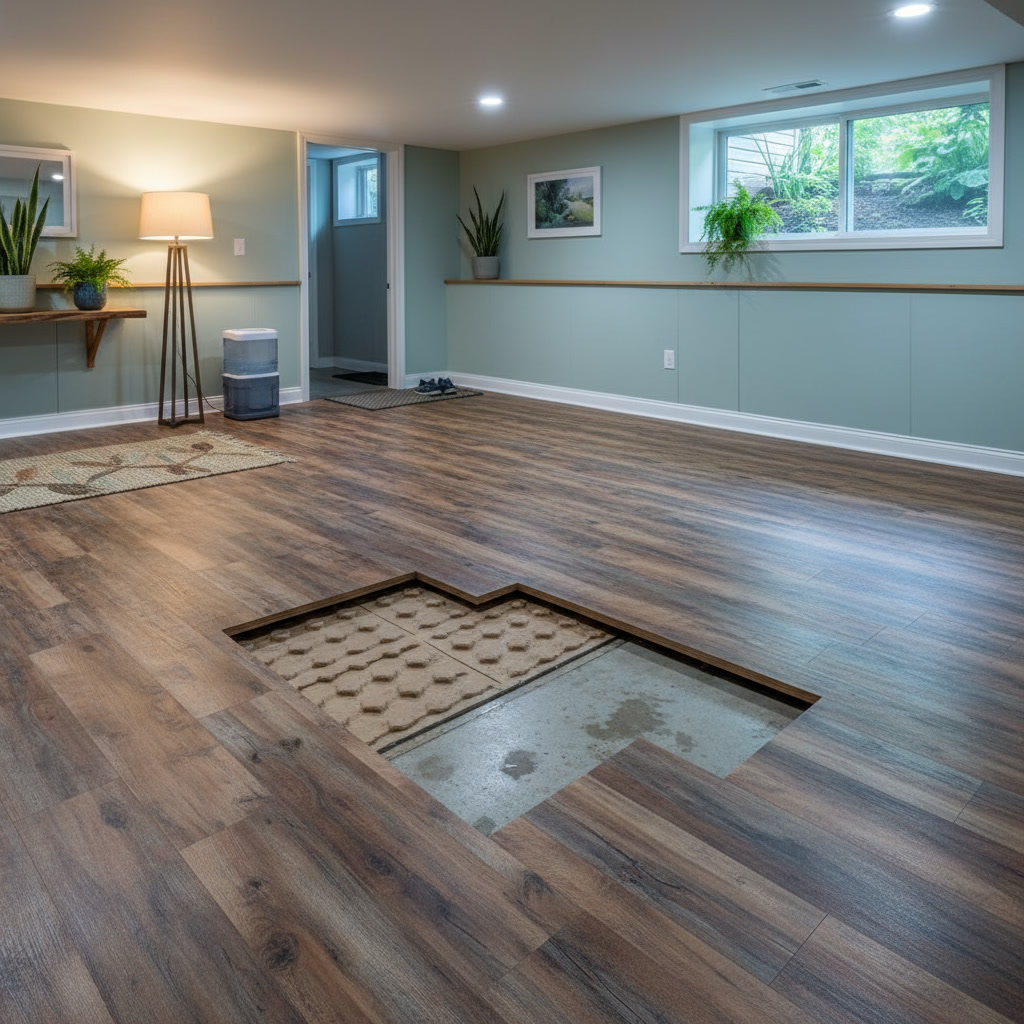
Luxury vinyl plank (LVP) and luxury vinyl tile (LVT) dominate the basement flooring Connecticut market for good reason. These products are 100 percent waterproof, resist mold growth, and install over concrete with minimal preparation.
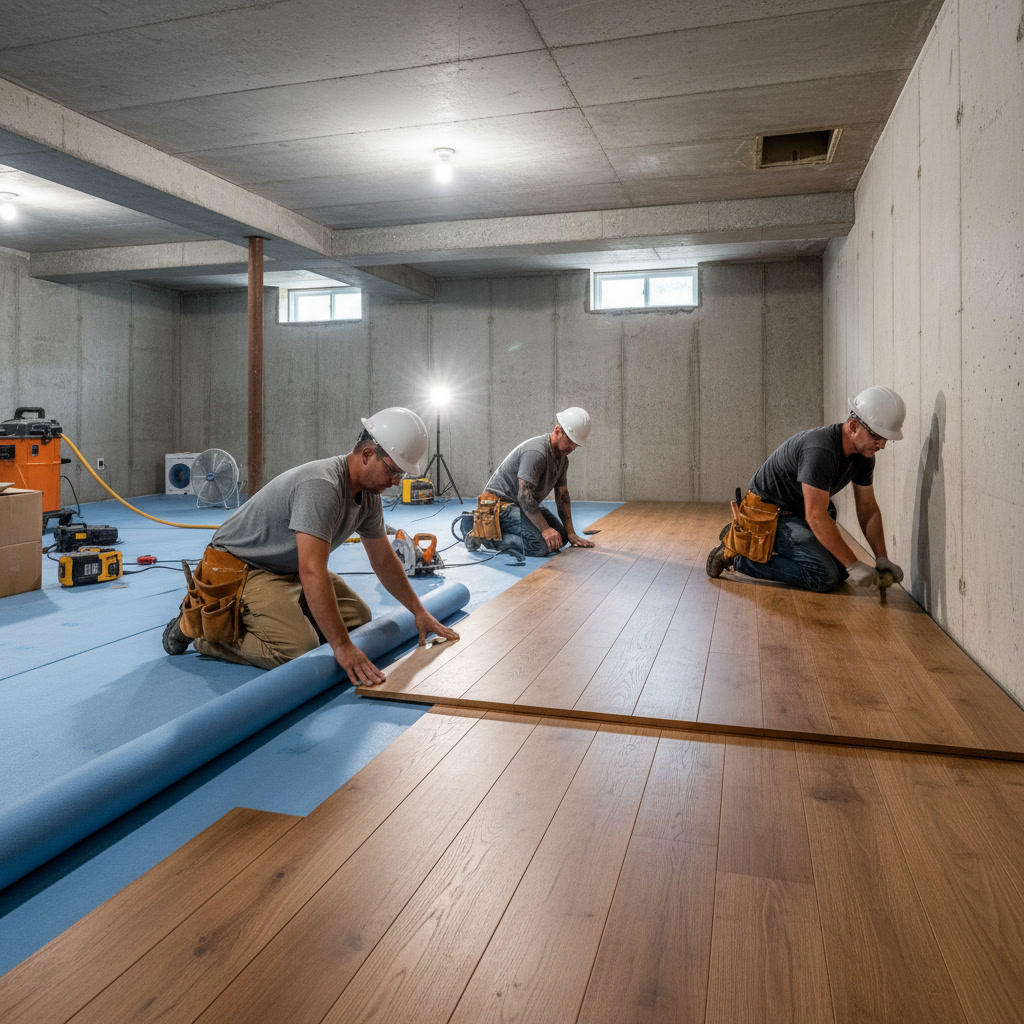
Quality LVP products feature a rigid core construction that prevents warping and flexing on uneven basement floors. The wear layer protects against scratches and stains, while the design layer replicates wood or stone appearances convincingly. Most products include attached underlayment with moisture barriers built in.
Installation uses a floating click-lock system that requires no adhesive. This allows the floor to expand and contract with temperature changes without buckling. Expect to pay between $3 and $7 per square foot for materials, plus installation costs.
The main consideration with luxury vinyl involves vapor emission rates from your concrete slab. If your basement floor releases excessive moisture, you’ll need a vapor barrier underneath the flooring to prevent moisture from damaging the locking mechanism over time.
Ceramic and Porcelain Tile
Ceramic and porcelain tile provide completely waterproof basement flooring that lasts decades. These materials don’t absorb moisture, resist mold and mildew, and handle standing water without damage.
Porcelain tile outperforms ceramic in basement applications because of its lower water absorption rate (less than 0.5 percent). This makes it more resistant to freeze-thaw cycles if your basement experiences temperature extremes.
Professional installation requires proper substrate preparation. The concrete must be level within 1/8 inch over 10 feet, clean, and dry enough to accept thinset mortar. A crack isolation membrane prevents existing concrete cracks from telegraphing through to the tile surface.
The grout lines require sealing to prevent moisture penetration and staining. Epoxy grout eliminates this maintenance requirement but costs more upfront. Total installed costs range from $6 to $15 per square foot depending on tile selection and installation complexity.
One drawback: tile floors feel cold underfoot. Radiant heating systems solve this problem but add $8 to $15 per square foot to installation costs.
Epoxy Coating Systems
Epoxy floor coatings create a seamless, waterproof surface directly bonded to concrete. These systems work exceptionally well in basements prone to occasional water intrusion because they contain no seams where water can penetrate.
A complete epoxy system includes concrete preparation, primer coat, base coat, decorative flakes or chips (optional), and two topcoat layers. The finished surface resists moisture, chemicals, impacts, and abrasion while providing a glossy, easy-to-clean finish.
The concrete surface preparation determines system longevity. Professional installers grind or shot-blast the concrete to open the pores, remove contaminants, and create proper surface profile for adhesion. Shortcuts during this phase lead to delamination and coating failure.
Moisture testing is critical before epoxy installation. If your concrete slab releases too much water vapor, the epoxy will bubble and peel. Most manufacturers specify maximum moisture vapor emission rates between 3 and 5 pounds per 1,000 square feet per 24 hours.
Professional epoxy installations cost between $5 and $12 per square foot. DIY epoxy kits available at home centers rarely perform as well because they use lower-grade resins and skip essential preparation steps.
Rubber Flooring
Rubber flooring offers outstanding moisture resistance, comfort underfoot, and sound dampening properties. It works particularly well in basement gyms, play areas, and workshops.
Two formats dominate the market: interlocking tiles and rolled rubber. Interlocking tiles install quickly without adhesive, making them ideal for DIY projects and temporary installations. Rolled rubber requires full-spread adhesive but creates a more permanent, seamless surface.
Quality rubber flooring won’t support mold growth and handles standing water without damage. The material does require a relatively smooth, level concrete substrate. High spots and low spots telegraph through rubber more readily than rigid flooring materials.
Cost ranges from $2 to $8 per square foot depending on thickness and quality. Commercial-grade rubber lasts longer than residential products but costs more upfront.
The primary drawback involves odor. New rubber flooring releases volatile organic compounds (VOCs) that create a strong smell for several weeks after installation. Proper ventilation during this off-gassing period is essential.
Polished Concrete
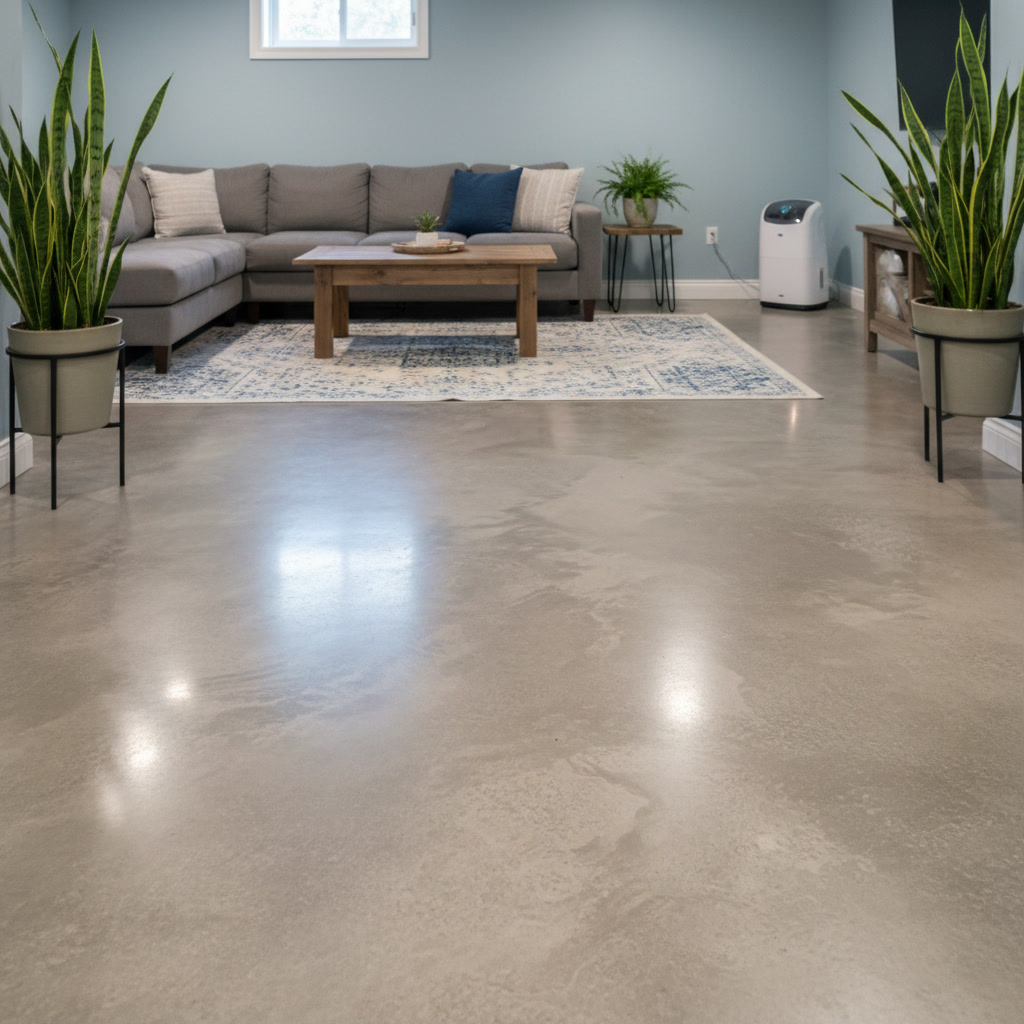
Polished concrete transforms existing basement slabs into attractive, durable floors without adding any materials that moisture can damage. Professional contractors grind the concrete surface progressively finer, then apply chemical densifiers and polishing compounds to create a smooth, glossy finish.
The process increases concrete density and closes surface pores, making the floor more resistant to moisture penetration and staining. Polished concrete won’t support mold growth, requires minimal maintenance, and lasts indefinitely when properly maintained.
Installation costs between $3 and $8 per square foot for basic polishing. Decorative options like dye staining, saw-cut patterns, and aggregate exposure increase costs to $8 to $15 per square foot.
Like tile, polished concrete feels cold unless you install radiant heating. The hard surface also reflects sound, making basements with polished concrete floors louder than those with softer flooring materials.
Essential Moisture Testing Before Installing Basement Flooring
Never install basement flooring Connecticut without first testing your concrete slab’s moisture levels. Even basements that appear dry often release enough water vapor to damage flooring materials.
Two standard tests measure concrete moisture content. The calcium chloride test measures moisture vapor emission rate at the concrete surface. Small dishes of calcium chloride sit on the floor for 60 to 72 hours, then return to a lab for weighing. Results indicate how many pounds of moisture the concrete releases per 1,000 square feet over 24 hours.
Most flooring manufacturers specify maximum emission rates between 3 and 5 pounds. Higher rates require moisture mitigation before flooring installation.
The relative humidity test provides more accurate results by measuring moisture conditions inside the concrete slab. Installers drill holes to 40 percent of slab depth, insert humidity probes, and record readings after the holes equilibrate for 24 to 72 hours. Readings above 75 to 80 percent relative humidity typically exceed manufacturer specifications.
Professional flooring contractors perform these tests as standard practice. DIY installers can purchase test kits online, though interpretation of results often requires professional expertise.
Moisture Mitigation Strategies for Problem Basements
If moisture testing reveals excessive water vapor emissions, you have several mitigation options before installing basement flooring Connecticut homeowners can rely on.
Topical sealers create a barrier on the concrete surface that blocks moisture vapor transmission. Epoxy and urethane-based sealers work best for this application. Apply according to manufacturer specifications, then retest moisture levels before proceeding with flooring installation.
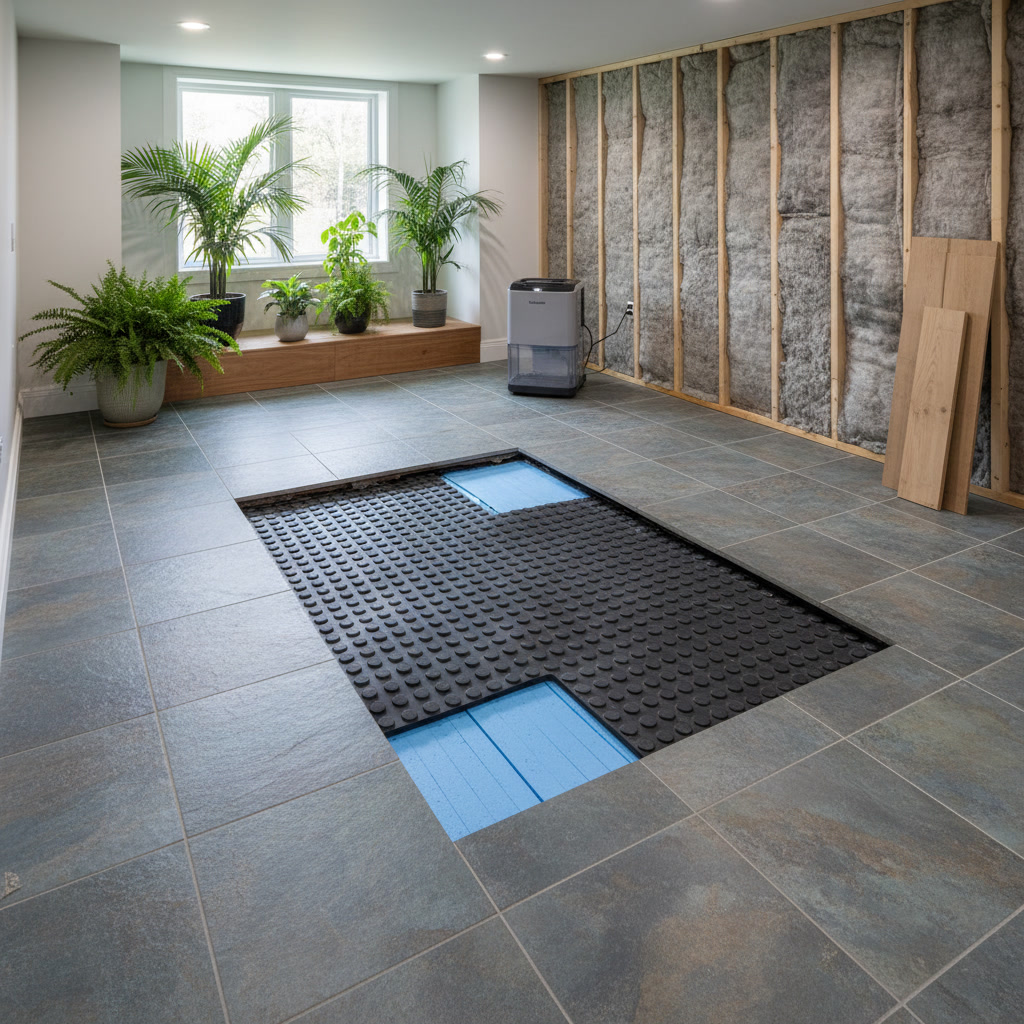
Moisture barrier underlayments provide another solution. These products install between concrete and finished flooring, preventing moisture from reaching the flooring material. Some luxury vinyl products include moisture barriers in the attached underlayment, while others require separate barrier installation.
Drainage improvements address moisture problems at the source. Interior drain tile systems collect water along basement perimeters and direct it to sump pumps for removal. This reduces hydrostatic pressure against foundation walls and lowers basement humidity levels.
Exterior waterproofing provides the most comprehensive solution but costs significantly more. Contractors excavate around the foundation, apply waterproof membrane to exterior walls, install drainage systems, and backfill with proper materials. This approach stops water before it enters the basement structure.
Dehumidification helps control ambient humidity but doesn’t address moisture coming through the concrete slab. Whole-house dehumidifiers or dedicated basement units maintain humidity below 50 percent, reducing condensation risk and improving comfort.
Proper basement insulation also plays a crucial role in moisture management. Quality insulation contractor services ensure your basement maintains consistent temperatures that minimize condensation problems.
Installation Best Practices for Long-Lasting Results
Proper installation determines whether your basement flooring Connecticut project succeeds or fails. Even the best moisture-resistant materials fail when installation shortcuts compromise performance.
Start with thorough concrete preparation. Remove all dirt, dust, grease, paint, and previous coatings. Concrete must be structurally sound with no active cracks, spalling, or delamination. Repair damaged areas before flooring installation.
Level the floor to manufacturer specifications. Most floating floor systems tolerate 1/8 inch variation over 10 feet. Tile installations require even tighter tolerances. Use self-leveling compounds to fill low spots and grind high areas smooth.
Acclimate flooring materials to basement conditions before installation. Store products in the installation space for 48 to 72 hours so they adjust to temperature and humidity levels. This prevents expansion and contraction issues after installation.
Leave appropriate expansion gaps around the room perimeter. Floating floors need 1/4 to 3/8 inch gaps to accommodate seasonal expansion without buckling. Use spacers during installation to maintain consistent gap width.
Follow manufacturer specifications exactly. Each product has specific requirements for substrate preparation, moisture levels, adhesives (if used), and installation methods. Deviating from these specifications voids warranties and compromises performance.
Professional installation makes sense for most basement flooring Connecticut projects. Experienced contractors have the tools, knowledge, and skills to handle moisture issues, substrate preparation, and complex installations that defeat DIY efforts.
Comparing Costs and Longevity
Basement flooring costs vary widely based on material selection, installation complexity, and required preparation work. Understanding total project costs helps you make informed decisions.
Luxury vinyl plank offers the best combination of cost, performance, and ease of installation for most Connecticut basements. Expect total installed costs between $5 and $10 per square foot. Quality products last 15 to 25 years when properly maintained.
Porcelain tile costs more upfront ($8 to $18 per square foot installed) but lasts 30 to 50 years or longer. The higher initial investment pays off through extended service life and minimal maintenance requirements.
Epoxy coating systems fall in the middle range at $5 to $12 per square foot. Properly installed systems last 10 to 20 years before requiring refinishing. The seamless surface and easy maintenance appeal to many homeowners despite the shorter lifespan compared to tile.
Rubber flooring costs between $4 and $12 per square foot installed. Longevity varies from 10 to 25 years depending on product quality and basement traffic patterns.
Polished concrete runs $5 to $15 per square foot but essentially lasts forever with periodic repolishing every 5 to 10 years. The indefinite lifespan makes this option cost-effective over time.
Don’t forget to budget for moisture mitigation if testing reveals problems. Vapor barriers add $0.50 to $2 per square foot. Interior drainage systems cost $3,000 to $8,000 for average basements. Exterior waterproofing runs $8,000 to $15,000 or more.
The same careful approach that makes Top Notch Home Solution LLC a trusted name in Rocky Hill, CT and throughout the region applies to basement flooring projects. Proper planning and professional execution deliver results that last.
Maintaining Your Basement Floor for Maximum Lifespan
Proper maintenance extends the life of your basement flooring Connecticut investment and preserves its appearance.
Luxury vinyl requires regular sweeping or vacuuming to remove abrasive dirt. Damp mop with pH-neutral cleaners formulated for vinyl flooring. Avoid excessive water, harsh chemicals, and abrasive scrubbing pads that damage the wear layer.
Tile floors need periodic grout cleaning and resealing unless you installed epoxy grout. Sweep or vacuum regularly, then mop with mild detergent solutions. Avoid acidic cleaners that etch grout and damage certain tile types.
Epoxy floors resist most chemicals and stains but benefit from regular cleaning. Sweep or dust mop frequently, then clean with neutral pH floor cleaners. Recoat every 5 to 10 years to maintain gloss and protection.
Rubber flooring collects dirt in its textured surface. Vacuum regularly with a brush attachment, then mop with mild soap solutions. Avoid oil-based products that degrade rubber compounds.
Polished concrete requires dust mopping and periodic damp mopping with pH-neutral cleaners. Reapply densifier and polish every 5 to 10 years to maintain the surface finish and moisture resistance.
Monitor basement humidity levels year-round. Keep humidity below 50 percent to minimize condensation risk and prevent mold growth. Run dehumidifiers during humid months and ensure proper ventilation.
Address water intrusion immediately. Even moisture-resistant flooring can sustain damage from prolonged exposure to standing water. Fix leaks, improve drainage, and dry affected areas quickly to prevent secondary damage.
Just as proper window insulation and door insulation protect your home’s thermal envelope, maintaining your basement floor protects your flooring investment.
Common Mistakes to Avoid
Several mistakes plague basement flooring Connecticut projects. Avoiding these errors saves money and prevents premature flooring failure.
Never skip moisture testing. Visual inspection cannot determine whether concrete releases enough moisture to damage flooring. Always test before installing materials, especially in older homes without vapor barriers under the slab.
Don’t install water-sensitive materials in basements with moisture problems. Hardwood, laminate, and carpet fail quickly in damp conditions. Solve moisture issues first, or choose truly waterproof alternatives.
Avoid painting concrete floors as a flooring solution. Paint peels when moisture pushes through from below. It also doesn’t address the cold, hard surface issues that make unfinished concrete uncomfortable.
Don’t ignore manufacturer installation instructions. Each product has specific requirements for substrate preparation, acclimation, expansion gaps, and installation methods. Following these specifications ensures optimal performance and preserves warranties.
Never install flooring over dirty, contaminated concrete. Oils, sealers, paint, and other contaminants prevent proper adhesion and interfere with moisture barrier performance. Clean and prepare the substrate thoroughly before installation.
Avoid choosing flooring based solely on price. The cheapest option often costs more in the long run when it fails prematurely and requires replacement. Consider total lifetime costs, including maintenance and eventual replacement.
Don’t attempt complex installations without proper tools and experience. Professional contractors complete installations faster, with better results and fewer mistakes than inexperienced DIY installers.
Frequently Asked Questions
What is the best basement flooring for high moisture areas in Connecticut?
Luxury vinyl plank, porcelain tile, and epoxy coatings perform best in high-moisture Connecticut basements. All three resist water damage, don’t support mold growth, and maintain structural integrity despite humidity and occasional water exposure. Porcelain tile offers the longest lifespan, while luxury vinyl provides the best balance of cost and performance for most homeowners.
How do I know if my basement floor has too much moisture for flooring installation?
Professional moisture testing determines whether your concrete slab releases too much water vapor. Calcium chloride tests measure surface emission rates, while relative humidity probes measure moisture inside the slab. Most flooring manufacturers specify maximum levels between 3 to 5 pounds per 1,000 square feet per 24 hours or 75 to 80 percent relative humidity. Test results above these thresholds require moisture mitigation before flooring installation.
Can I install basement flooring over existing concrete cracks?
Small, stable cracks don’t necessarily prevent flooring installation, but active cracks that move require repair first. Floating floor systems like luxury vinyl tolerate minor cracks better than adhered installations. Tile installations need crack isolation membranes to prevent crack propagation through grout lines. Large cracks, widespread cracking, or signs of structural movement require professional evaluation and repair before any flooring installation.
Do I need a vapor barrier under basement flooring in Connecticut?
Vapor barrier requirements depend on your concrete slab’s moisture emission rate and the flooring material you choose. Homes built before the 1990s often lack vapor barriers under basement slabs and benefit from additional moisture protection. Some luxury vinyl products include integrated vapor barriers, while others require separate barrier installation. Moisture testing determines whether your specific basement needs additional vapor protection.
How long does basement flooring installation typically take?
Installation time varies by material and basement size. A 500-square-foot basement with floating luxury vinyl takes one to two days for experienced installers. Tile installation requires three to five days including thinset and grout curing time. Epoxy systems need two to four days for proper substrate preparation, coating application, and curing. Add time for concrete repairs, leveling, or moisture mitigation if needed. Professional contractors provide accurate timelines based on your specific project scope.
Professional Basement Flooring Installation in Central Connecticut
Selecting moisture-resistant basement flooring Connecticut homeowners can trust requires understanding your basement’s specific moisture conditions, choosing appropriate materials, and ensuring proper installation. Luxury vinyl plank, porcelain tile, epoxy coatings, rubber flooring, and polished concrete all perform well when matched to the right application and installed correctly.
Moisture testing before installation protects your investment by identifying problems that require mitigation. Professional substrate preparation, quality materials, and skilled installation determine whether your basement floor lasts decades or fails within years.
Top Notch Home Solution LLC brings 19 years of experience to basement flooring projects throughout Middletown, Berlin, and surrounding Central Connecticut communities. Our family-owned company handles every aspect of your project from moisture assessment through final installation, ensuring results that resist moisture and deliver lasting performance. Contact us at +18607068116 for a free estimate on your basement flooring project.